Foreword
This might be a rather silly story, but I should set the scene... I entered the world of DE safety razor shaving maybe only about two months ago. Switching over to a safety razor (from overpriced, ineffective cartridges) might just be one of the best decisions I've ever made.
A few weeks ago, I found myself engaged in a conversation about razors with someone in the comments section of a YouTube video. The guy told me about his Gillette Slim and how it consistently remained the best razor he'd used, and I have to admit that ever since initially exploring the world of safety razors, I'd wondered what it'd be to have an adjustable razor or a TTO razor. The Slim just happened to combine these two qualities in one package, so I snooped around Ebay and ordered one from the U.S. for about $30. The postage to the UK cost me another $14, so at the end of the day, the total ended up around £30.
It looked to be in a rather worn condition, but I figured that restoring it would be a nice side project. I do enjoy tinkering around with things, after all, and wanted to see if I could make it look good again. About a week or so later, my new razor showed up in the mail, and it was up to me.
The results
Having already looked at threads about razor restoration by that point, I didn't forget to take pictures! Without further ado, allow me to present my results in all "phases" of the experiment, in the form of image albums.
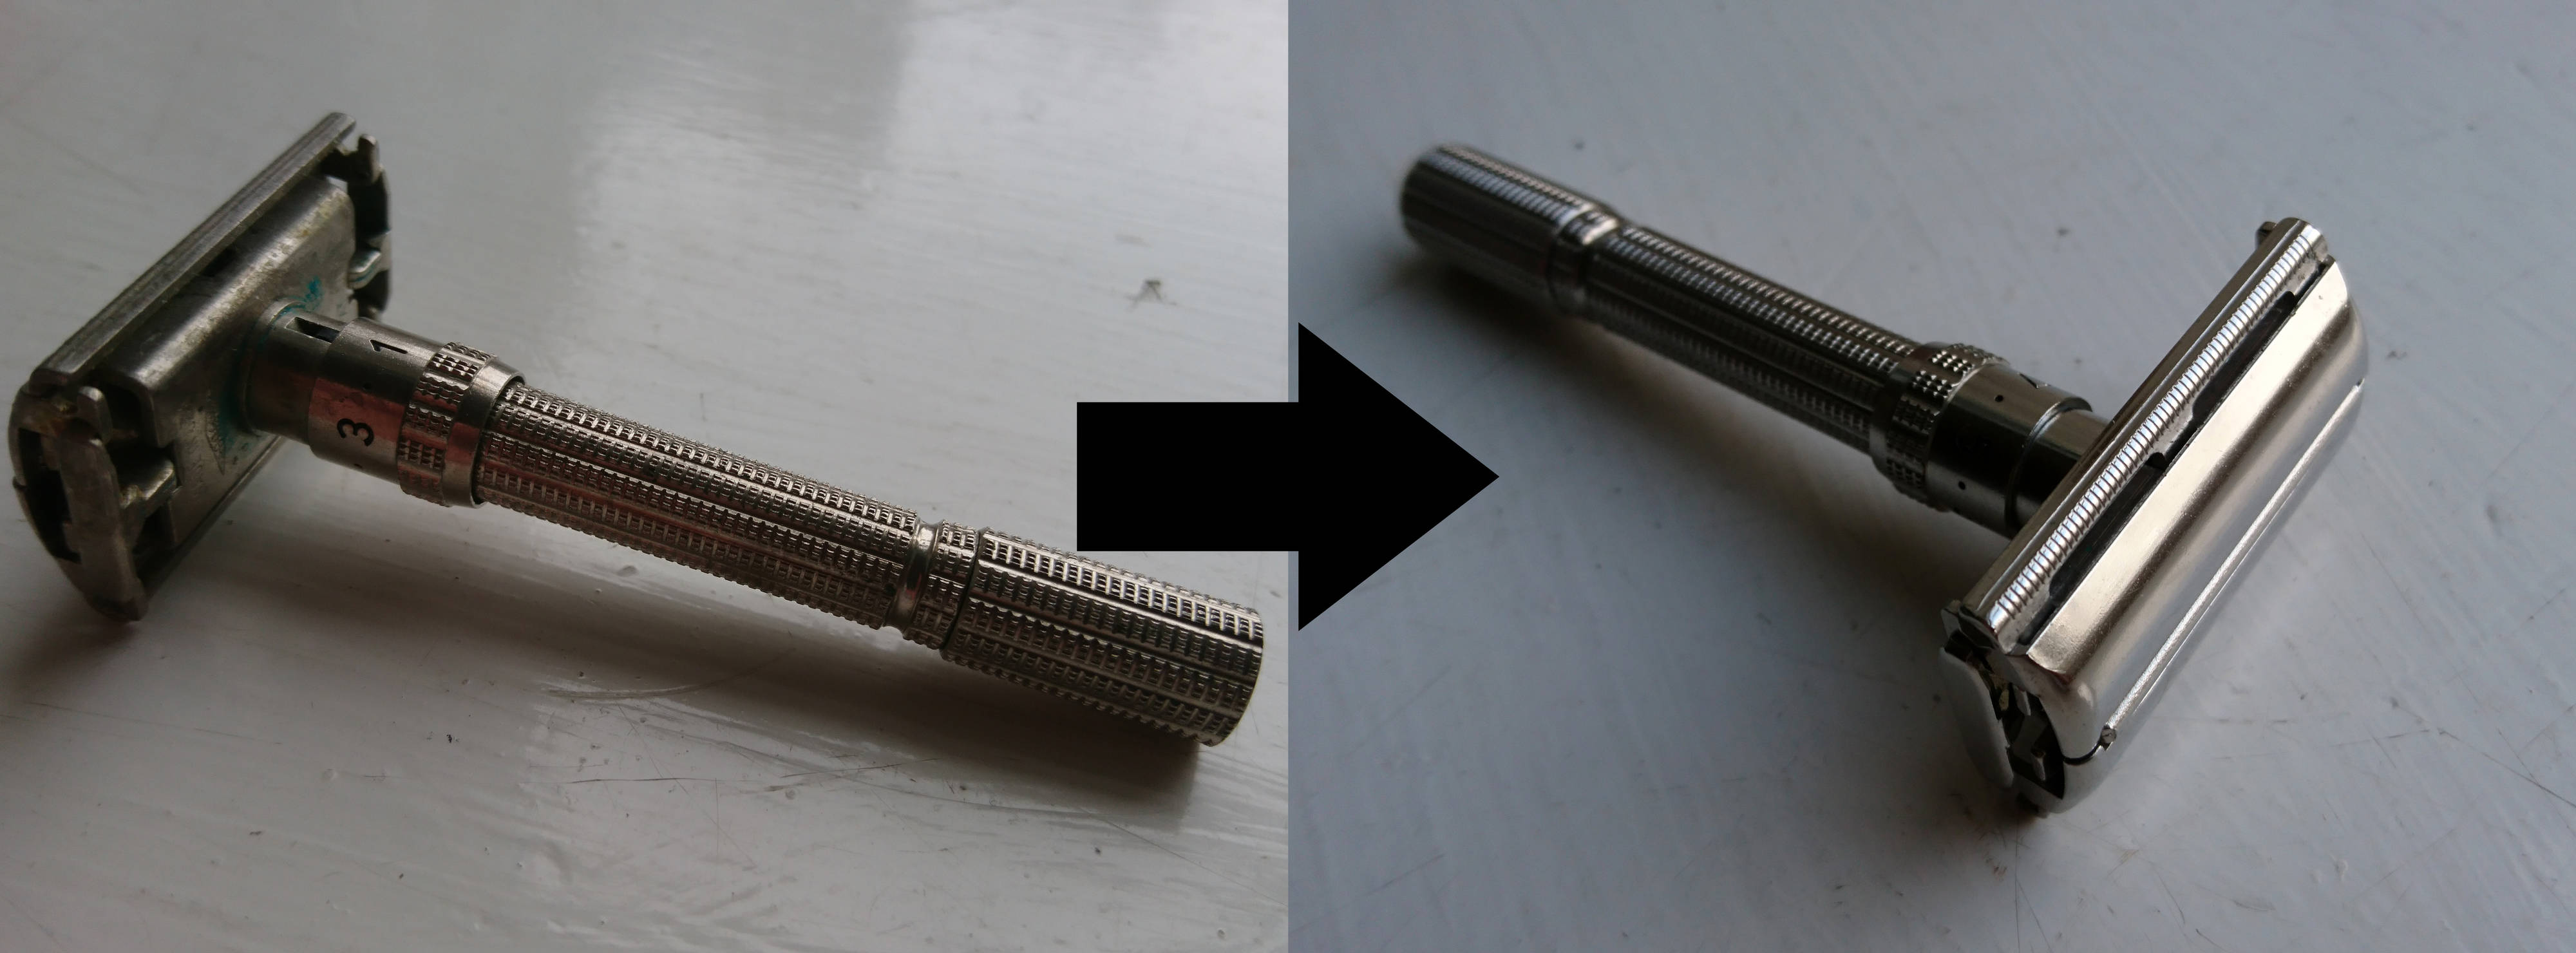
NB: In both comparisons, the photos on the left were taken before the restoration, and pictures on the right -- after. Though that should be completely obvious by the photos themselves.
- Initial state compared to the finished one (after polishing). The final image compares the shininess of the razor with my almost-brand-new Mühle R89, and the restored Gillette is almost on par!
- Initial compared to post-cleaning stage (pre-polish). It's worth noting that the discolouration was much less severe when looking at the actual razor.
- Some more pictures of the razor as received (from the seller's listing on Ebay)
I tried to keep the lighting consistent and the shots similar, but it wasn't perfect. The camera also seemed to magnify all apparent issues: for some reason the remaining corroded(?) spots (as well as the discoloured spots before polishing) are a lot harder to notice when not looking through a lens.
The process
I used an amalgamation of advice largely found in this forum. The entire process went as follows:
- Soak the razor for about half an hour in hot, but not boiling water heavily infused with dishwashing liquid (Fairy Original in my case);
- Scrub with an old soft toothbrush and rinse;
- Soak in isopropyl alcohol (70%) for an hour;
- Scrub with the toothbrush and rinse;
- Continue soaking in isopropyl for another hour (the first soak didn't seem to achieve as much as I wanted it to);
- Scrub again, this time employing cotton buds and the point of a wooden skewer to get stubborn dirt out of the difficult bits with greater precision;
- Polish (Peek polishing paste and an old T-shirt cut up into cotton rags) vigorously for an hour until satisfied.
I don't consider the finish perfect, and perhaps using a bit of sandpaper would've helped with the tiny rusty/pitted spot visible on the doors, but at the end of the day, I didn't want to be too rough on the plating, and besides, as my flatmate said, this way it's got some character. Personally, I'm rather happy with how it turned out.
Furthermore, again, the camera appears to exacerbate the problems. The imperfections in the polished surface, as well as the tiny darker spots here and there are significantly harder to spot with a naked eye.
This was a very fun little side project. The razor itself works perfectly, and I can't wait to try it out.
So, as a first-timer, how'd I do? Comments, criticism, and suggestions for a refinement of the process are always welcome and appreciated.
")