What's new

1959 (E- 1) Fat Boy tear-down, cleaning, etc...

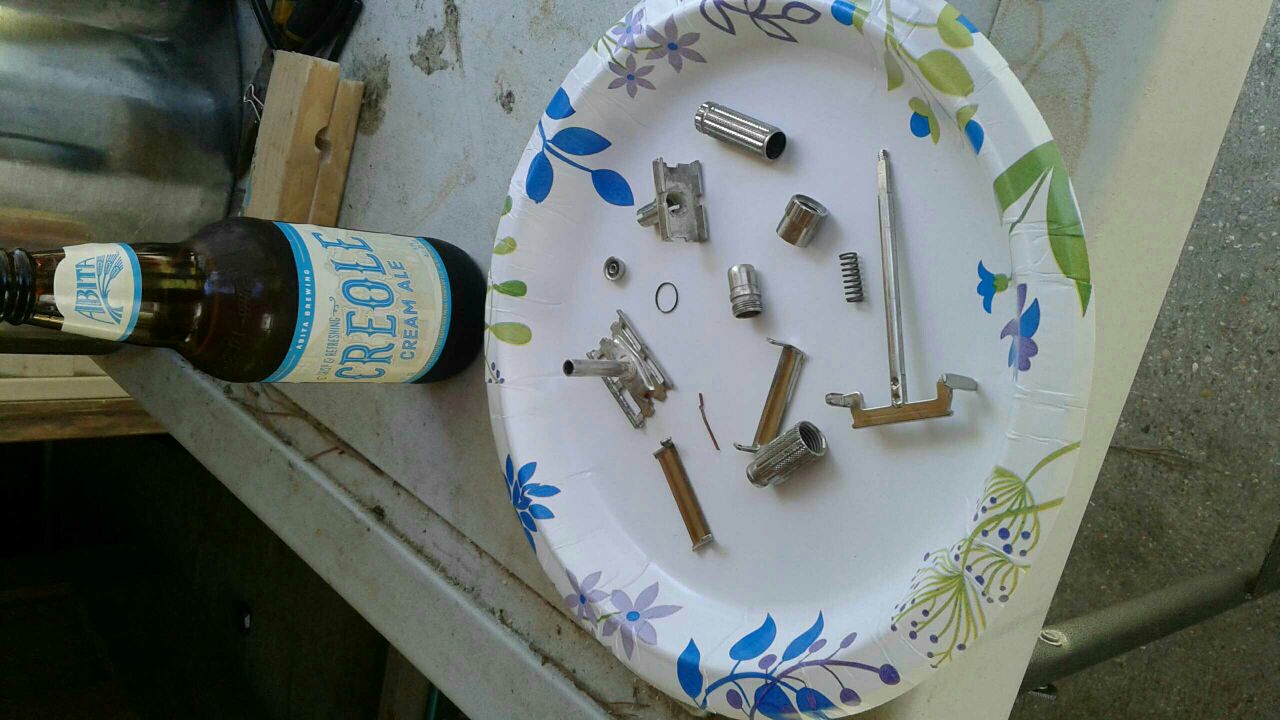
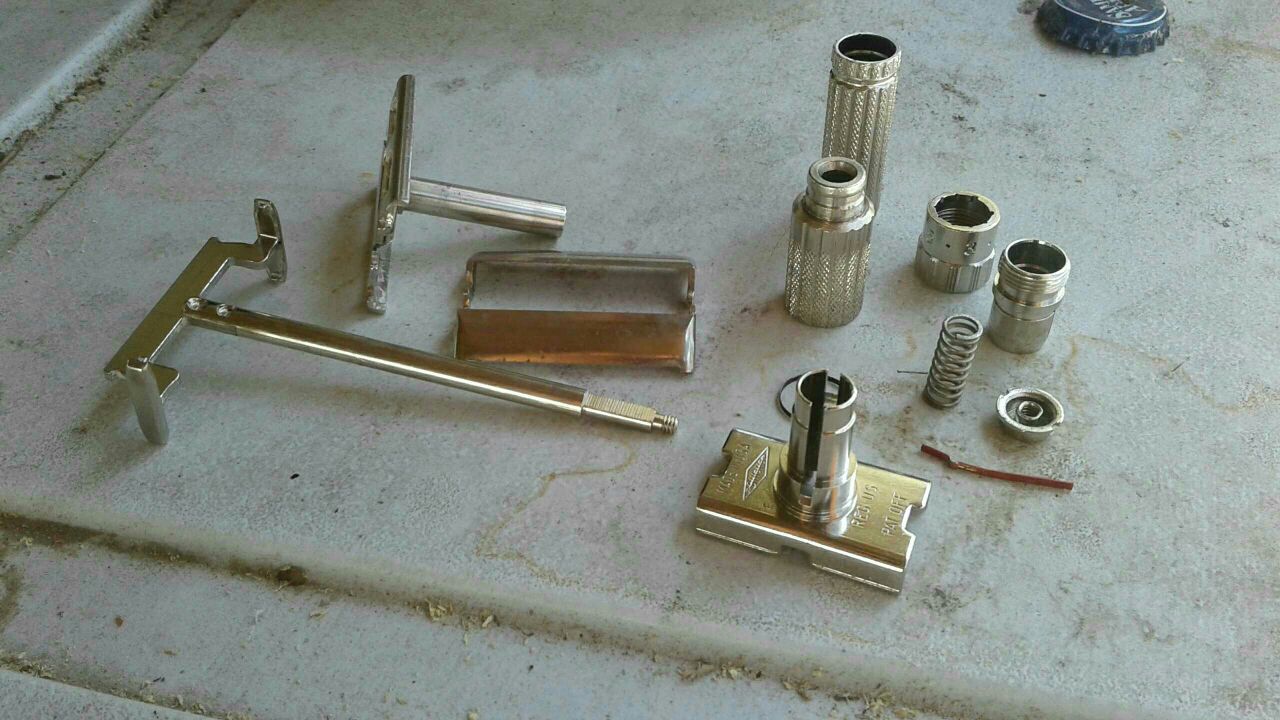
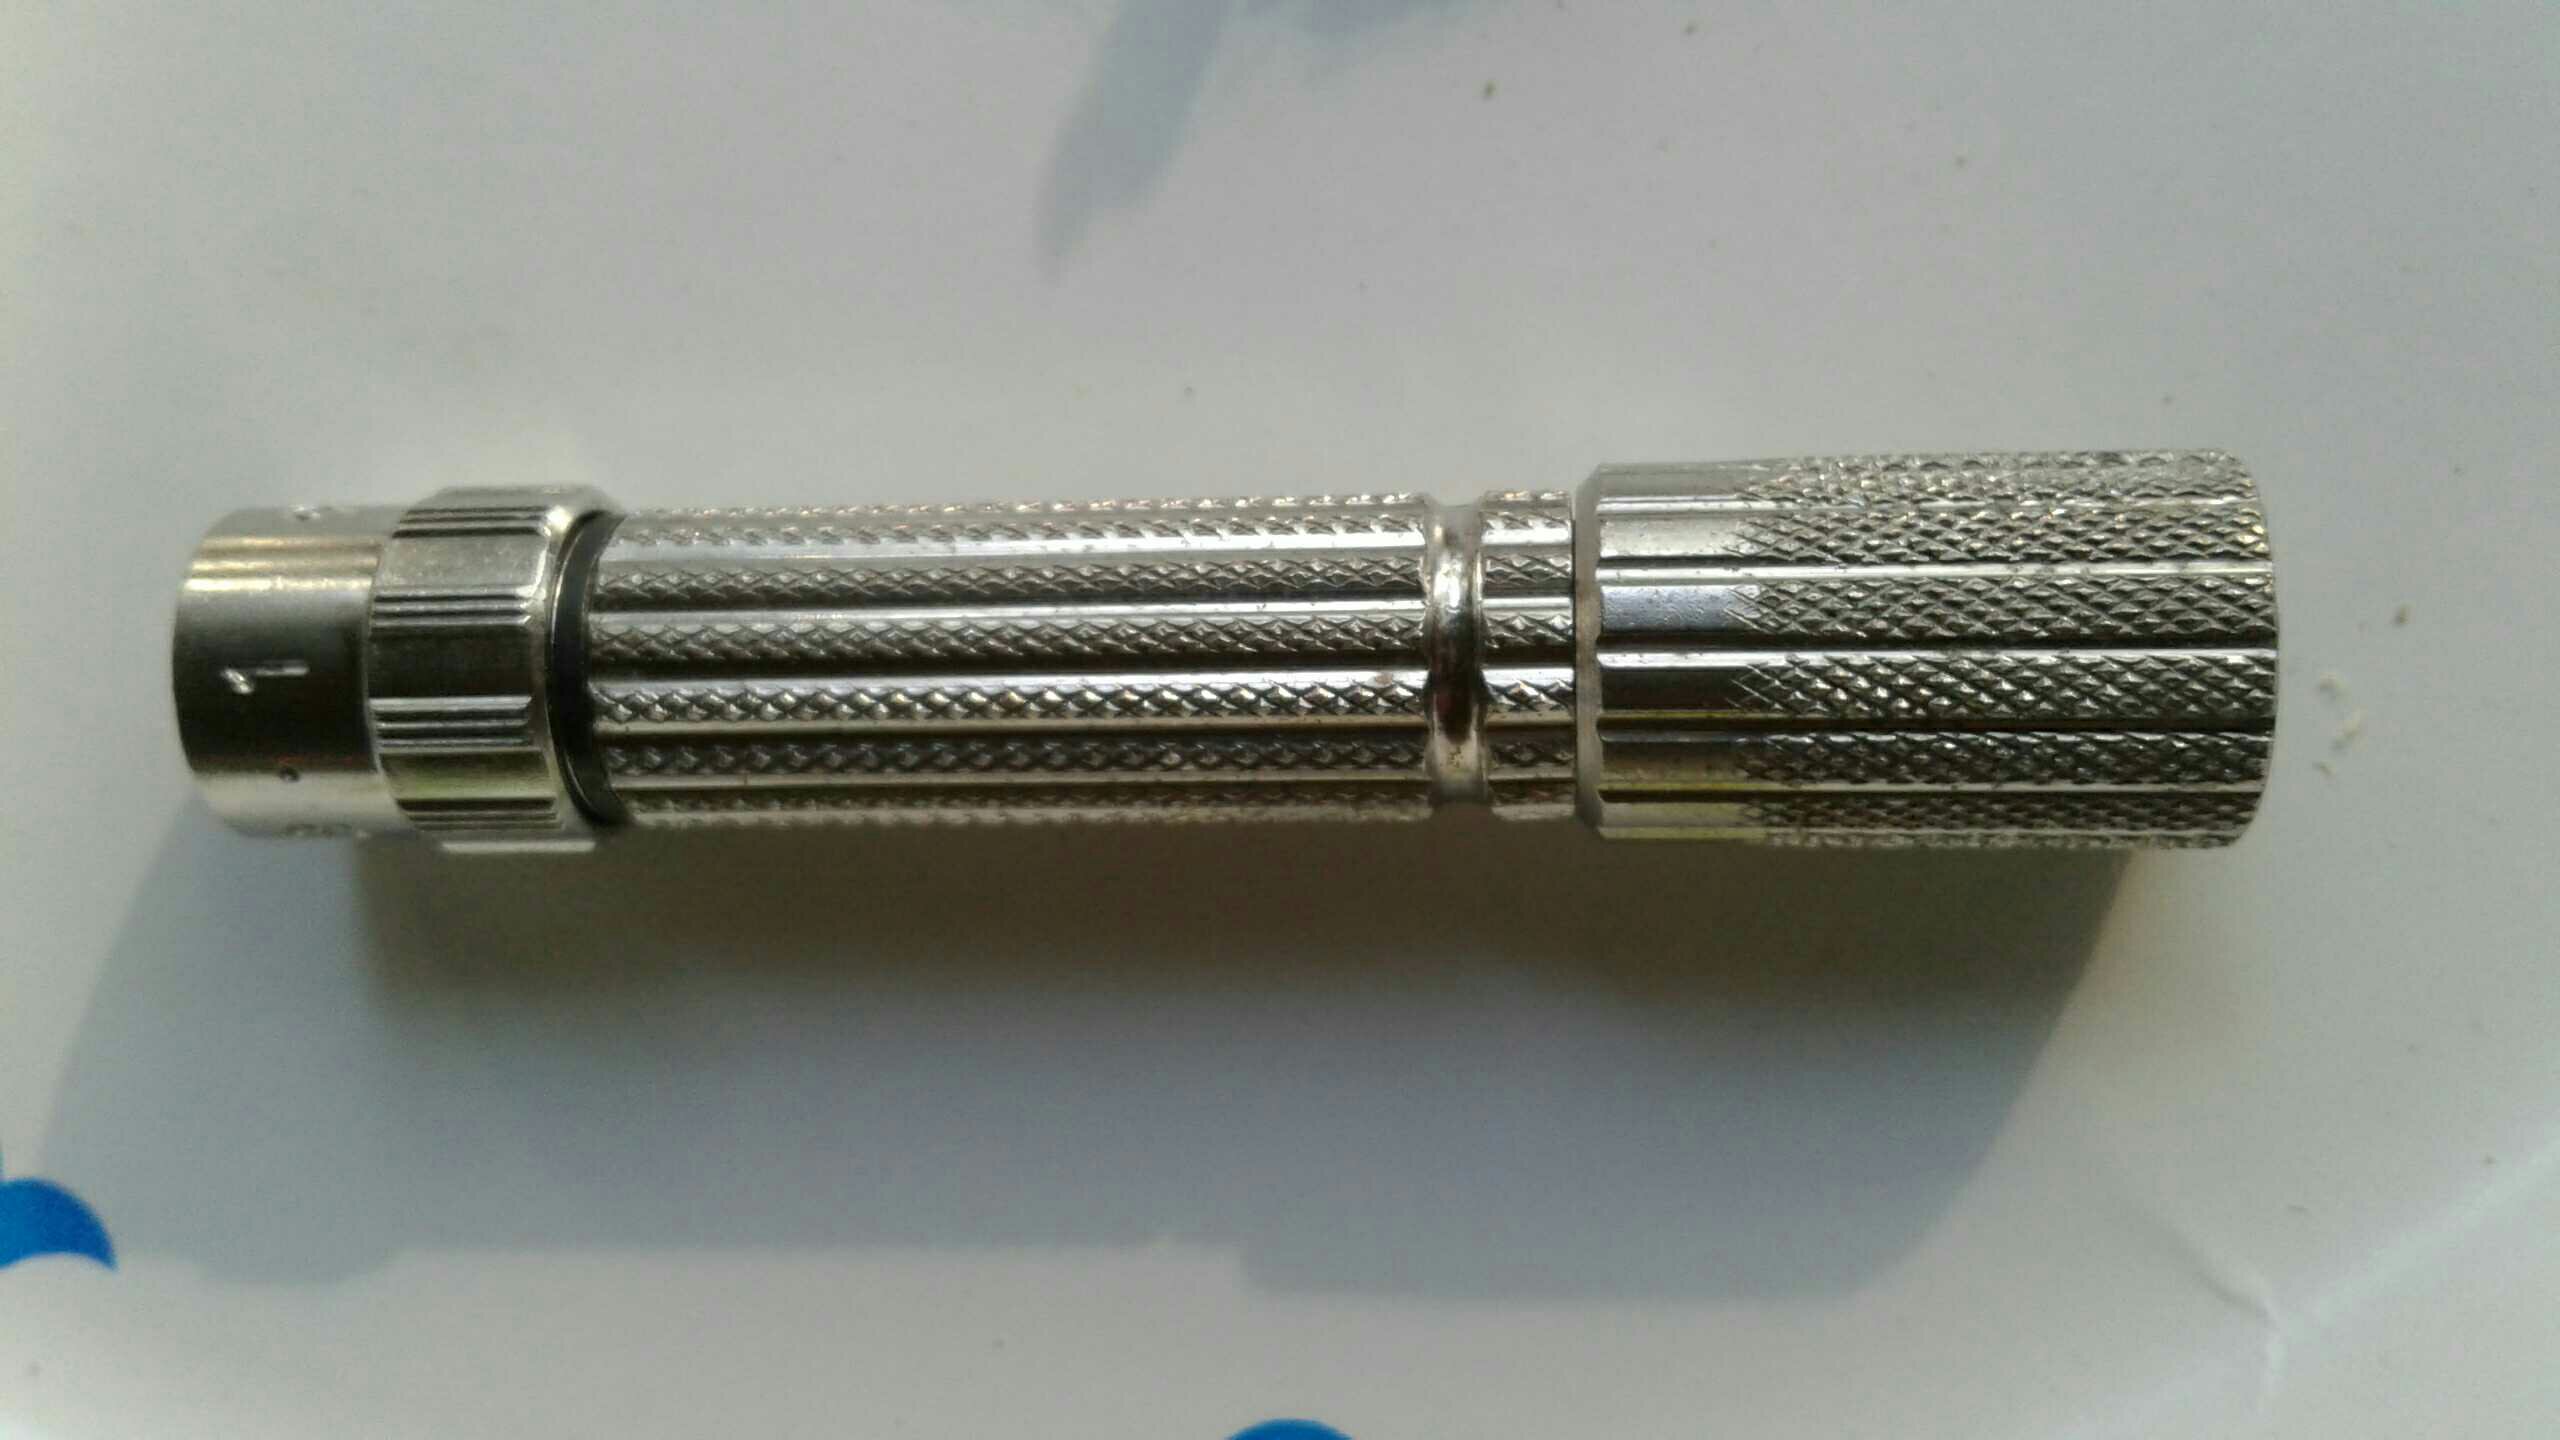
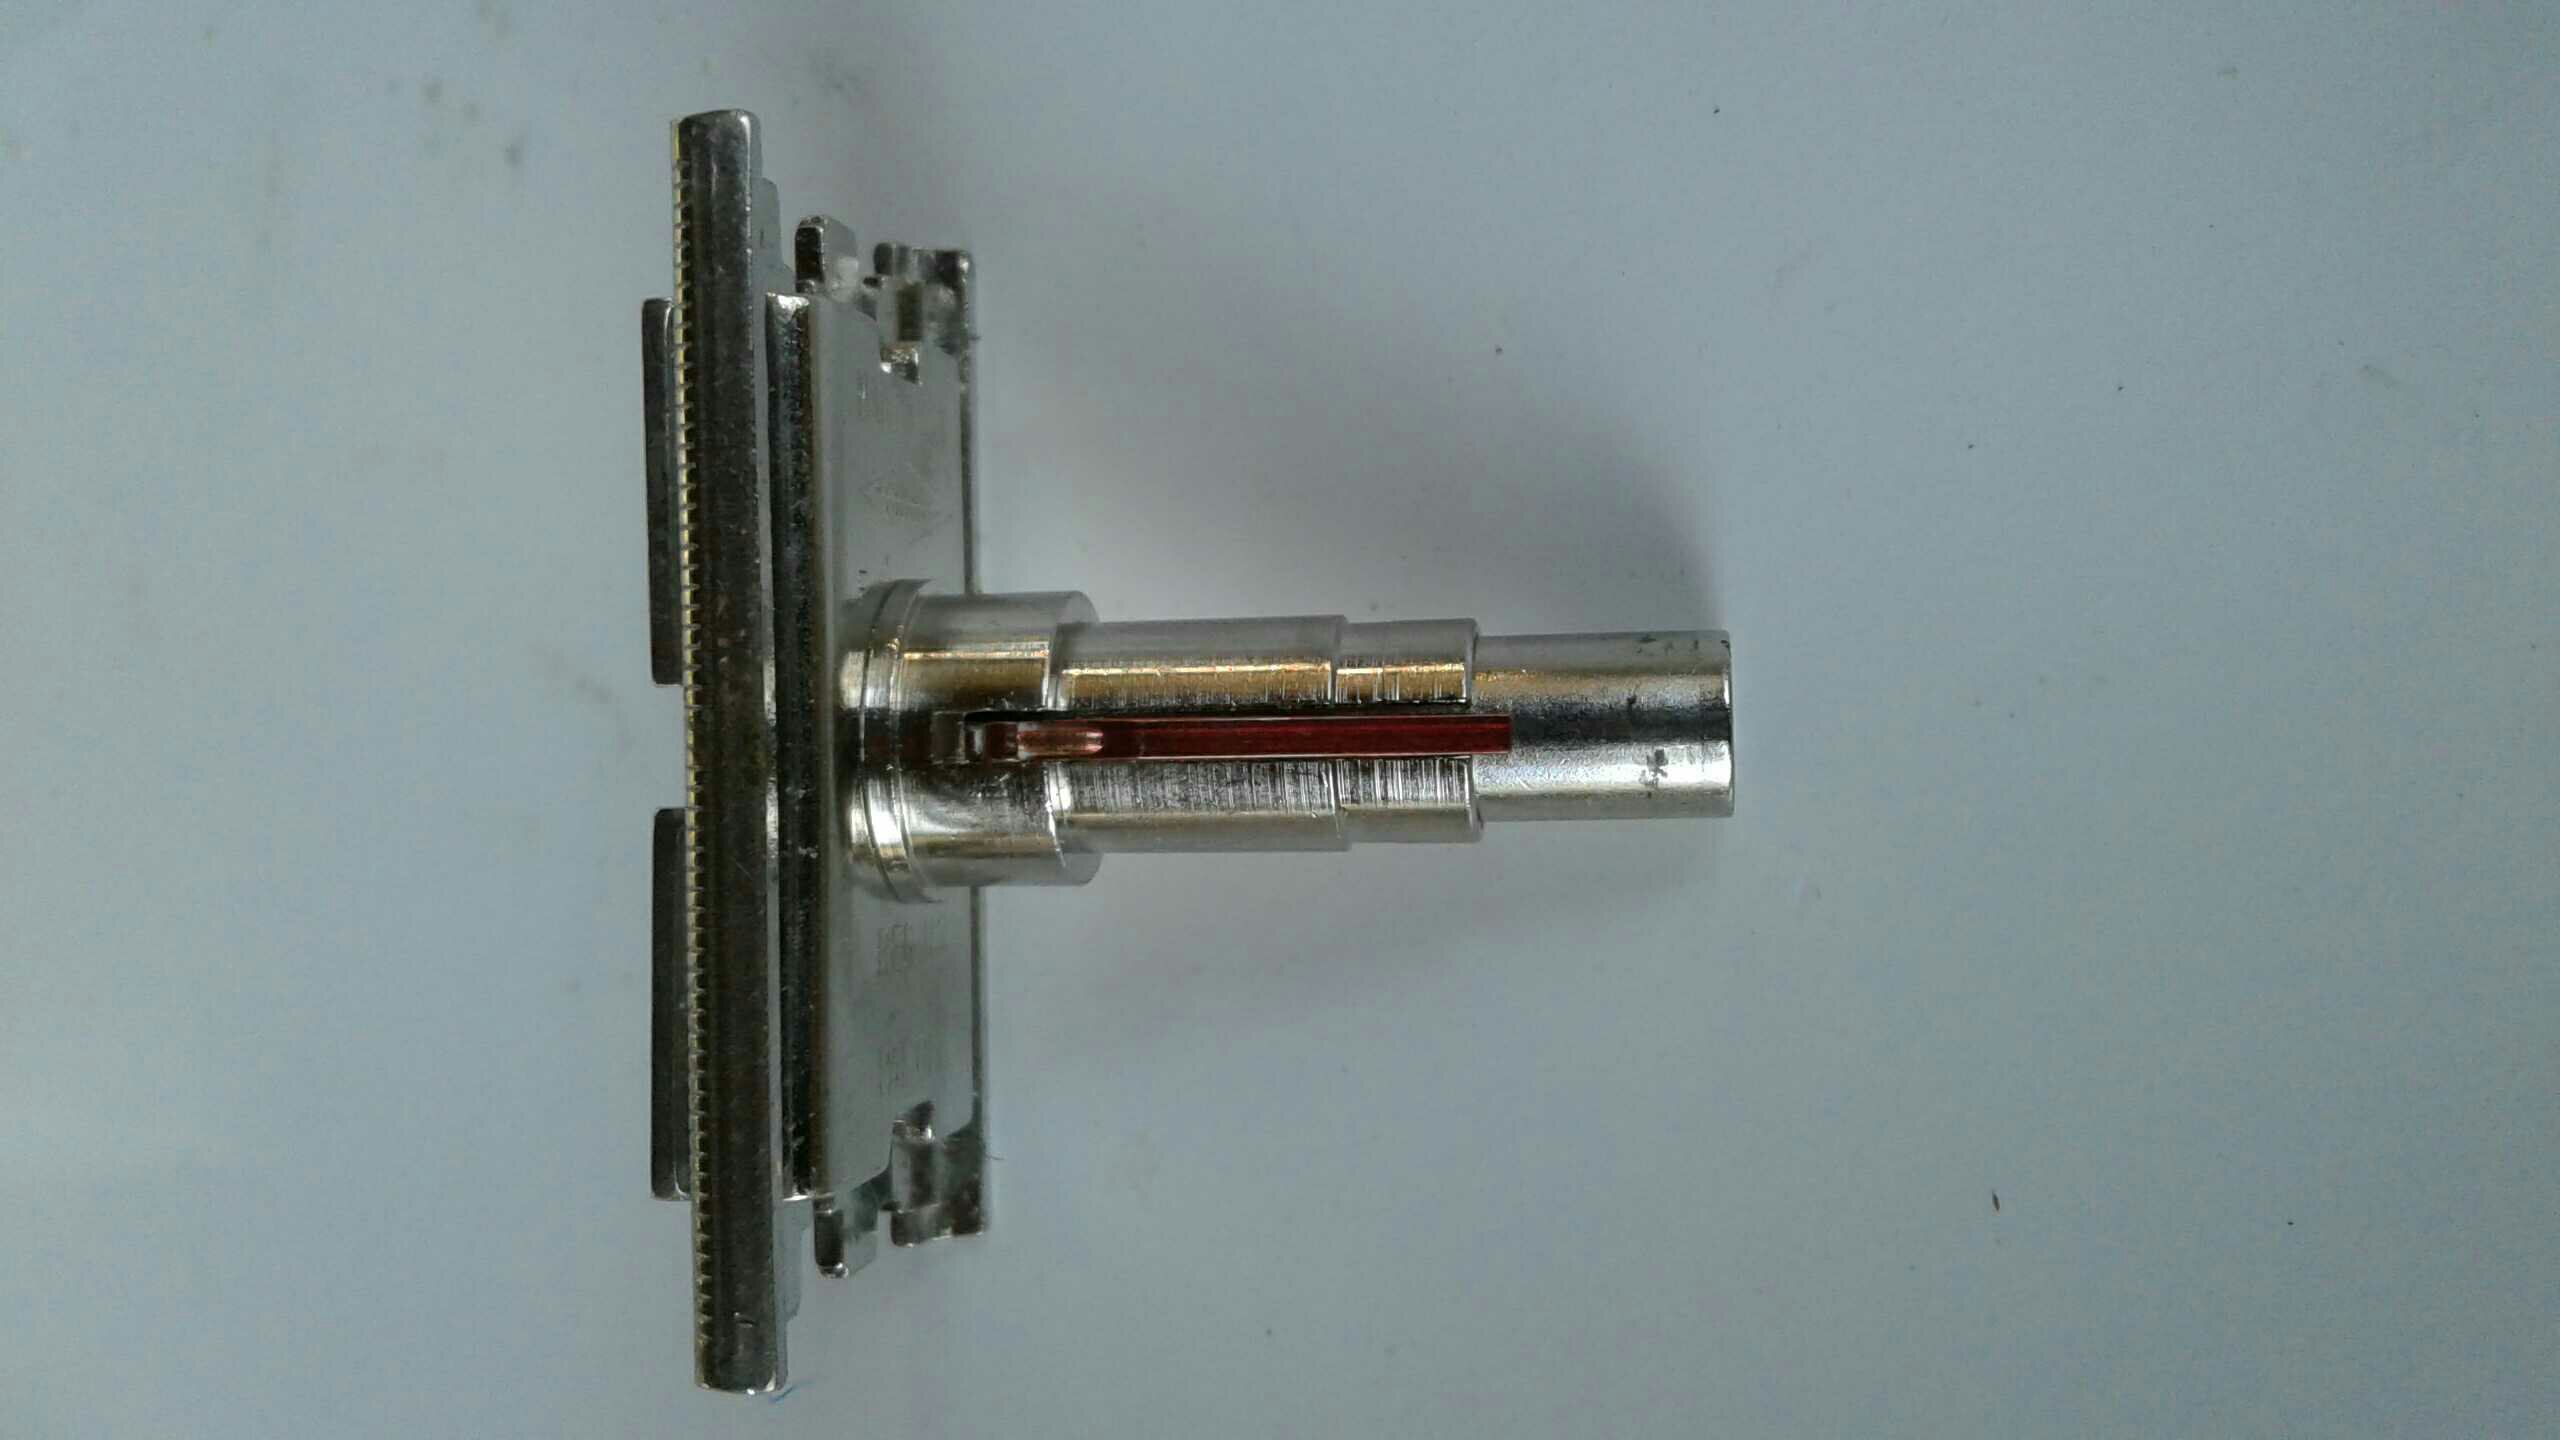
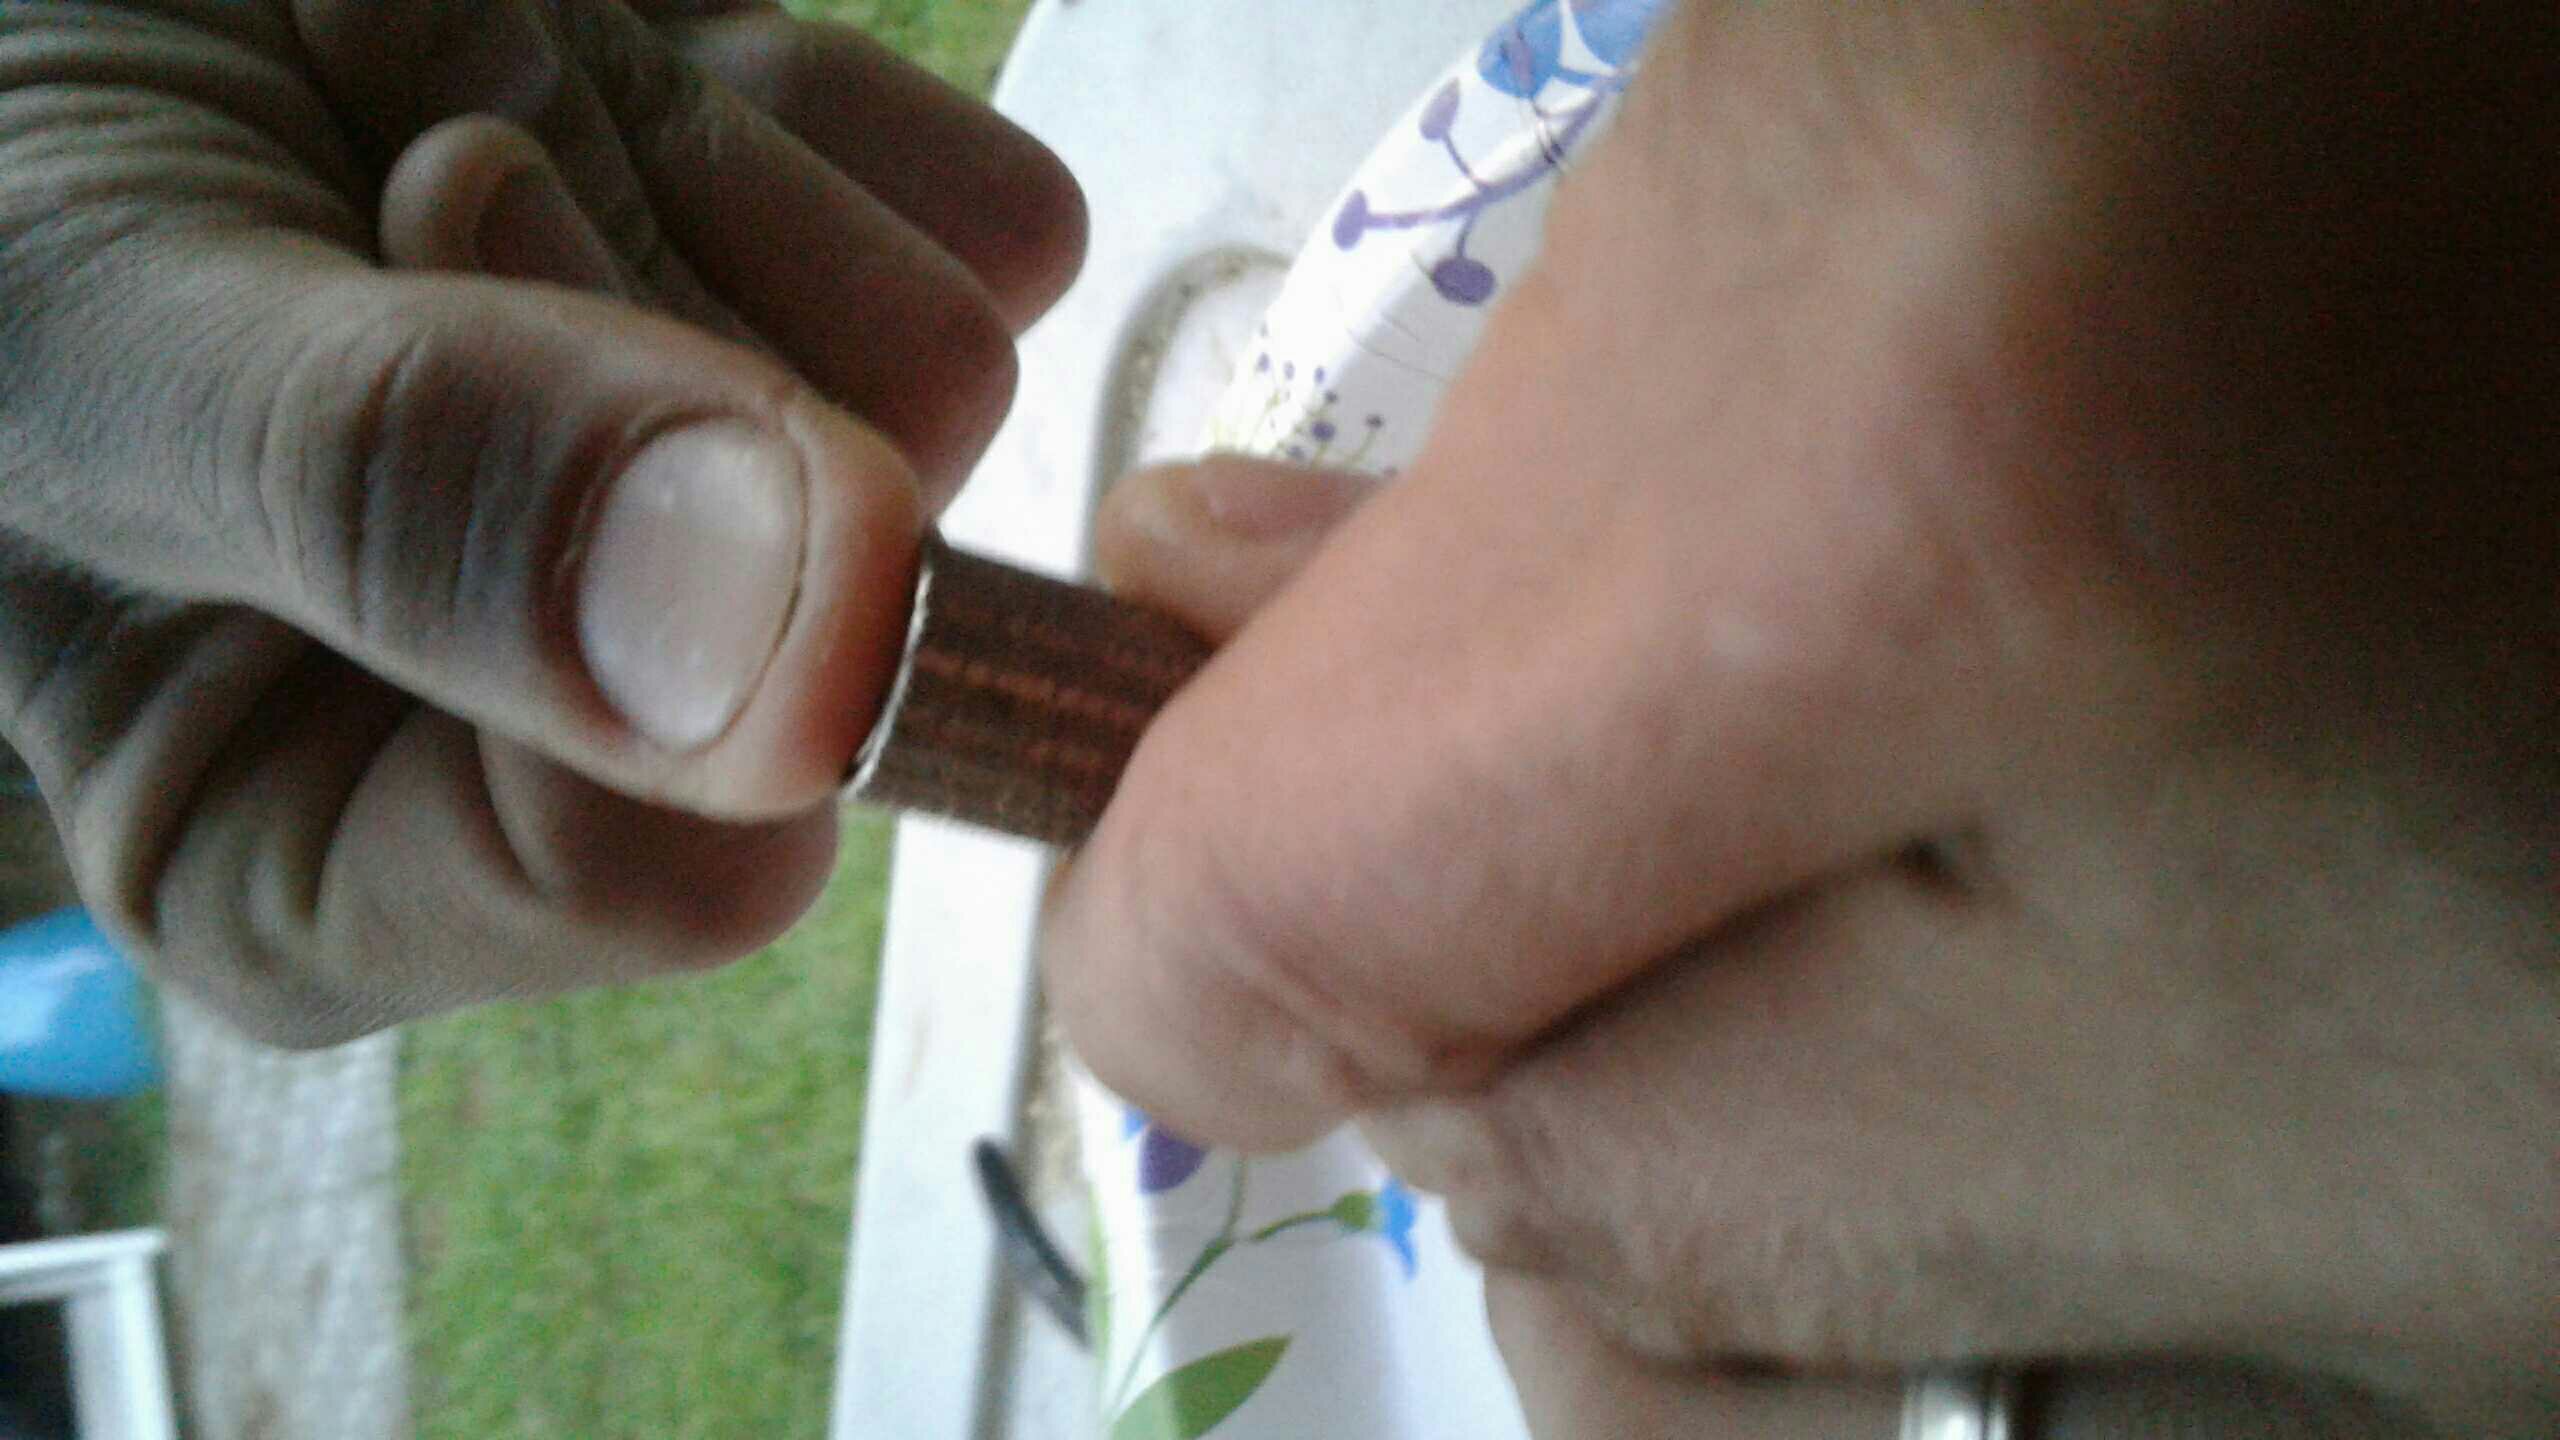
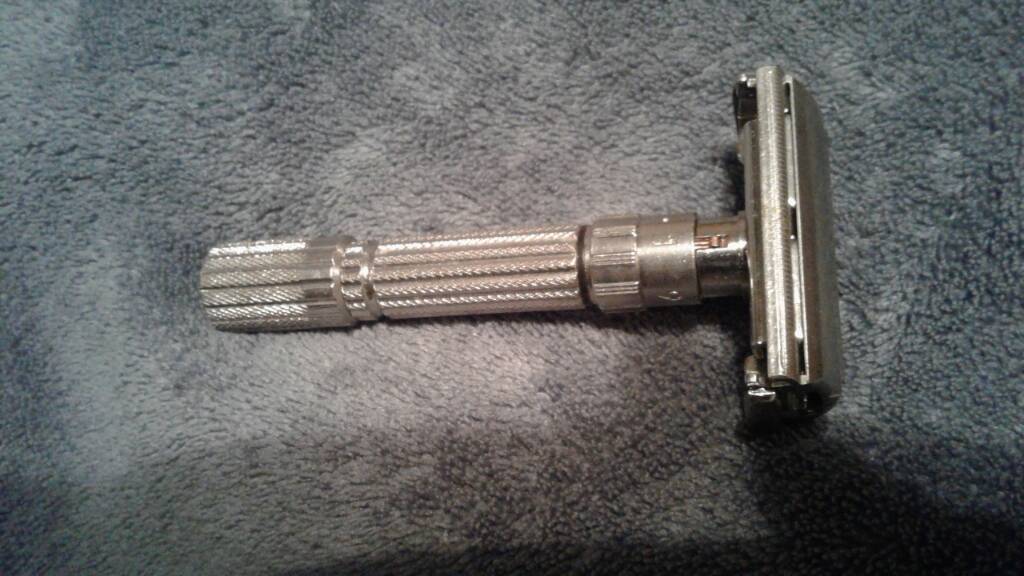
For those of you wondering, here's all the tools I used.
1. The clip tool
2. Two pairs needlenose pliers. One smaller, but I don't think this matters.
3. #4 metric allen wrench (or anything that will work in it's place, honestly.)
4. The wood jig. (2x2 wood scrap, 3/8 bit and drill, saw)
5. Hammer. I used a rubber hammer, but any type would work.
6. Vise.
7. Rag to catch pieces (used with the vise)
 
Time to clean this thing up. Everyone seems to have different advice as far as cleaning is concerned. I am going to do it this way, but feel free to do it another way. Whatever tickles your fancy and cleans your razor, folks.

Here's a plateful of bits and pieces which are never ever ever getting back together

proxy.php


proxy.php


Honestly, it seems to me that there are very few pieces on this plate when compared to the work involved. Is it worth it? For me, yes. I have almost no build up in my Fat Boy, but I know how this thing works, how it goes together, and how it's made. Cleanliness was never the point for me. It's about the journey, not the destination.

proxy.php


Destination: scrubbing bubbles. Following the directions, I am letting it sit for several minutes. While it is sitting, I am deciding which toothbrush to sacrifice, and putting a pot of water to boil.

As usual, the bubs did their amazing duty. I used a children's toothbrush to scrub the bits with the S.B. This removed all of the horrible stuff. I took a pipe cleaner to the handle parts. Then into the boiling water for about 5-10 minutes.

proxy.php


Remove from the burner and remove the pieces from the water. How you do this is your choice. I poured out most of the water then ran cold water into the pot until the parts are cool (like I do hard boiled eggs). It's a gorgeous day today, so I'm outside and I used the hose. Sanitary? Nope, but I only care about not burning myself.
 
Last edited:
Out of the pot and dried ("polished") with my t-shirt.

proxy.php

proxy.php


So, it's been cleaned. Easy. Now what? Do I go buy a Harbor Freight polisher?
Do I paint the spring and ring? Do I use some Nev R Dull?

No.

This razor is bound for rhodium. There isn't a point to polishing it at this point. I am going to reassemble and wait on the platers to return my emails.
Well, maybe some Nev R Dull...
 
Last edited:
Doors back on.
proxy.php

Pitting here. This and the handle are the two areas which make me want a replate. Honestly, I shave with much worse, I just want this shiny!
Shiny - Demo Version lin-manuel miranda shiny - demo version - Google Search
Speaking of the handle, here's how I put it all back in place.
proxy.php

You might notice (as I just did) that I forgot the black ring. Don't do that...
 
proxy.php

We're number 1! We're number 1!
I screwed the dial back on as far as I could. This is what we did prior to removing the head and is how we know which position it should be in. Also, see how the black ring is there? Yeah. It's a pain, but it DOES go back on.
I put a bit more bow into the red spring. Not much. Just a "refresher". It's an old piece of THIN metal, so caution is the order of the day.
proxy.php
 
Using the same method that I used with the handle (squeezed in a vise) I put the head into the handle.

Remember when we lowered the dial? Well, we're reversing that now. So if you had to press the spring in once to rotate to the full DOWN position, you'll have to turn it in the OPPOSITE direction and depress the spring the same number of times. This will land you back at your "normal operating range". I hope that makes sense. Mine was rather easy to figure out. I started at 1 (see the last post photo) and rotated to 9. I depressed the red spring to get to 1. From 1 I went to 9. I depressed the spring AGAIN and went from 1 to 7. 7? Nonono. This one goes to 9, right?
proxy.php

So I went BACK to 1, depressed the spring, and went to 9. THIS 9 - 1 is MY normal operating range.
Confused? It's more simple than it sounds.
proxy.php
 
Next we put the doors/hinge/rod back into place.
The rod lines up with the hole in the tto knob.
proxy.php


See how the door ears fit into the bars on the baseplate?
proxy.php

The doors should be "halfway" open (optimist) when you insert them. I put mine in upside down.
proxy.php

At this stage you can open and close the doors.
 
Last edited:
Step WHO CARES?!?!? LAST ONE WOOOOooooo....!!!

Ok. If you've made it this far, your probably past this point already, but here it is anyhow.

Put the spring into the knob around the threads on the knob.

proxy.php


Now push and turn the end cap on. I used my thumb.

proxy.php


Apply the clip tool to the two holes and tighten.

proxy.php


proxy.php


Give it a test run! It should work just peachy. Mine does and if I can do this, you can, too!

Thanks for tuning in. If I can answer any questions, just ask.

Stay tuned for the next episode. I'm going to take apart my late model slim with the pressed in end cap. I am going to replate it, too. LEARN with me!

I almost forgot. Here's the "before and after"


proxy.php
proxy.php
 
Last edited:
Going to try this today. Question about the block of wood. Your guide stated 1/2 hole and Capt. Murphy's video states 1/2, but you say it's too loose? Was the block sawed in half first and then the hole drilled at the cut, or the hole drilled and then the block split? Cause, the kerf of the saw would make the hole smaller.
 
Top Bottom