@KeenDogg and @imatabor, i couldn't find a better place for this. Feel free to move it if it needs to be elsewhere.
I just received my first Fat Boy from the bay. If you happen to be eBay member "number10bear", you have my sincere gratitude.
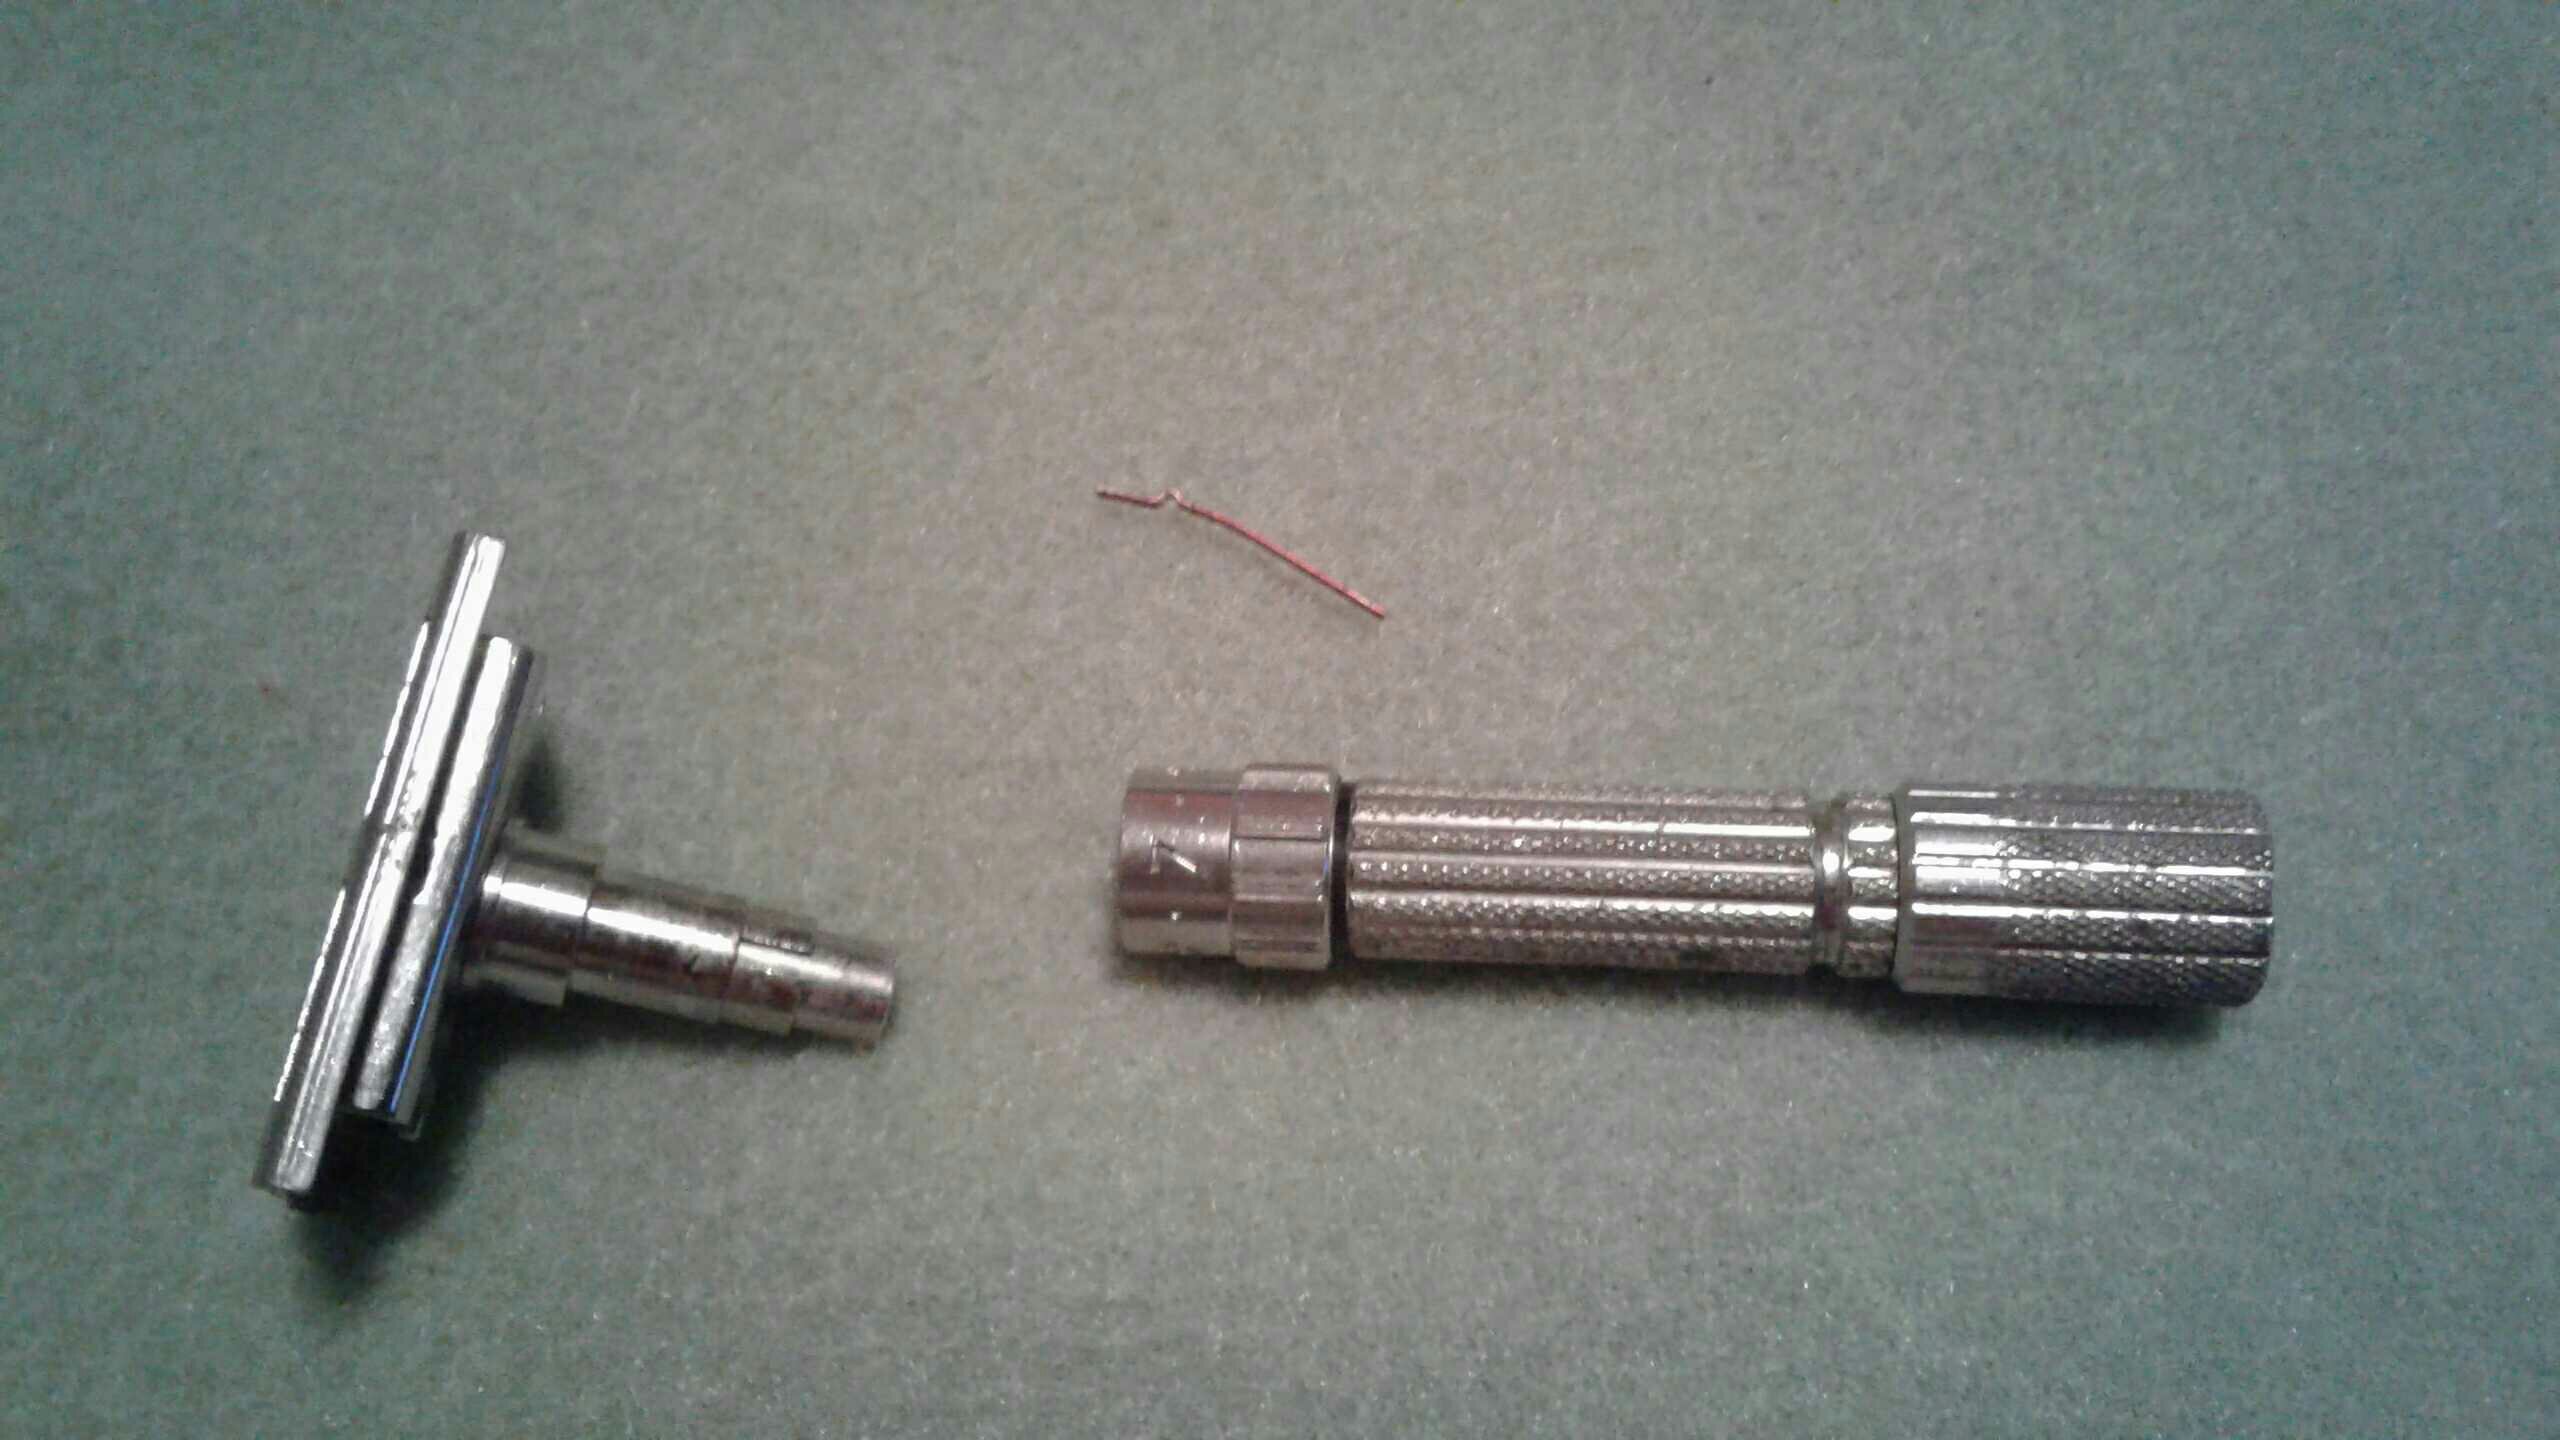
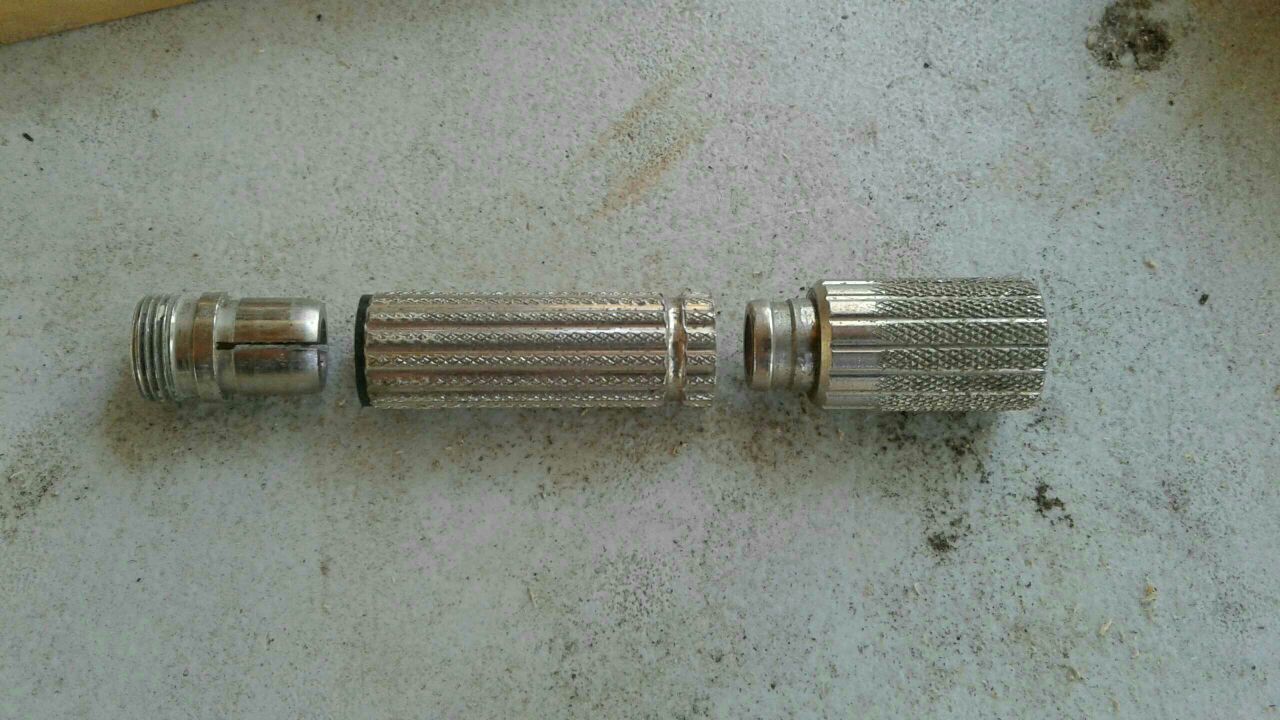
I will be taking this razor apart, cleaning it, an maybe replating with nickel (ambitious, but it would be SO FUN!)
I will be following the guide for Fat Boy disassembly found here:
Take Down: Fat boy comes apart
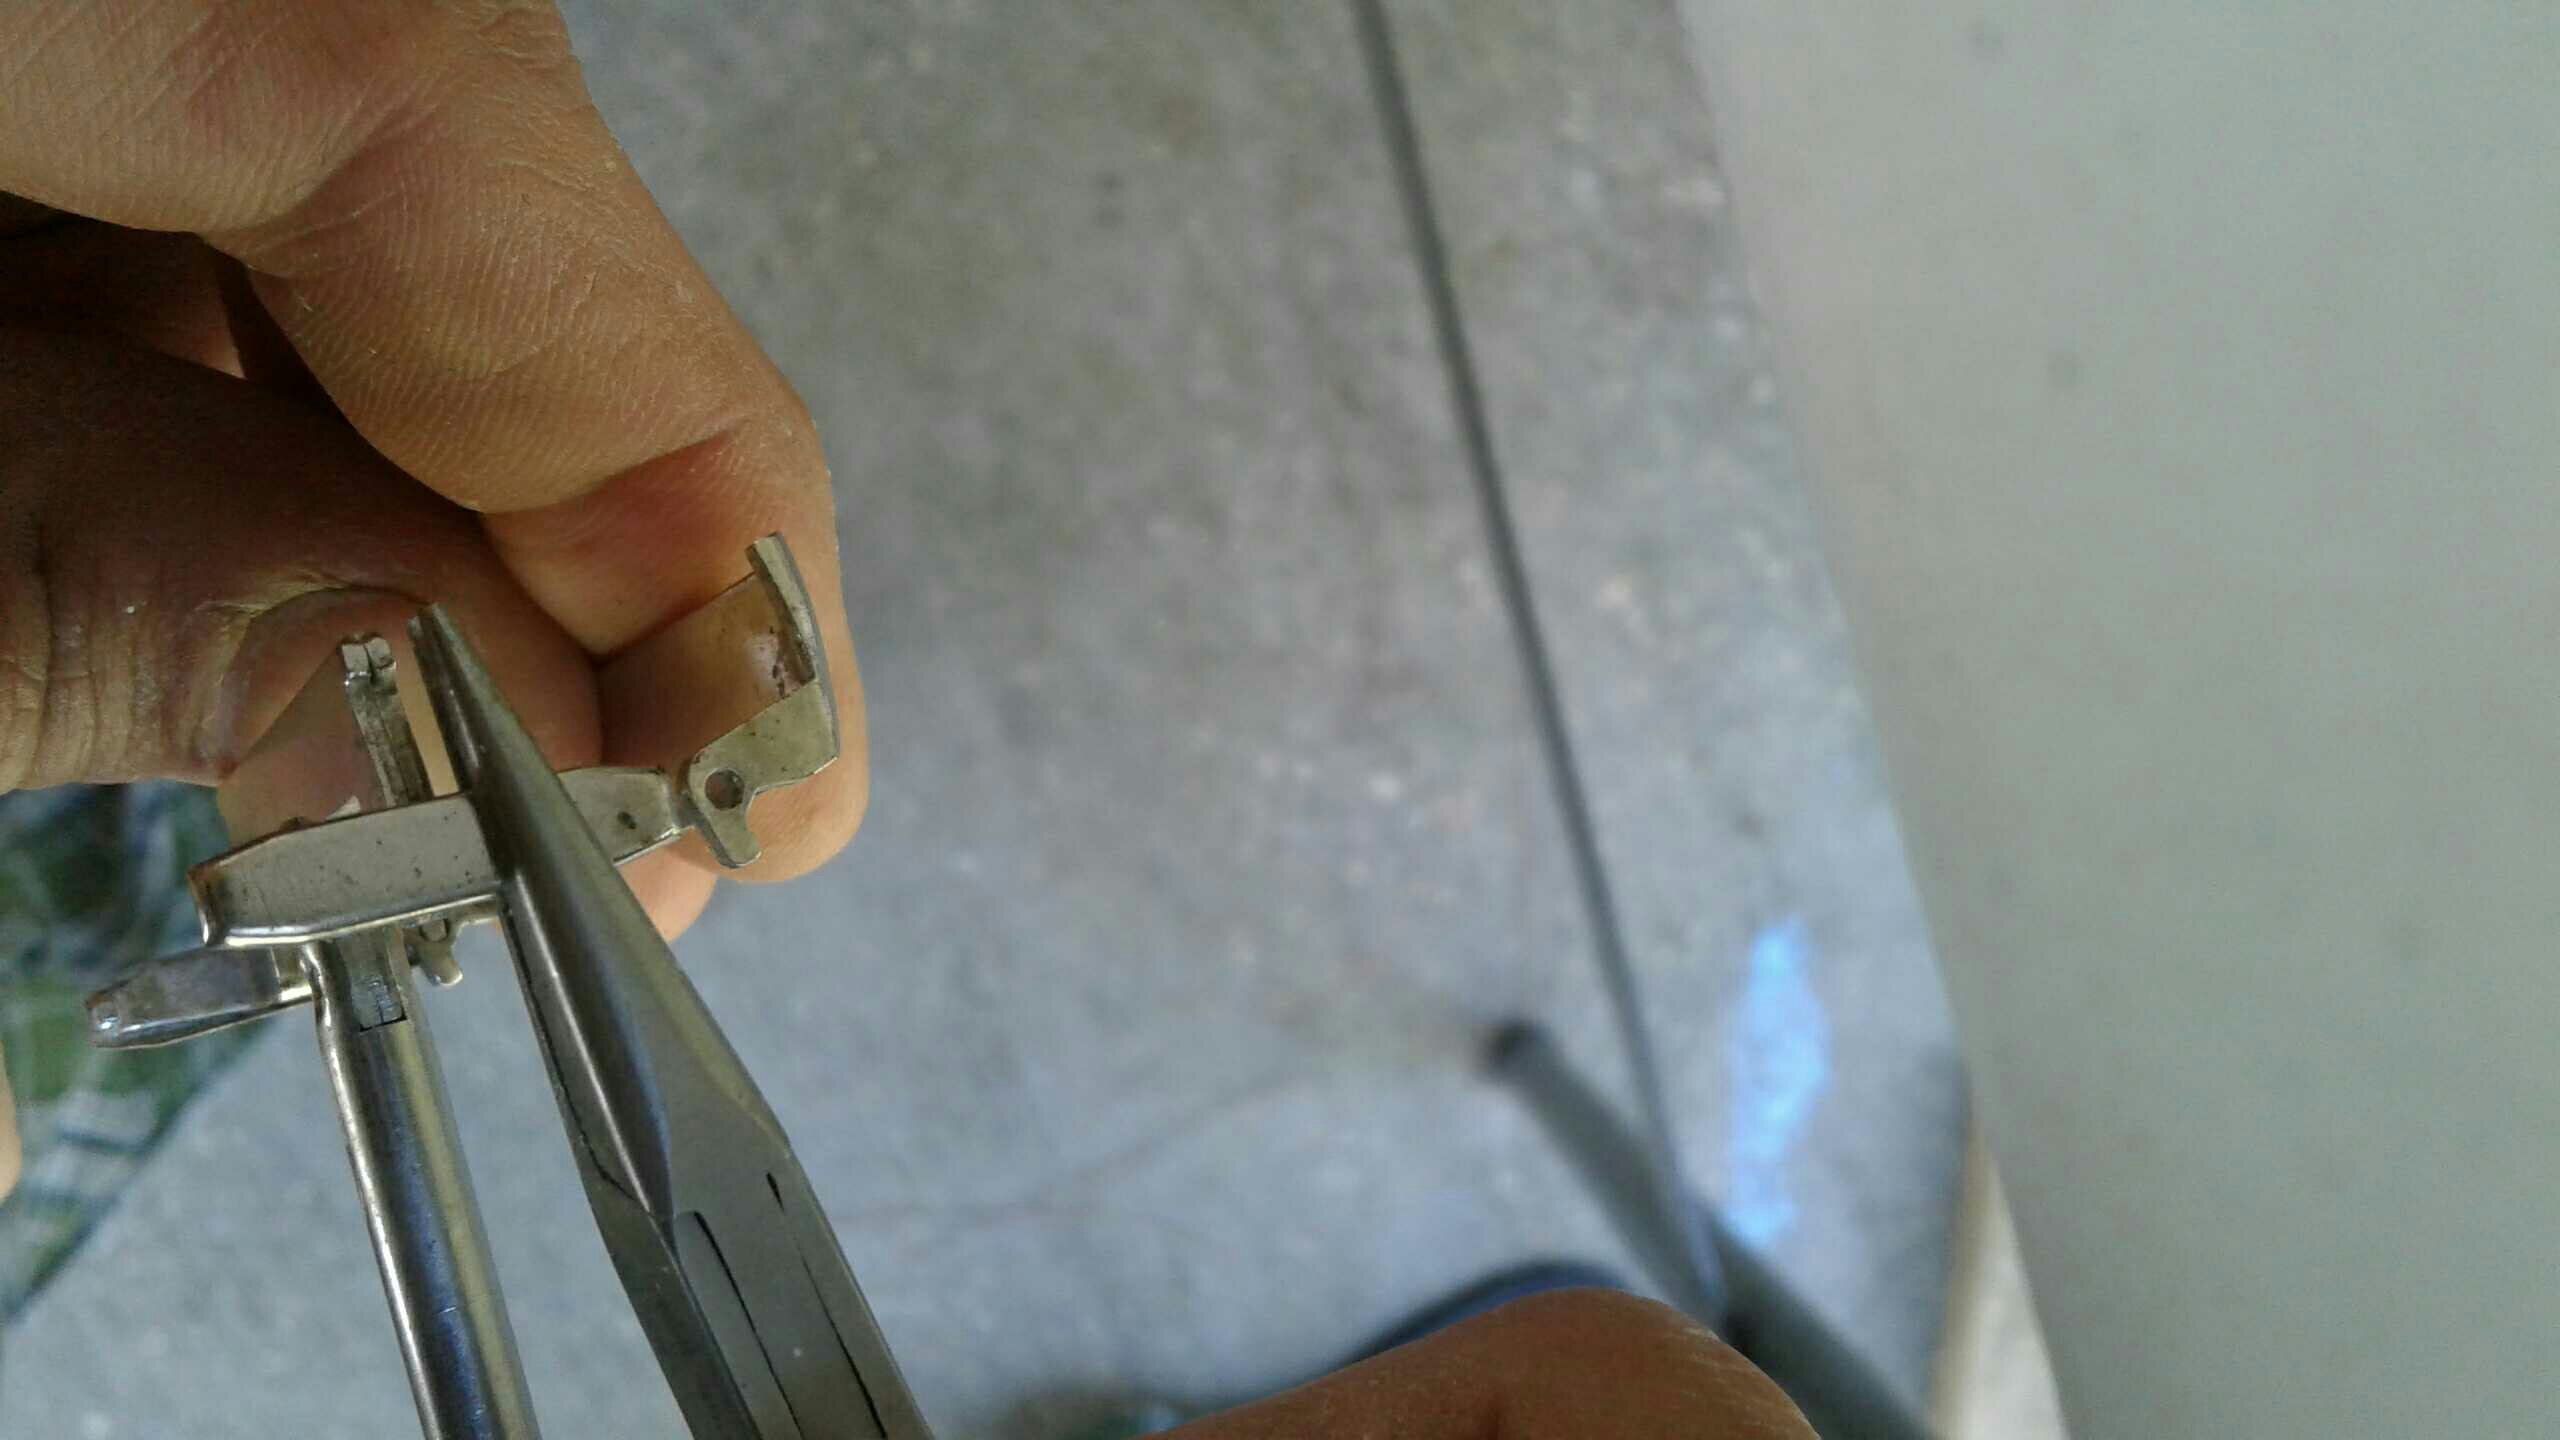
I'm a pretty handy guy and know my way around a pair of pliers, I enjoy modifying things and putting together models. I say this to give you an idea of my skill level.
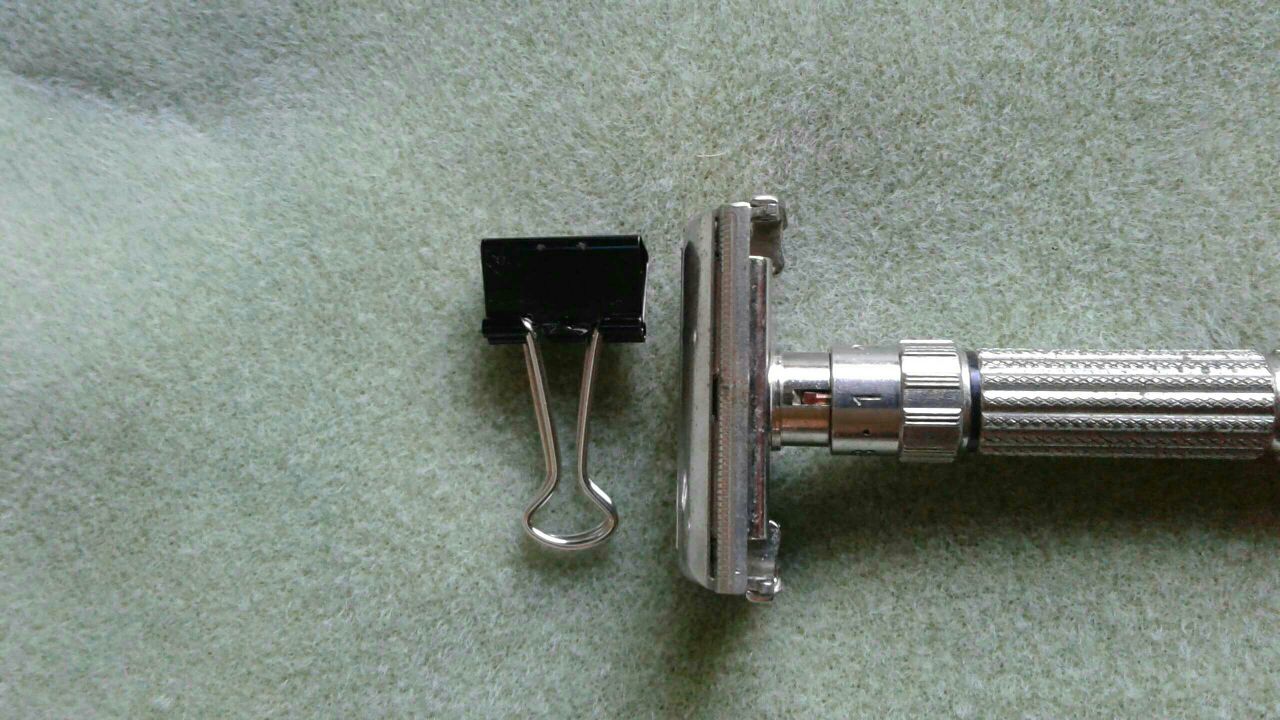
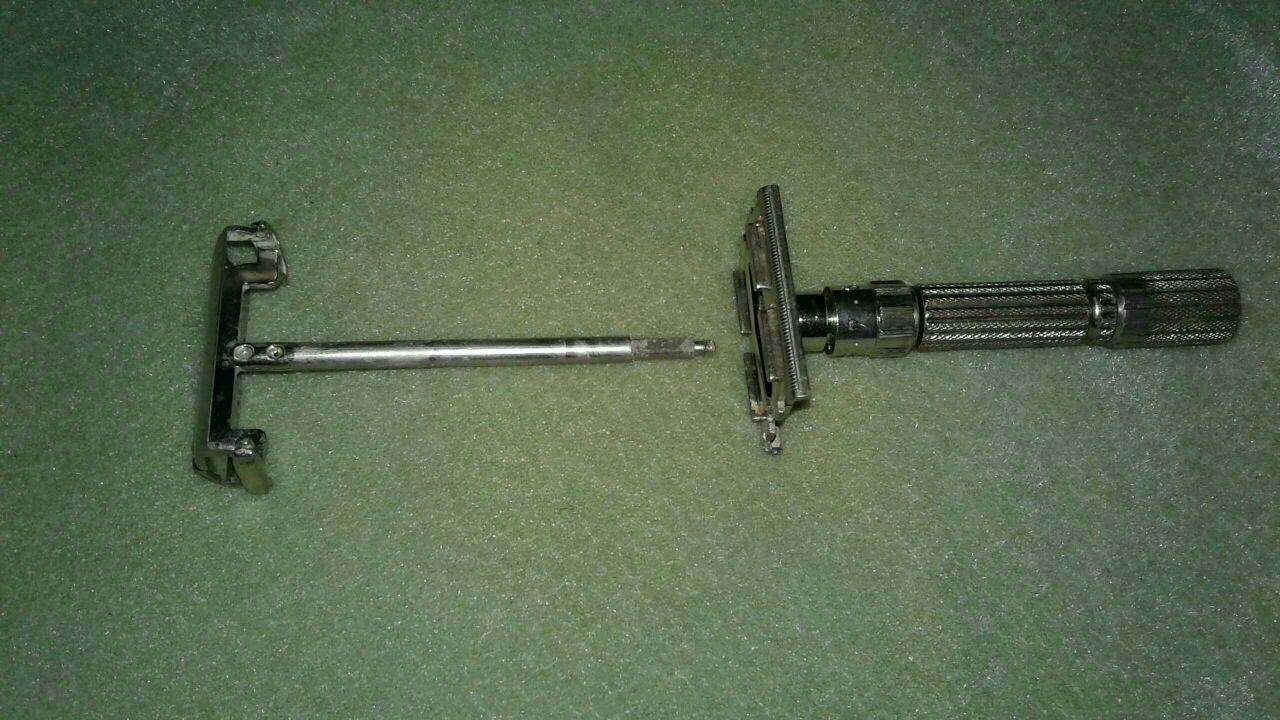
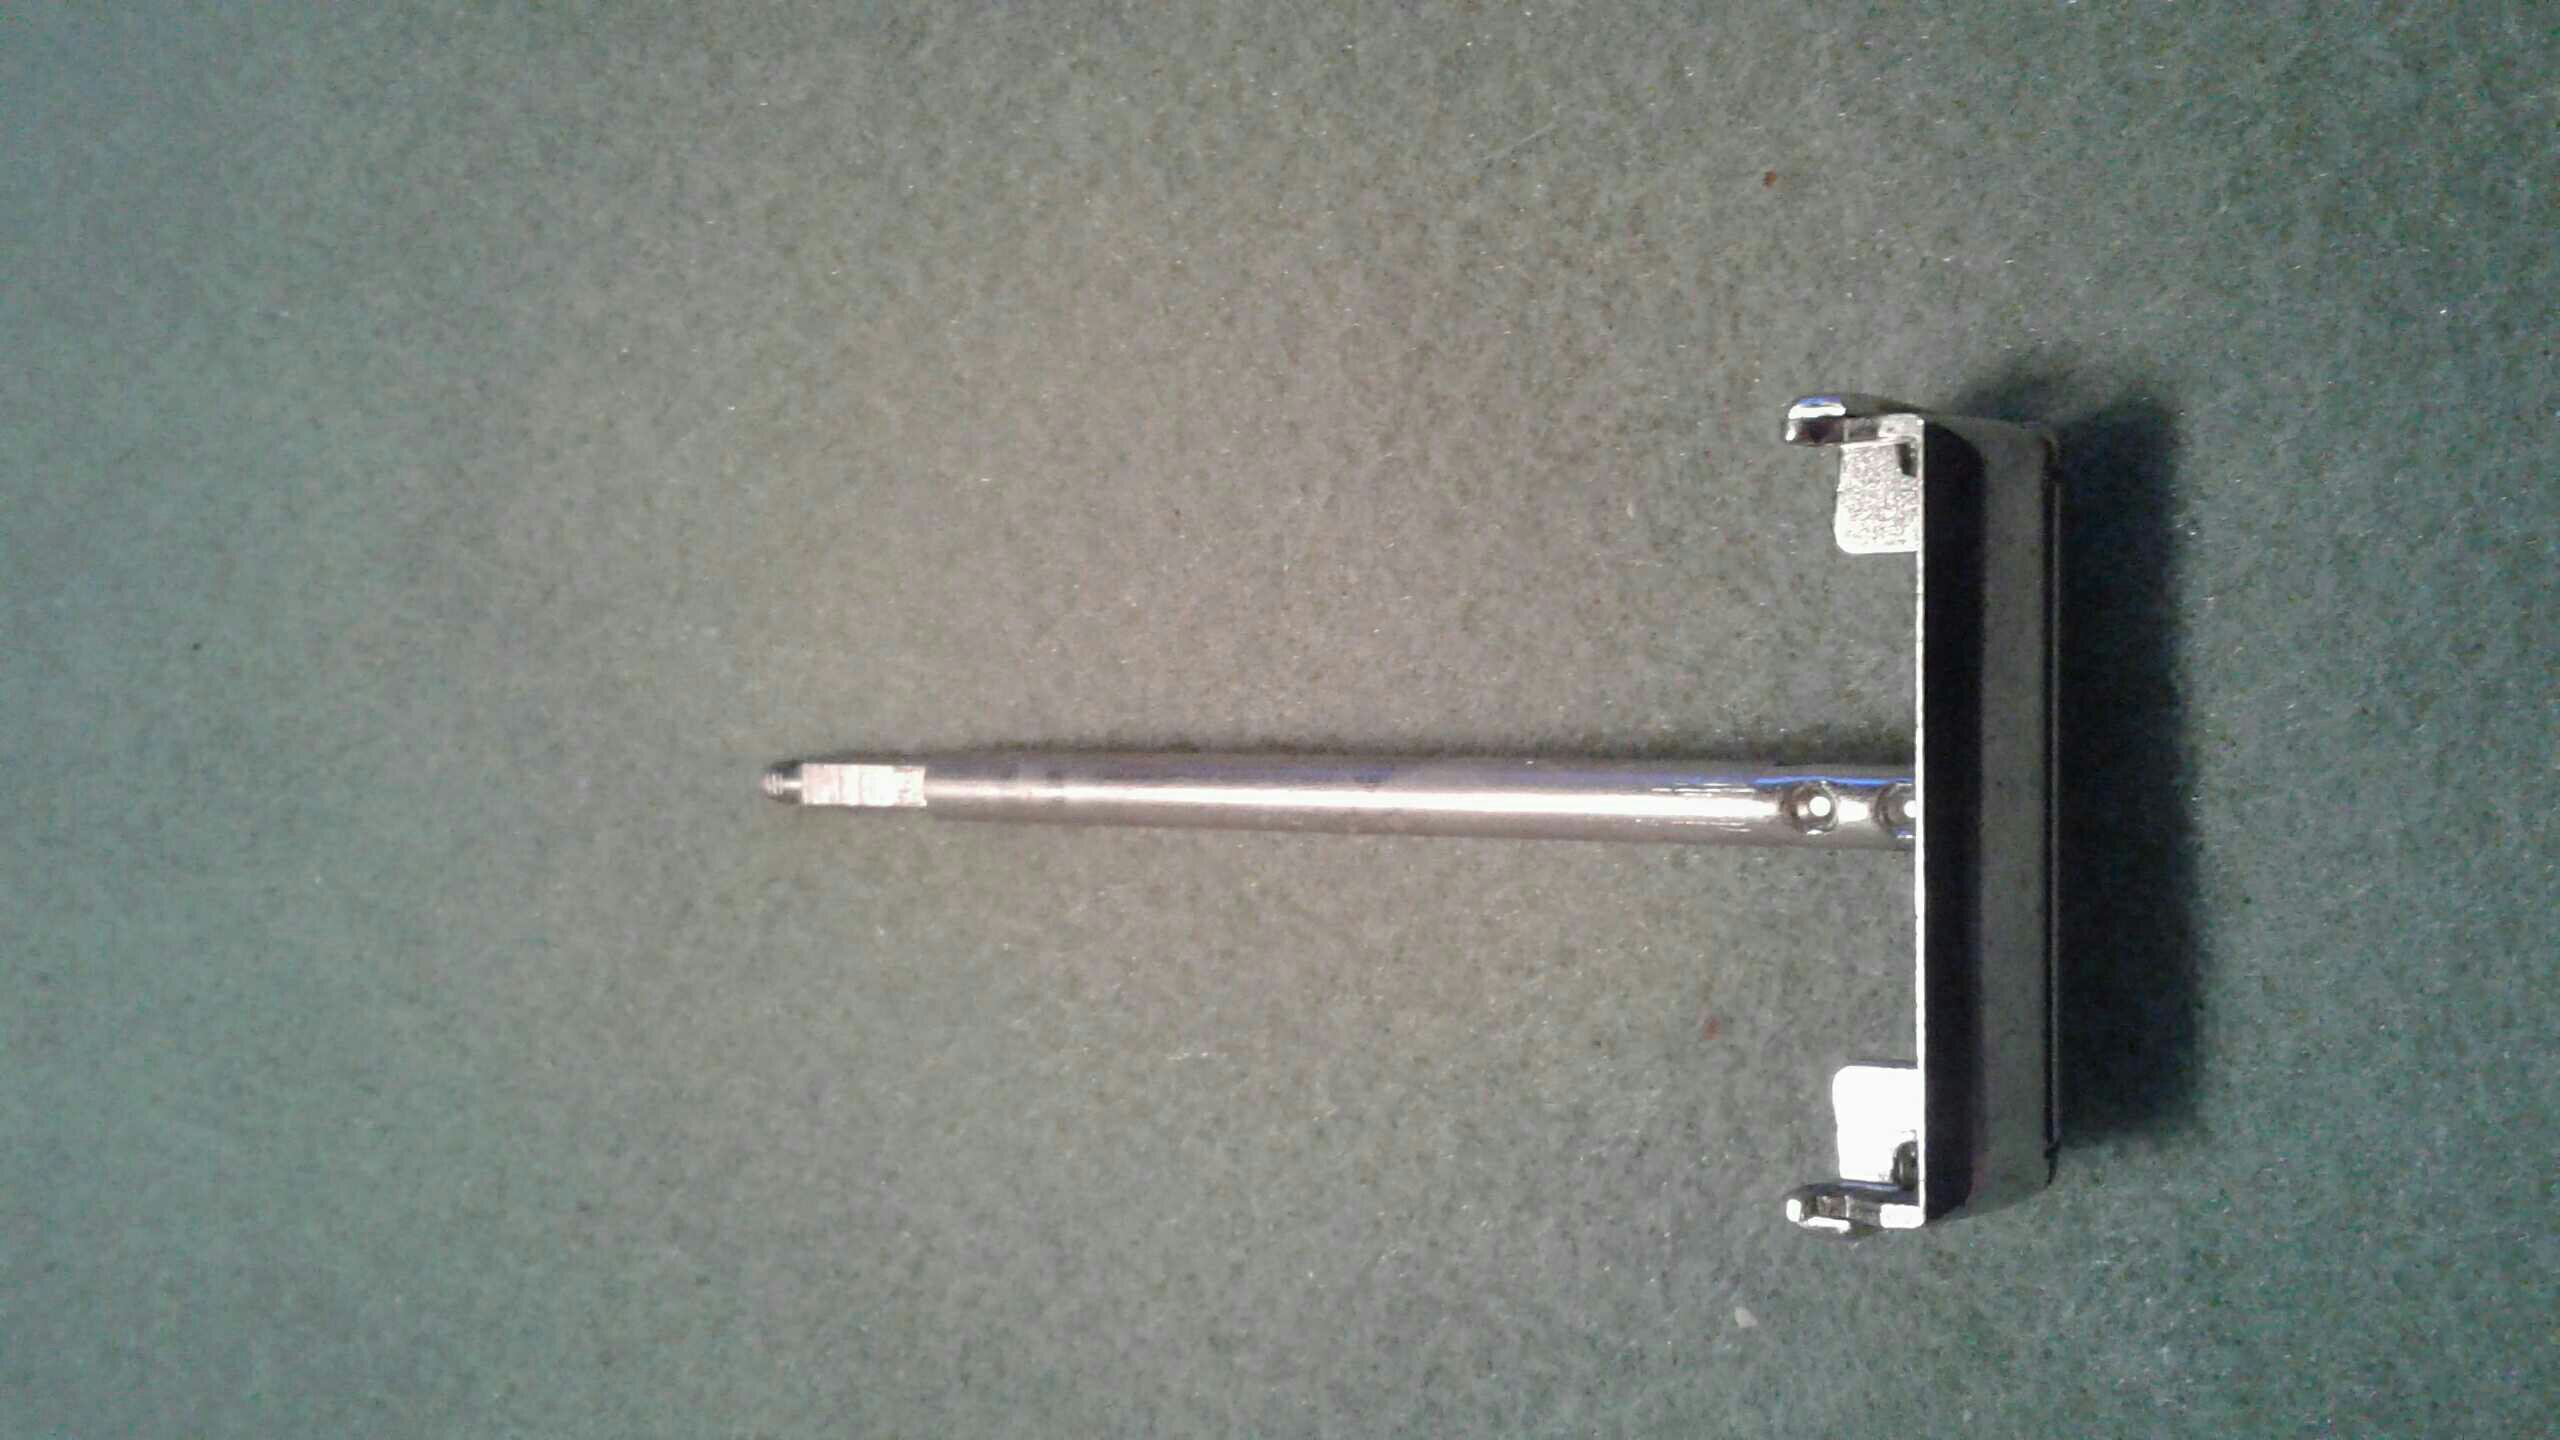
Here she is after tearing off the padded envelope.
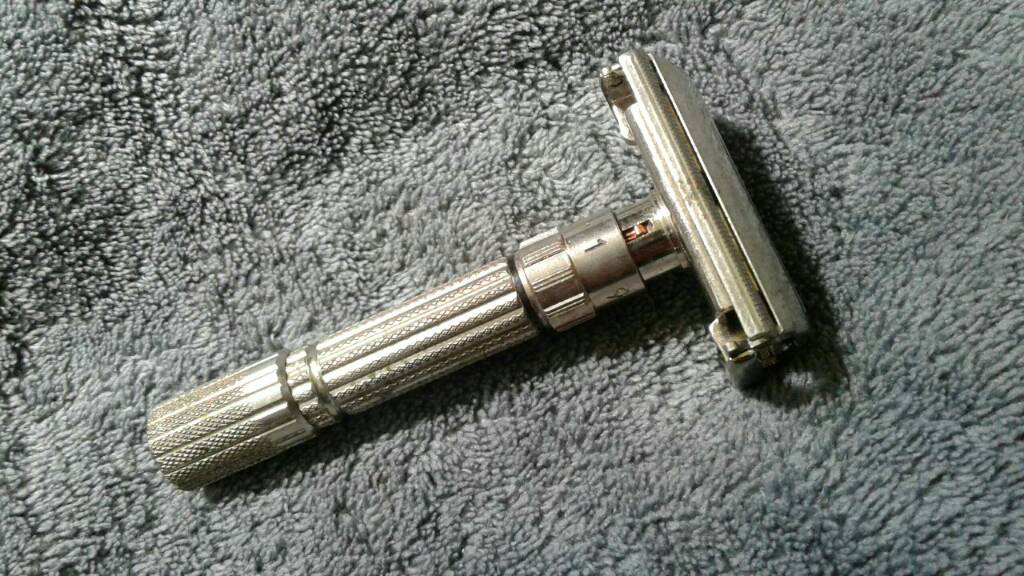
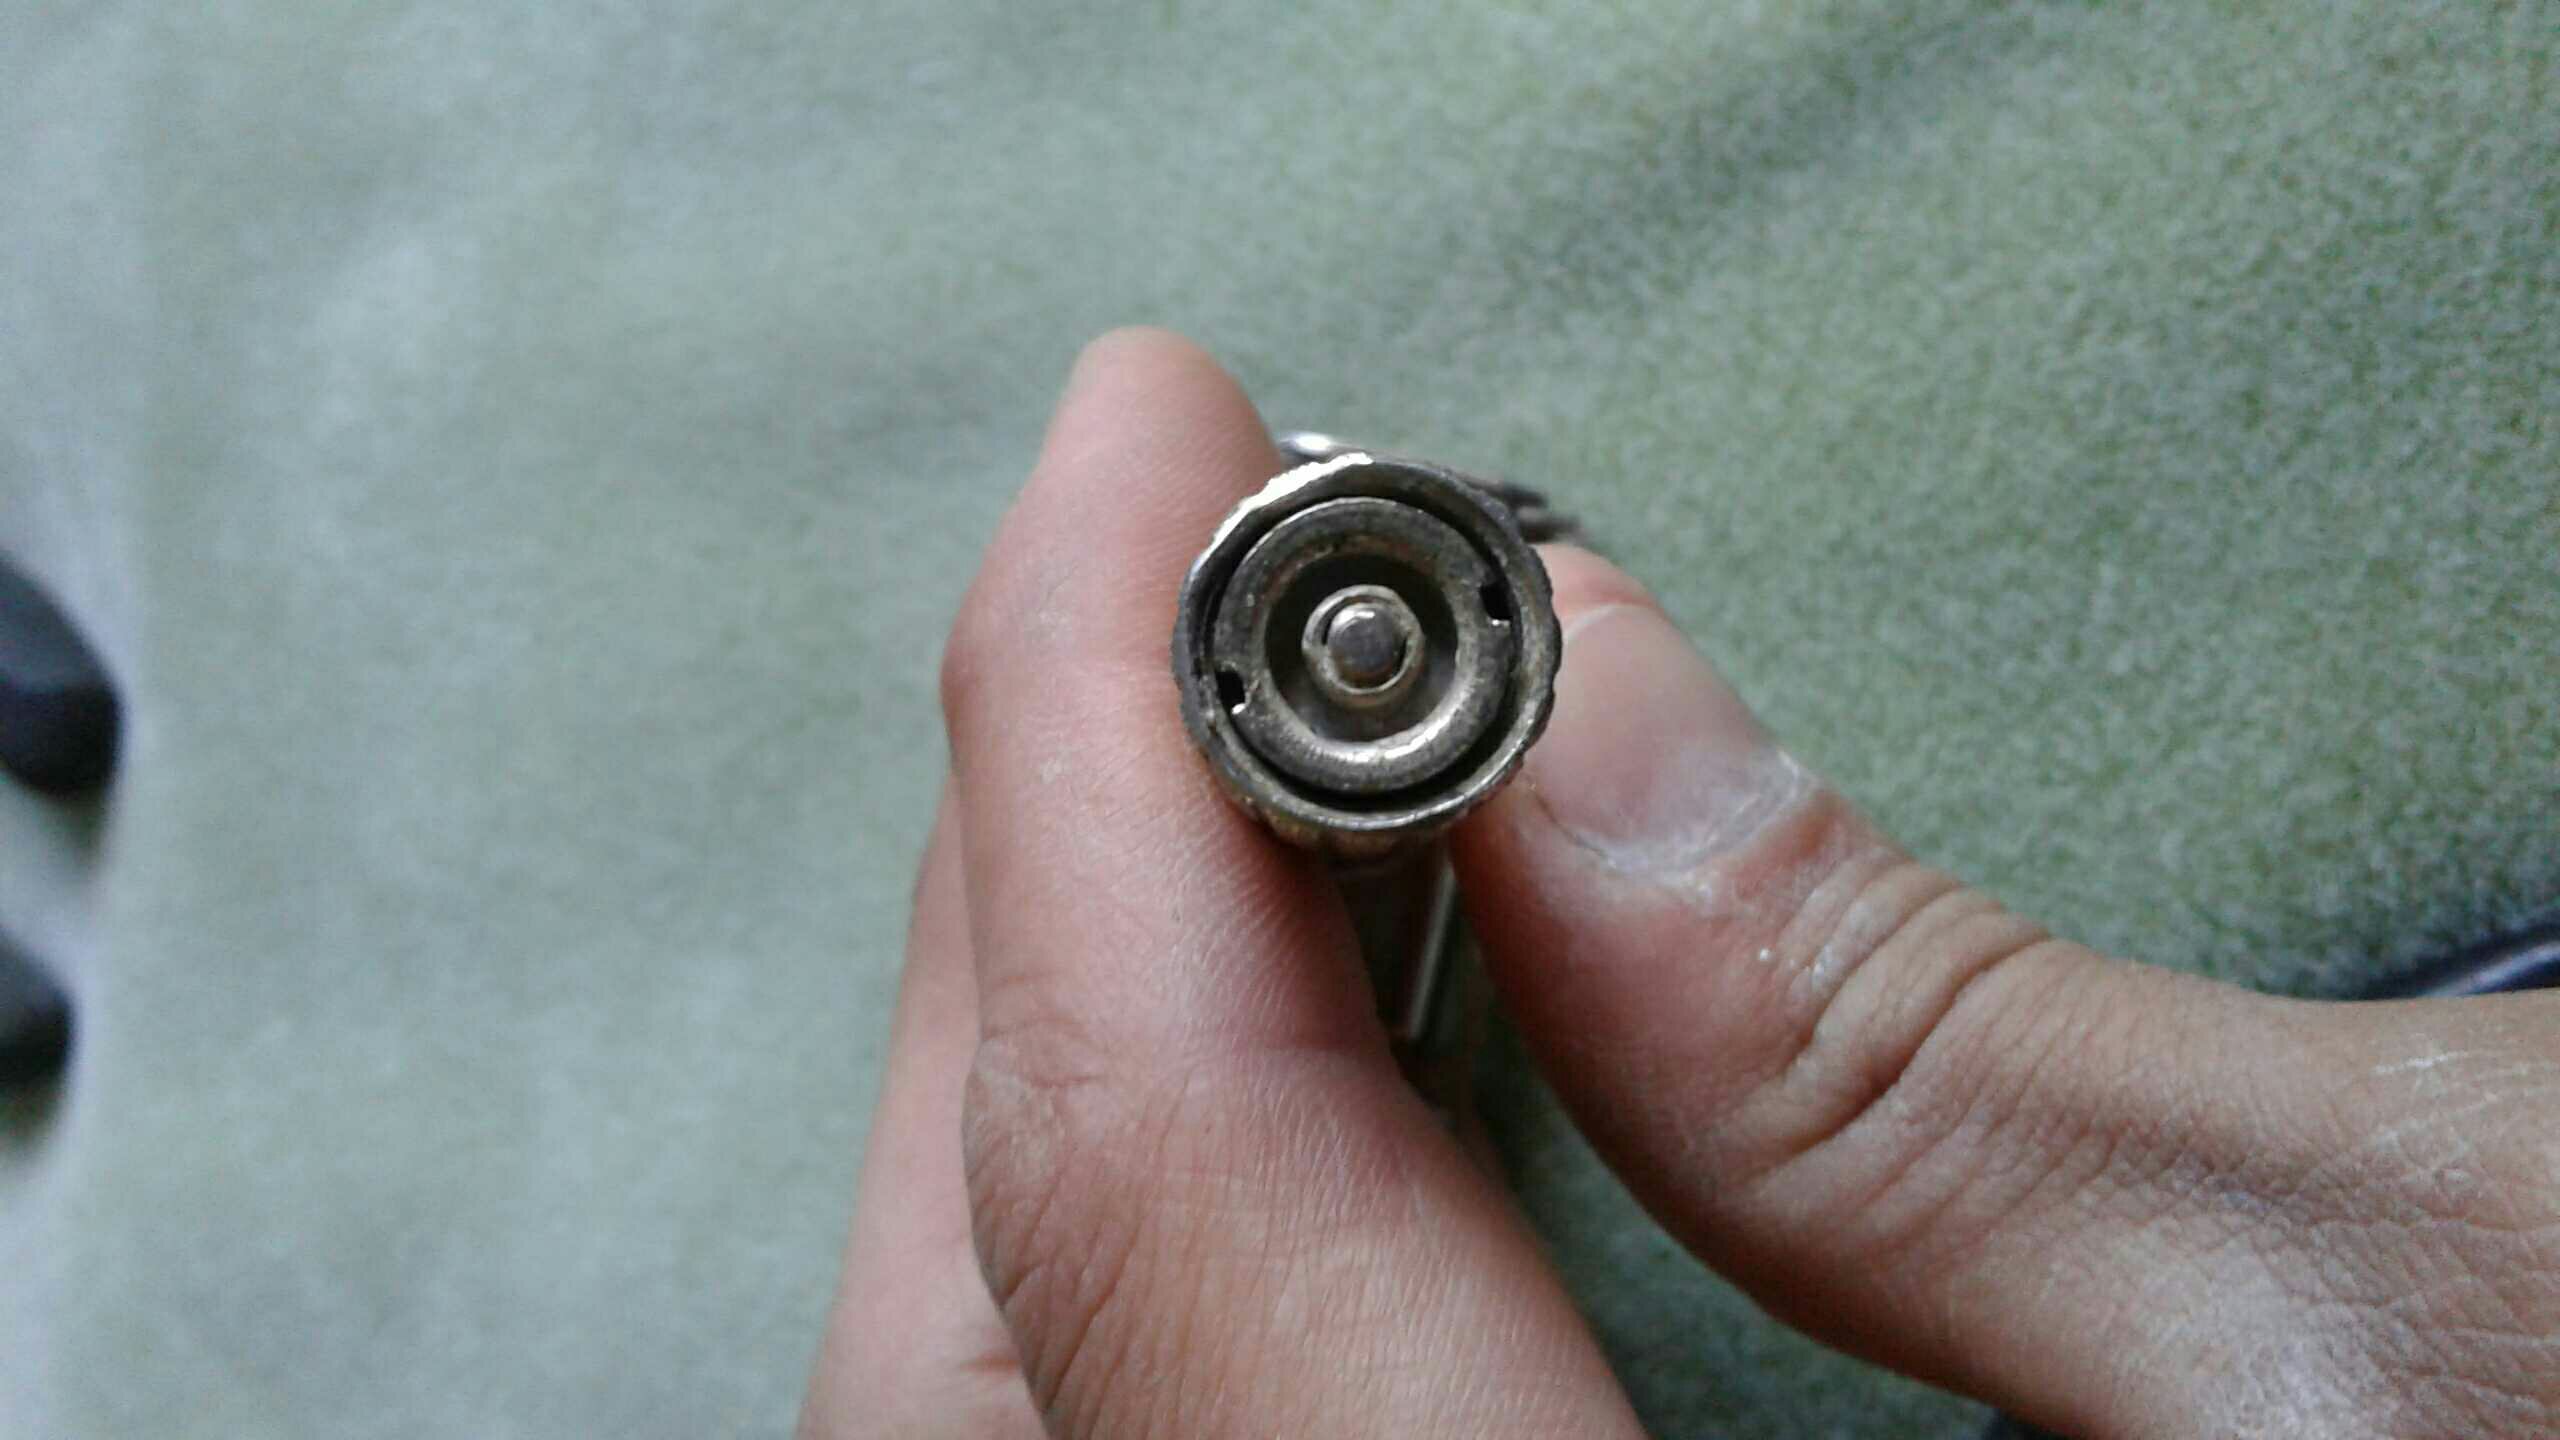
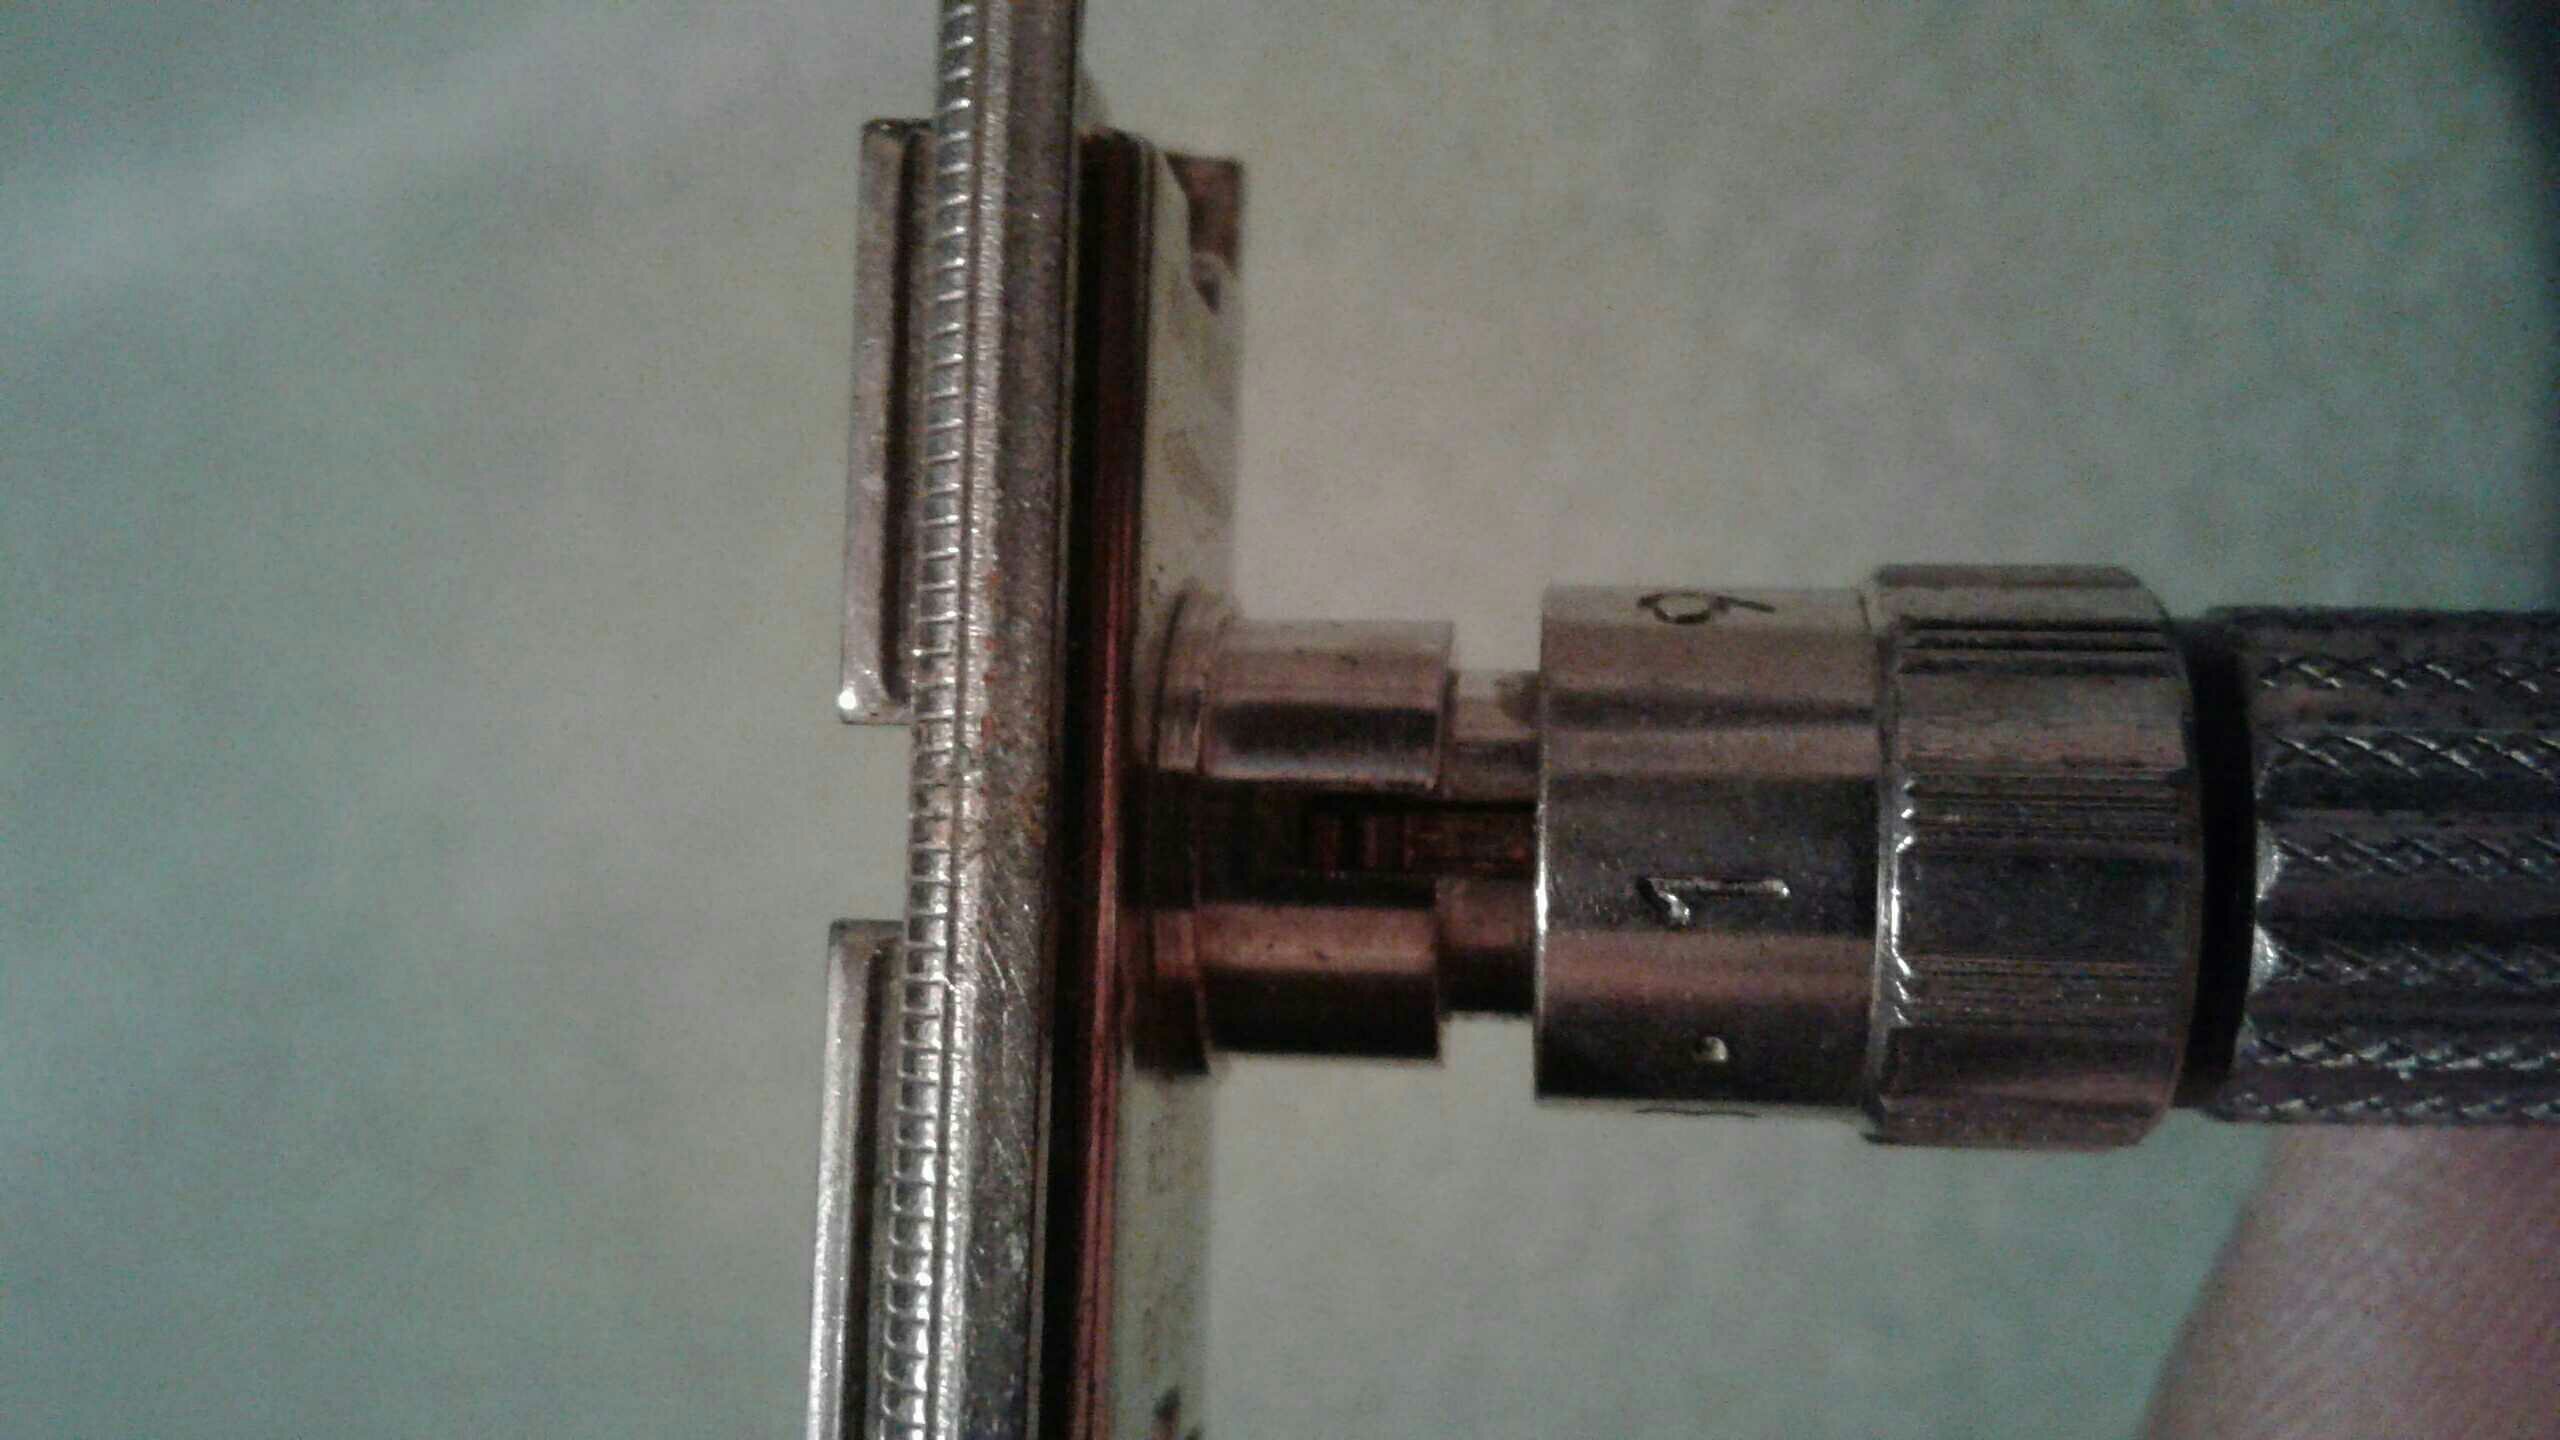
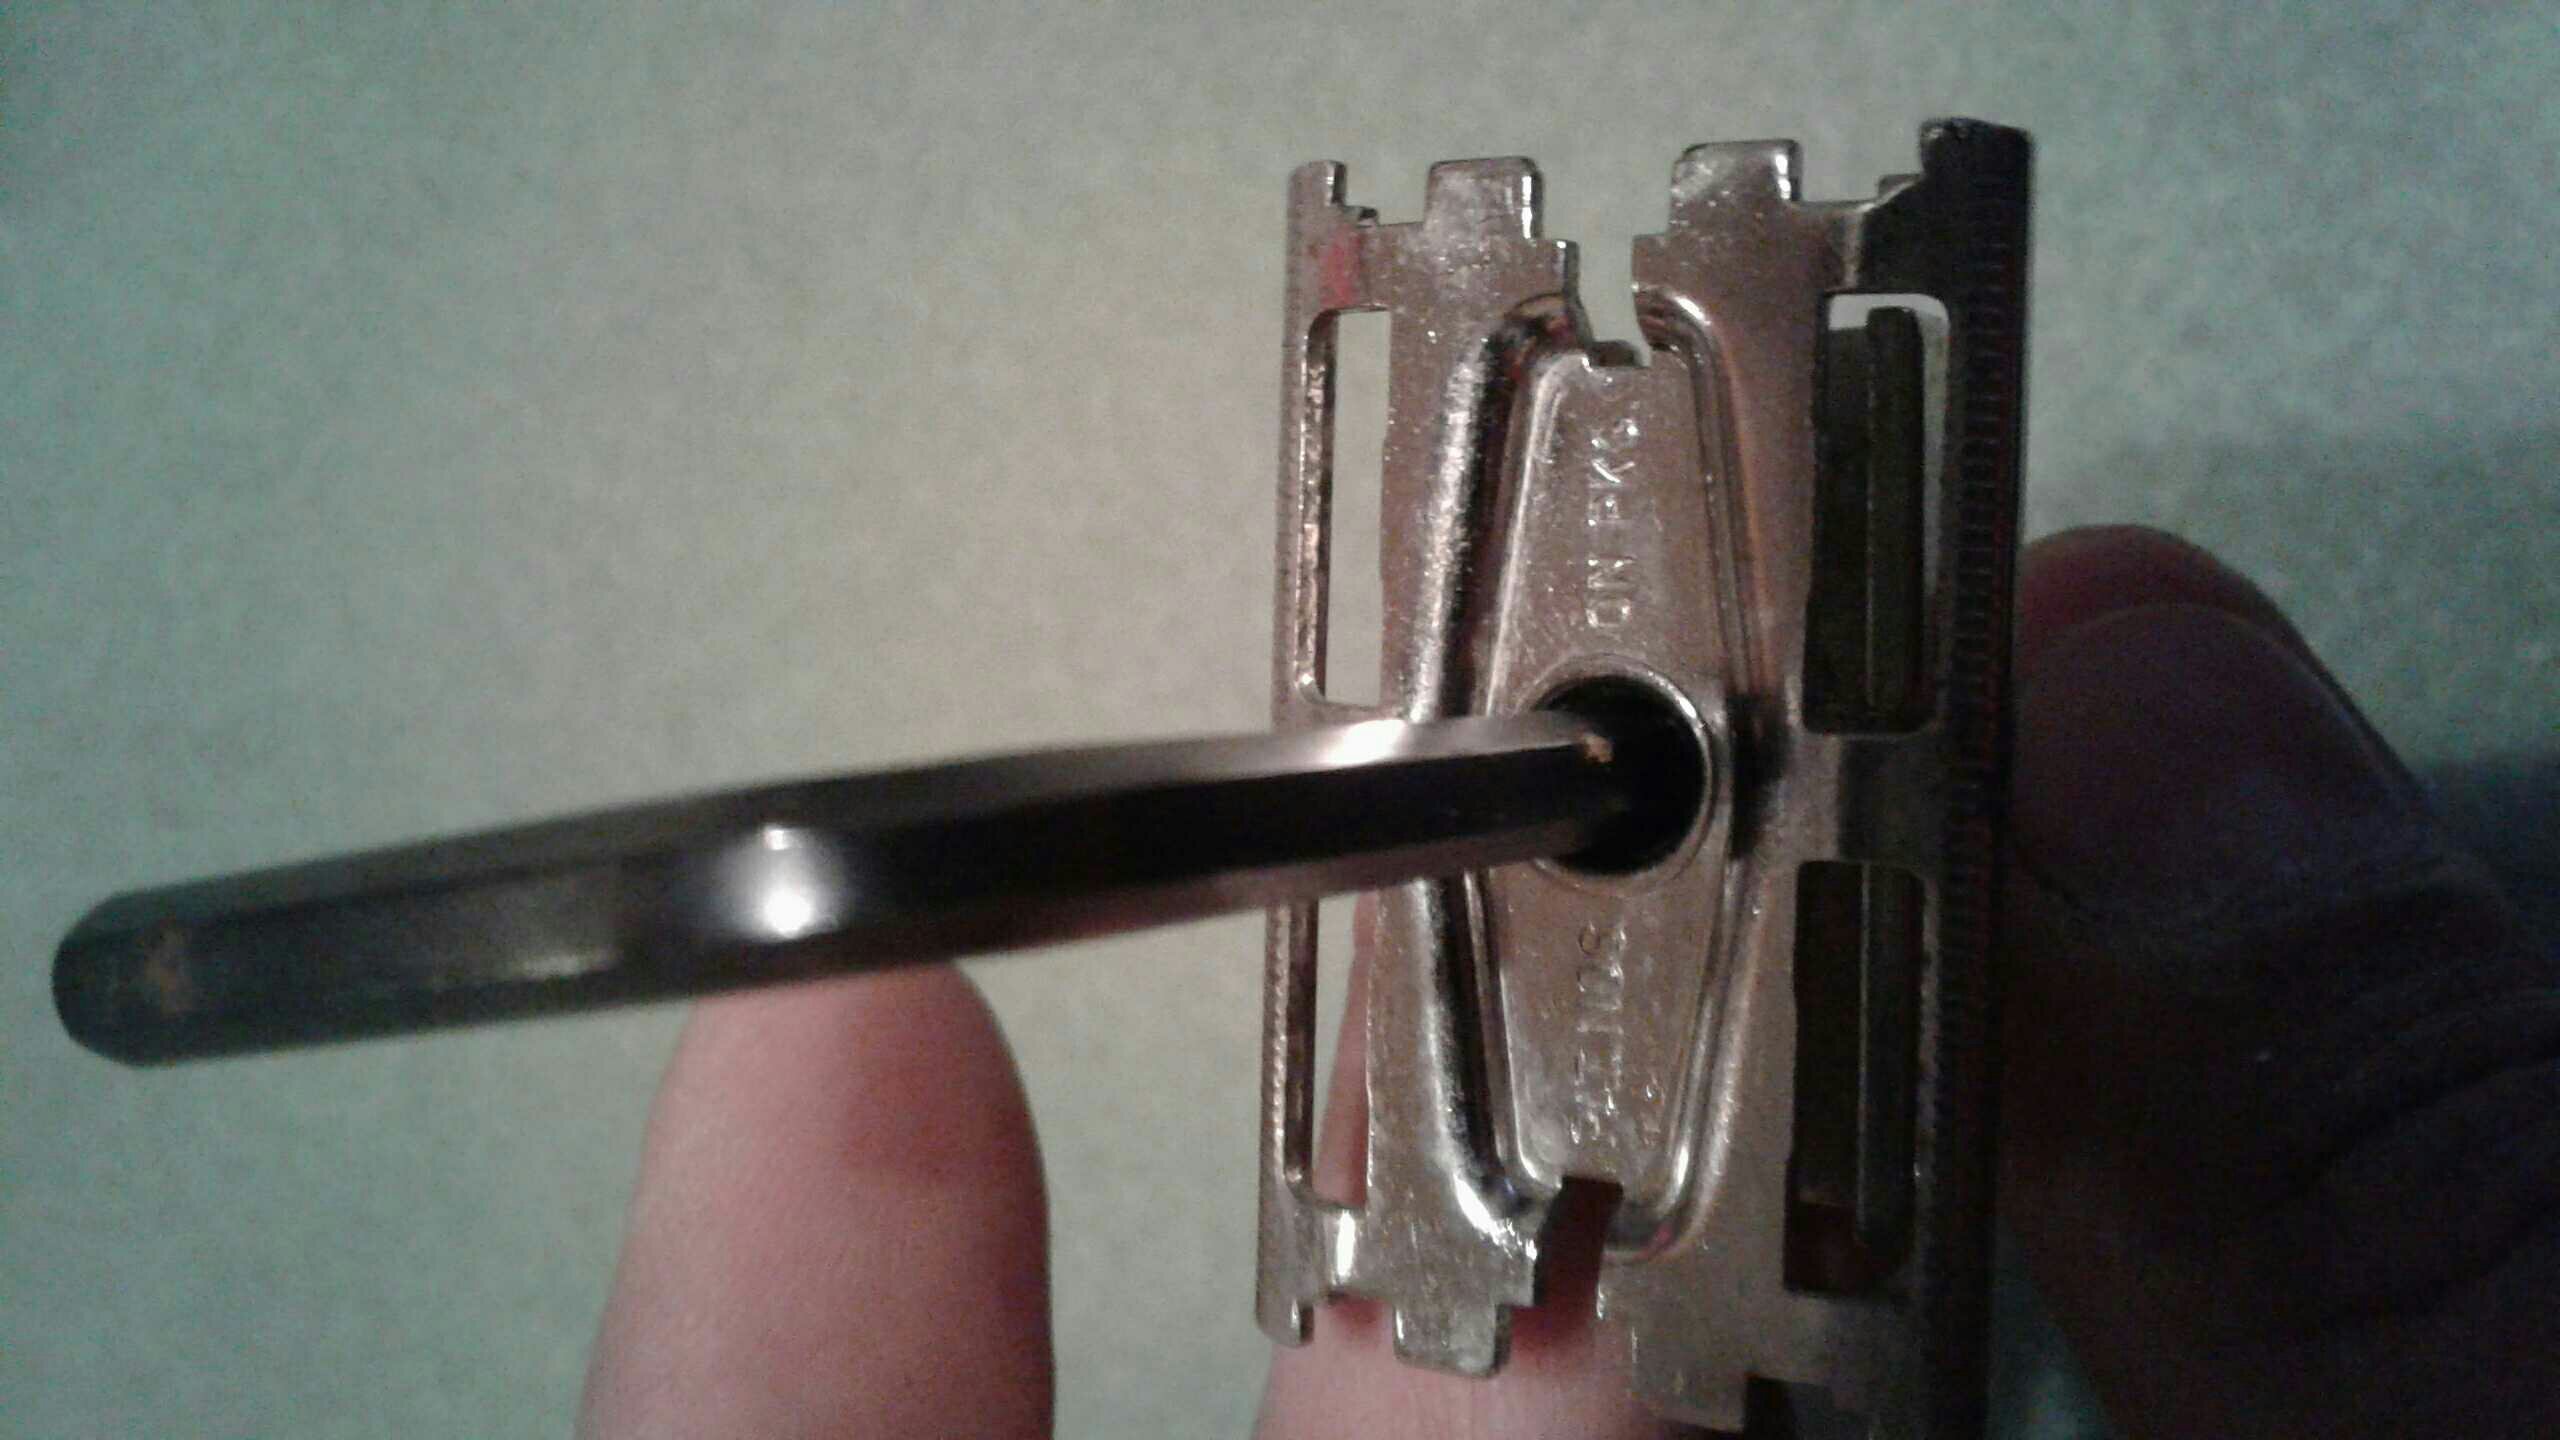
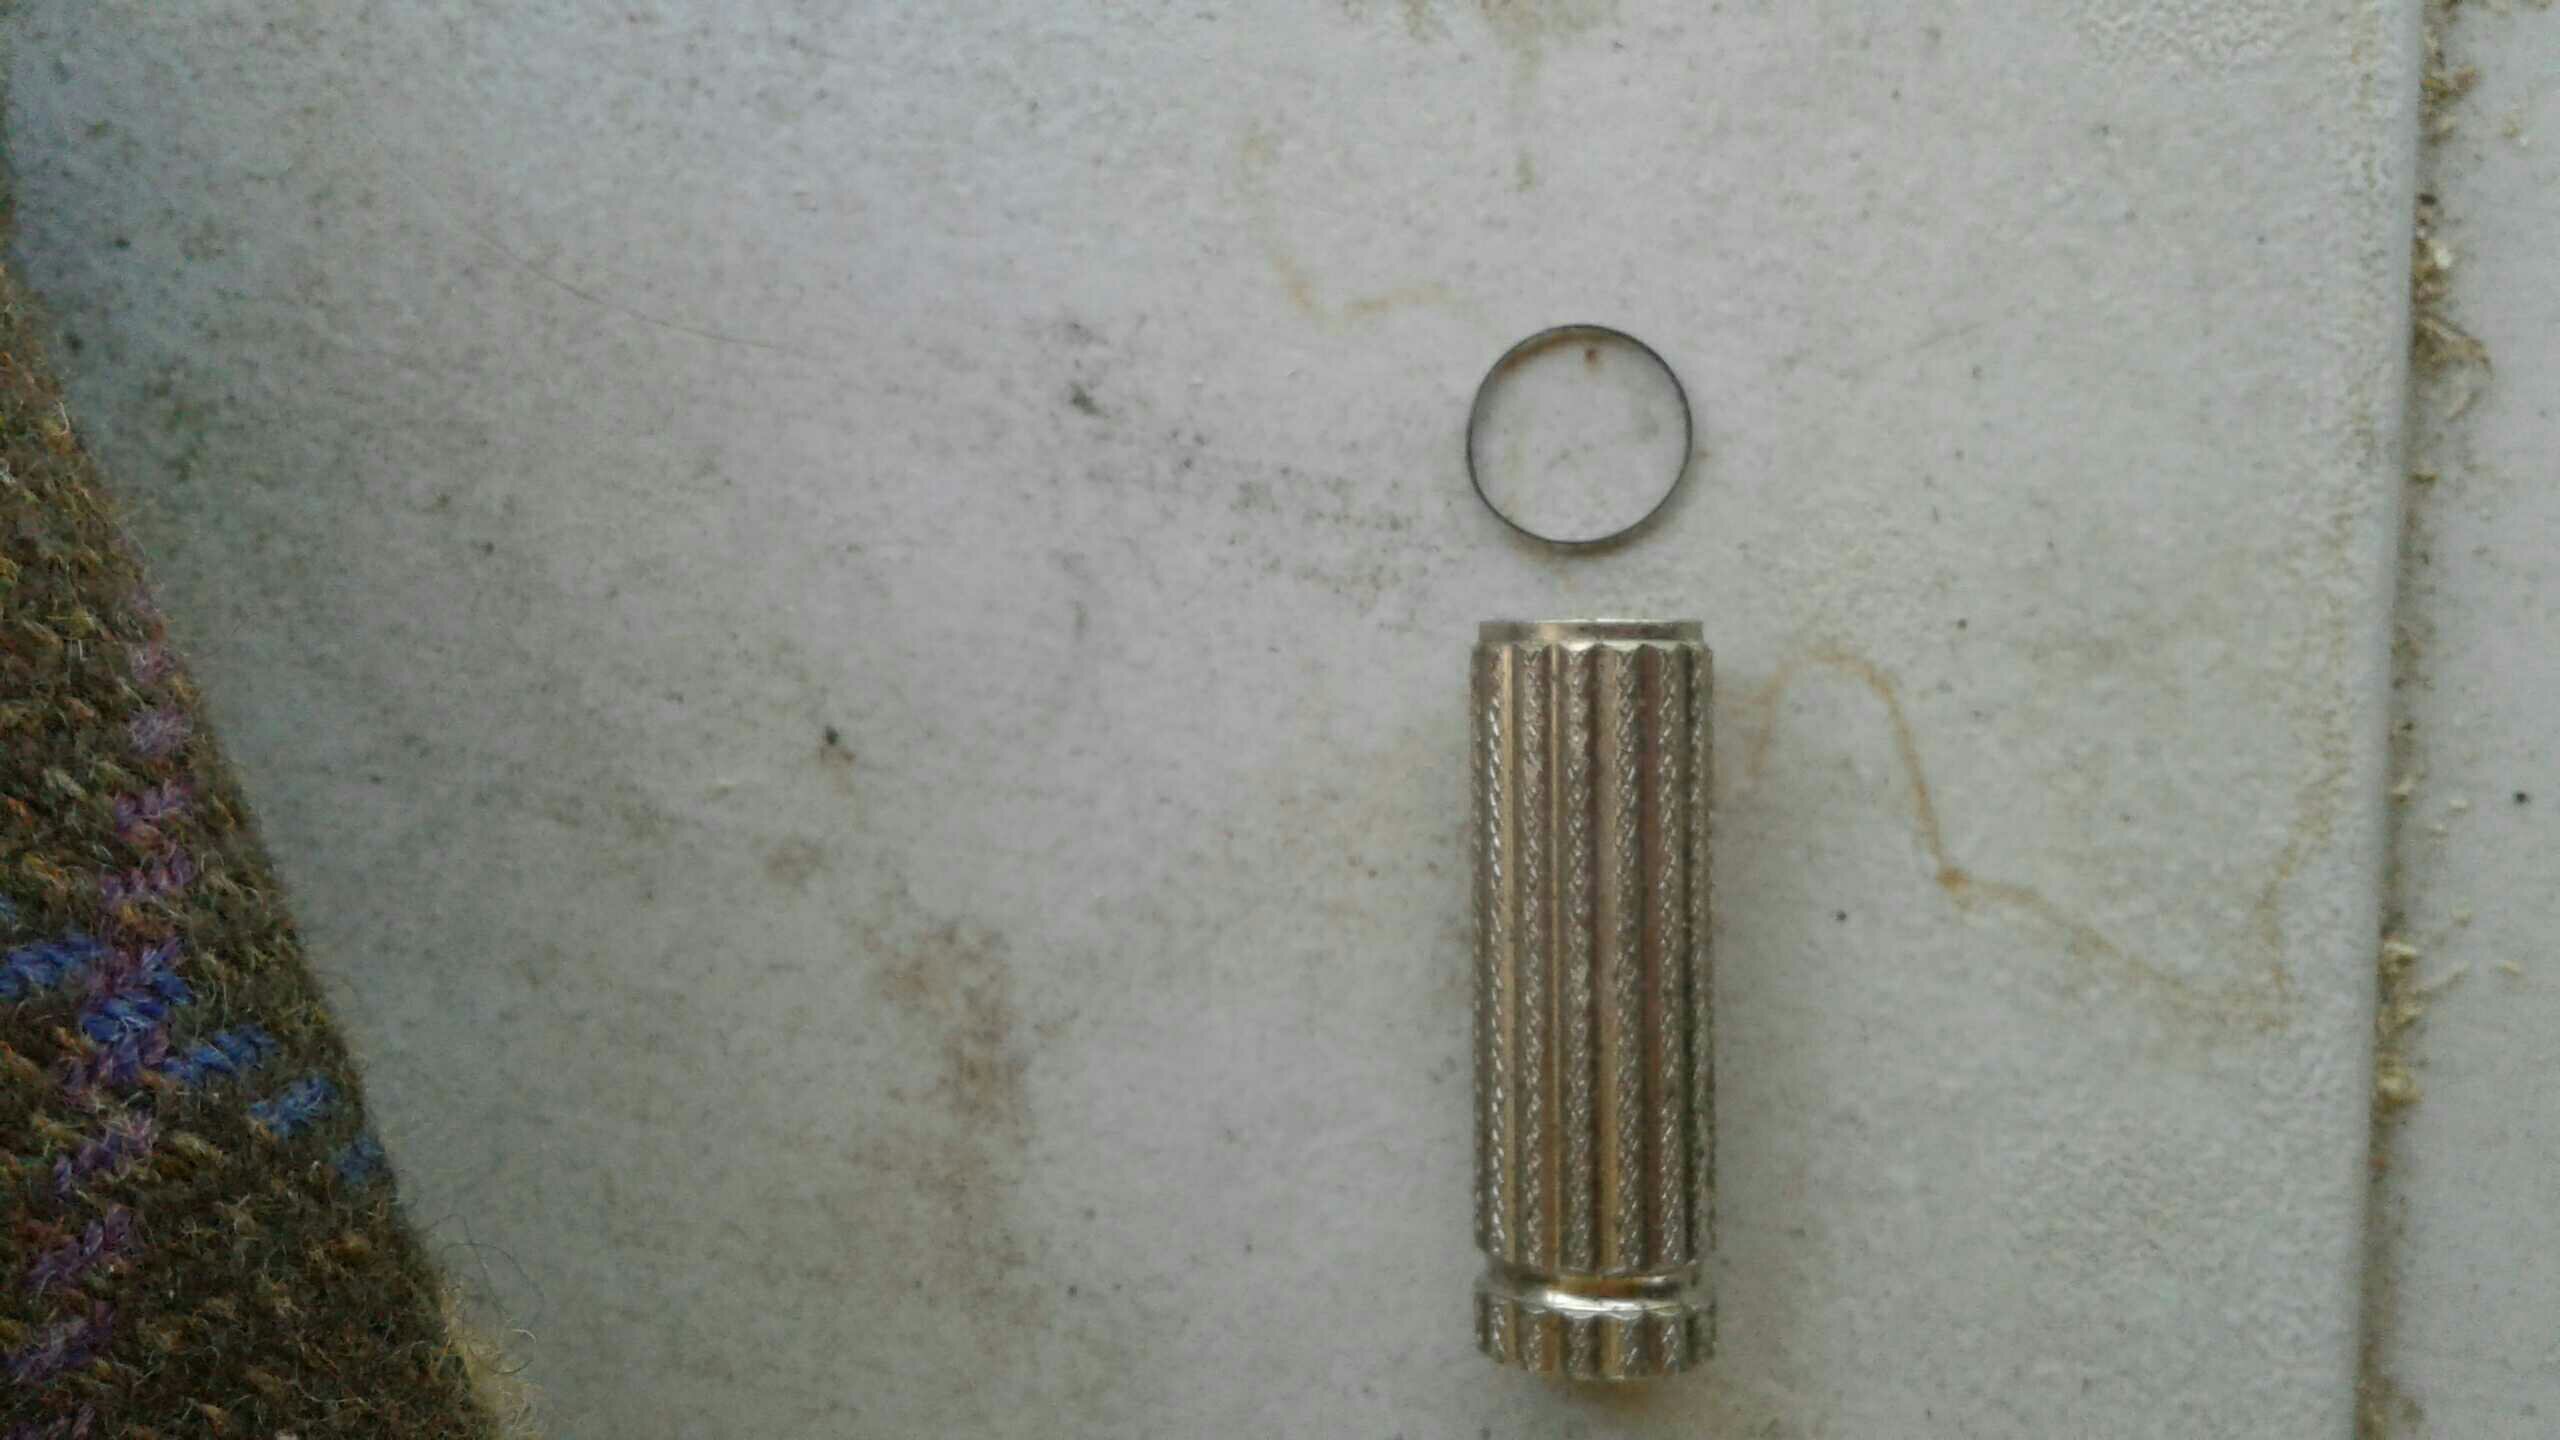
As I said, this is a 1959 Fatty, so it has the unscrewable end cap. There ARE instructions for the later models to be found on this site.
How To: Late Fatboy and Slim disassembly
I will NOT be doing one of those, and from what I understand, it is more difficult. As always, what you do with your razors is none of my business, so I am not responsible for anything that happens. That being said, if you need help with your razor and I CAN help, I will. Just ask me.
Here we go.
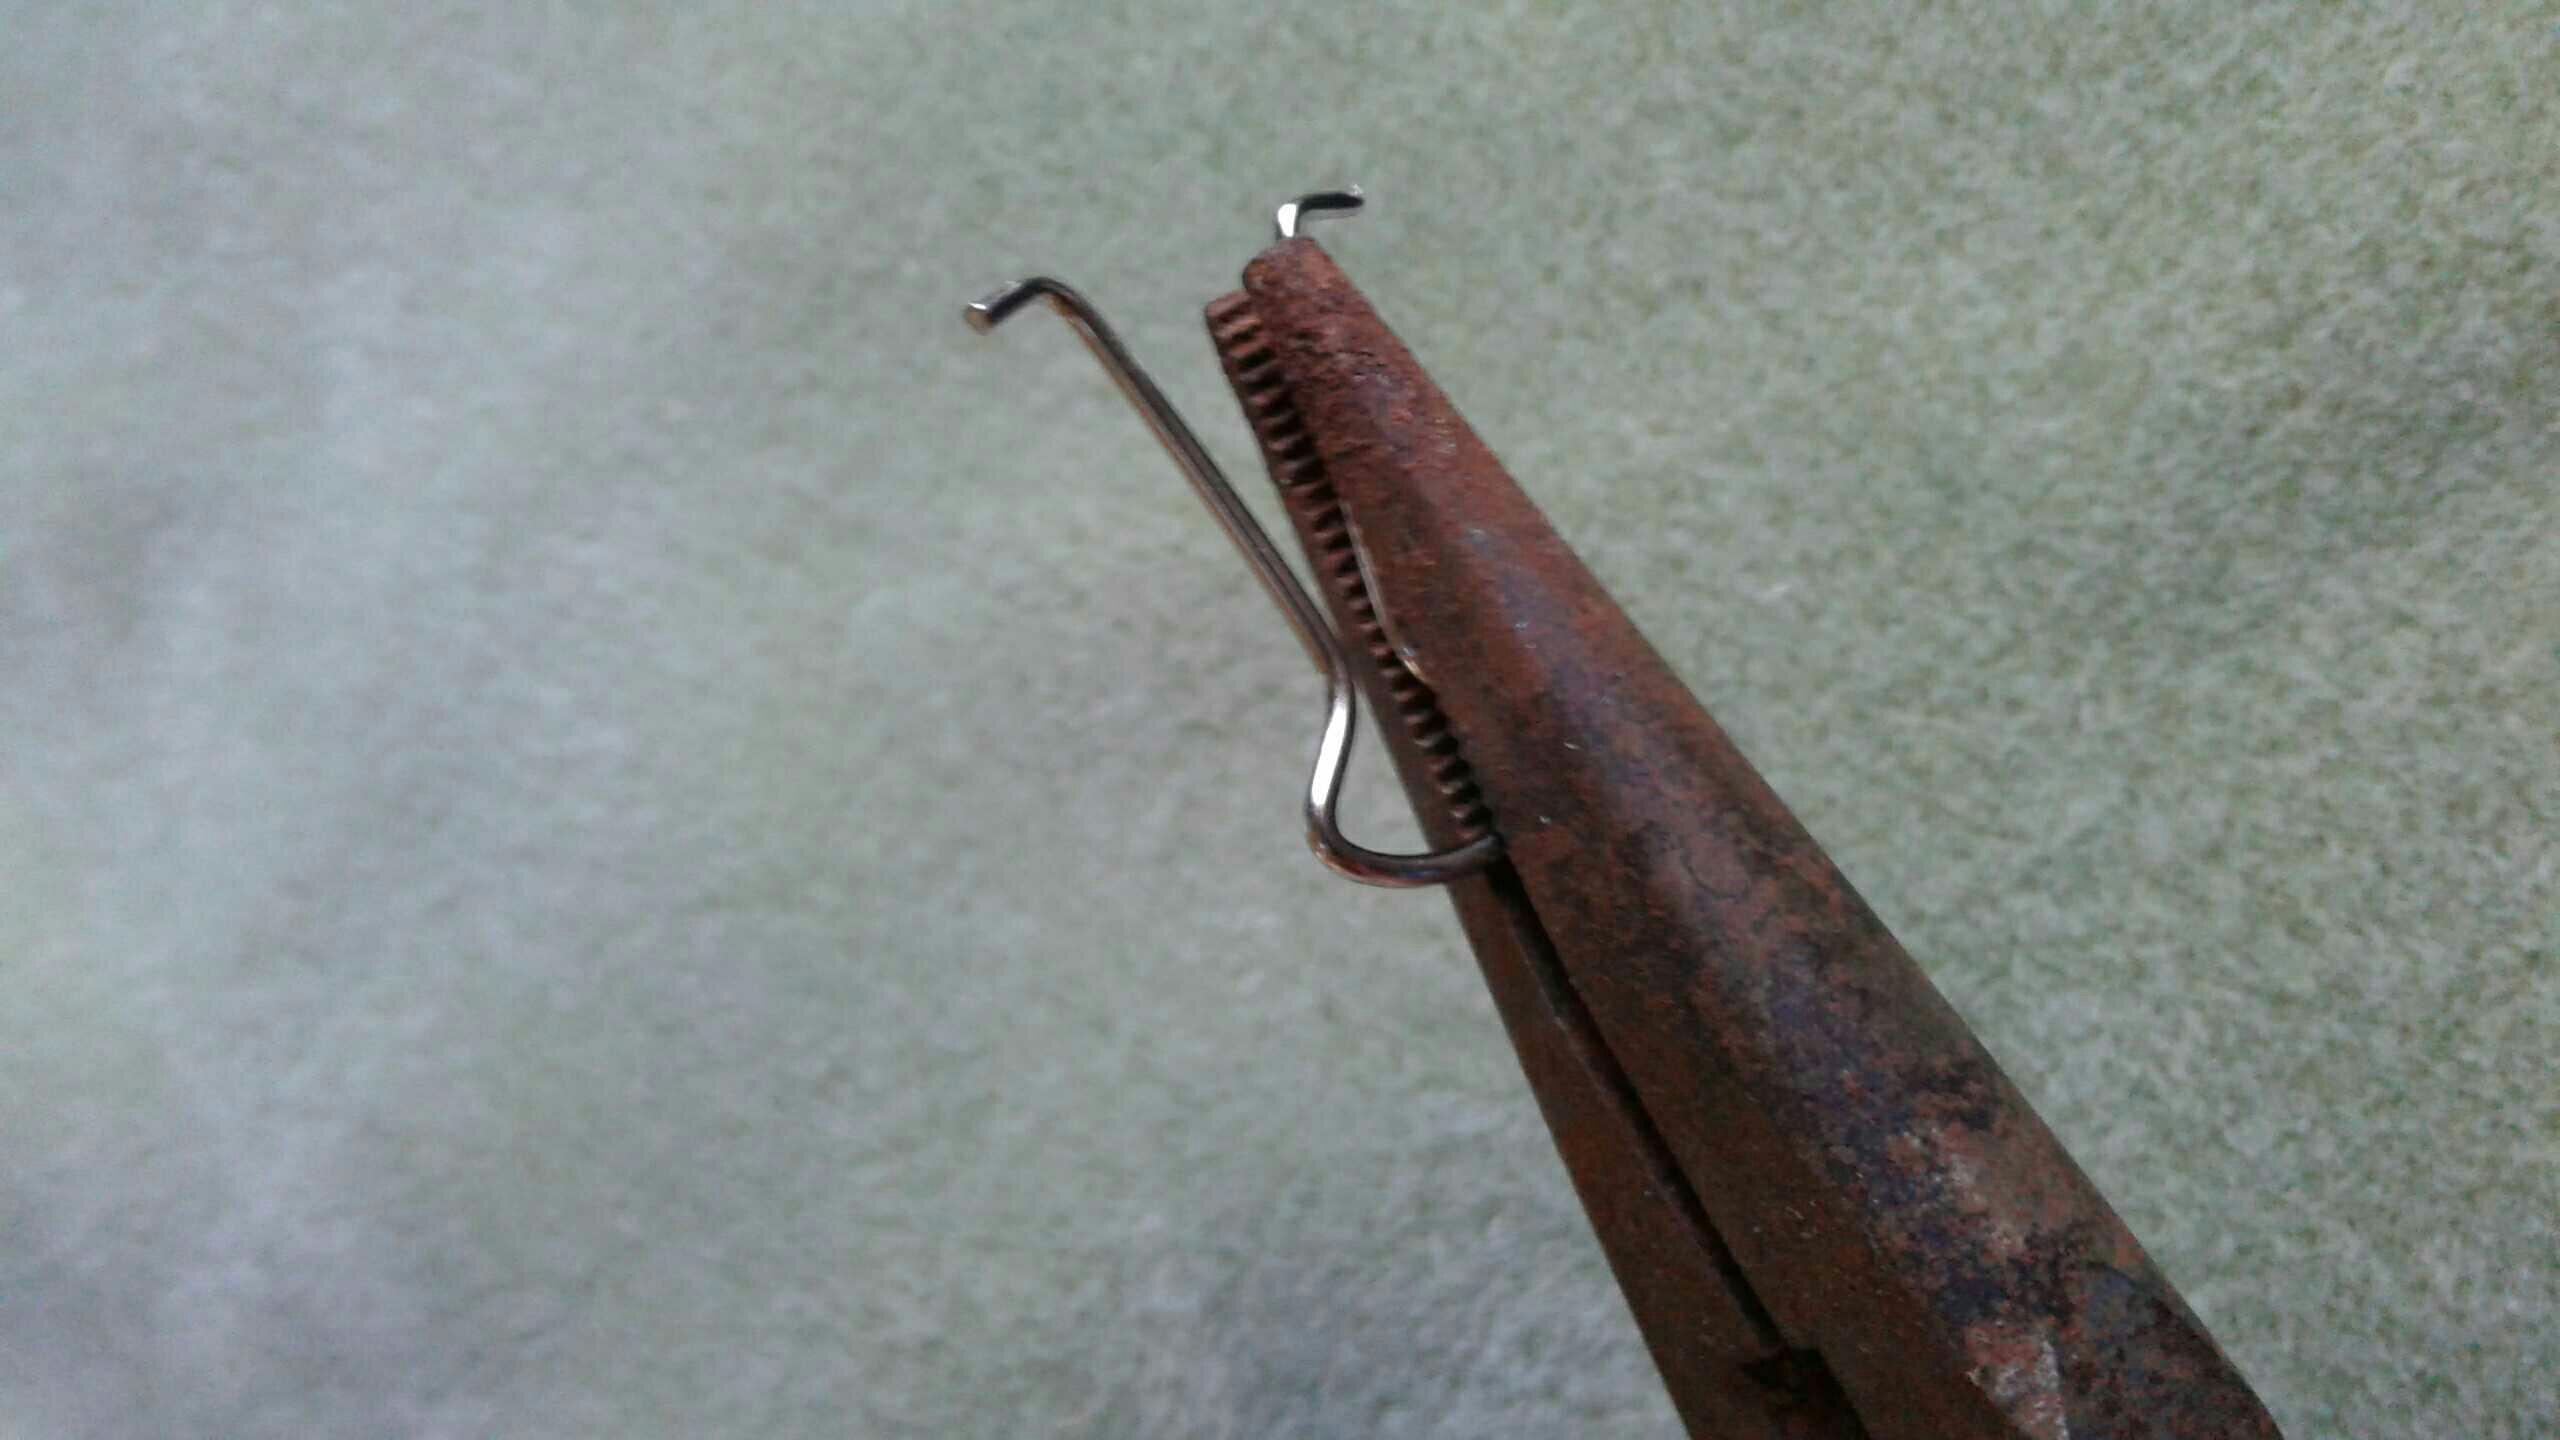
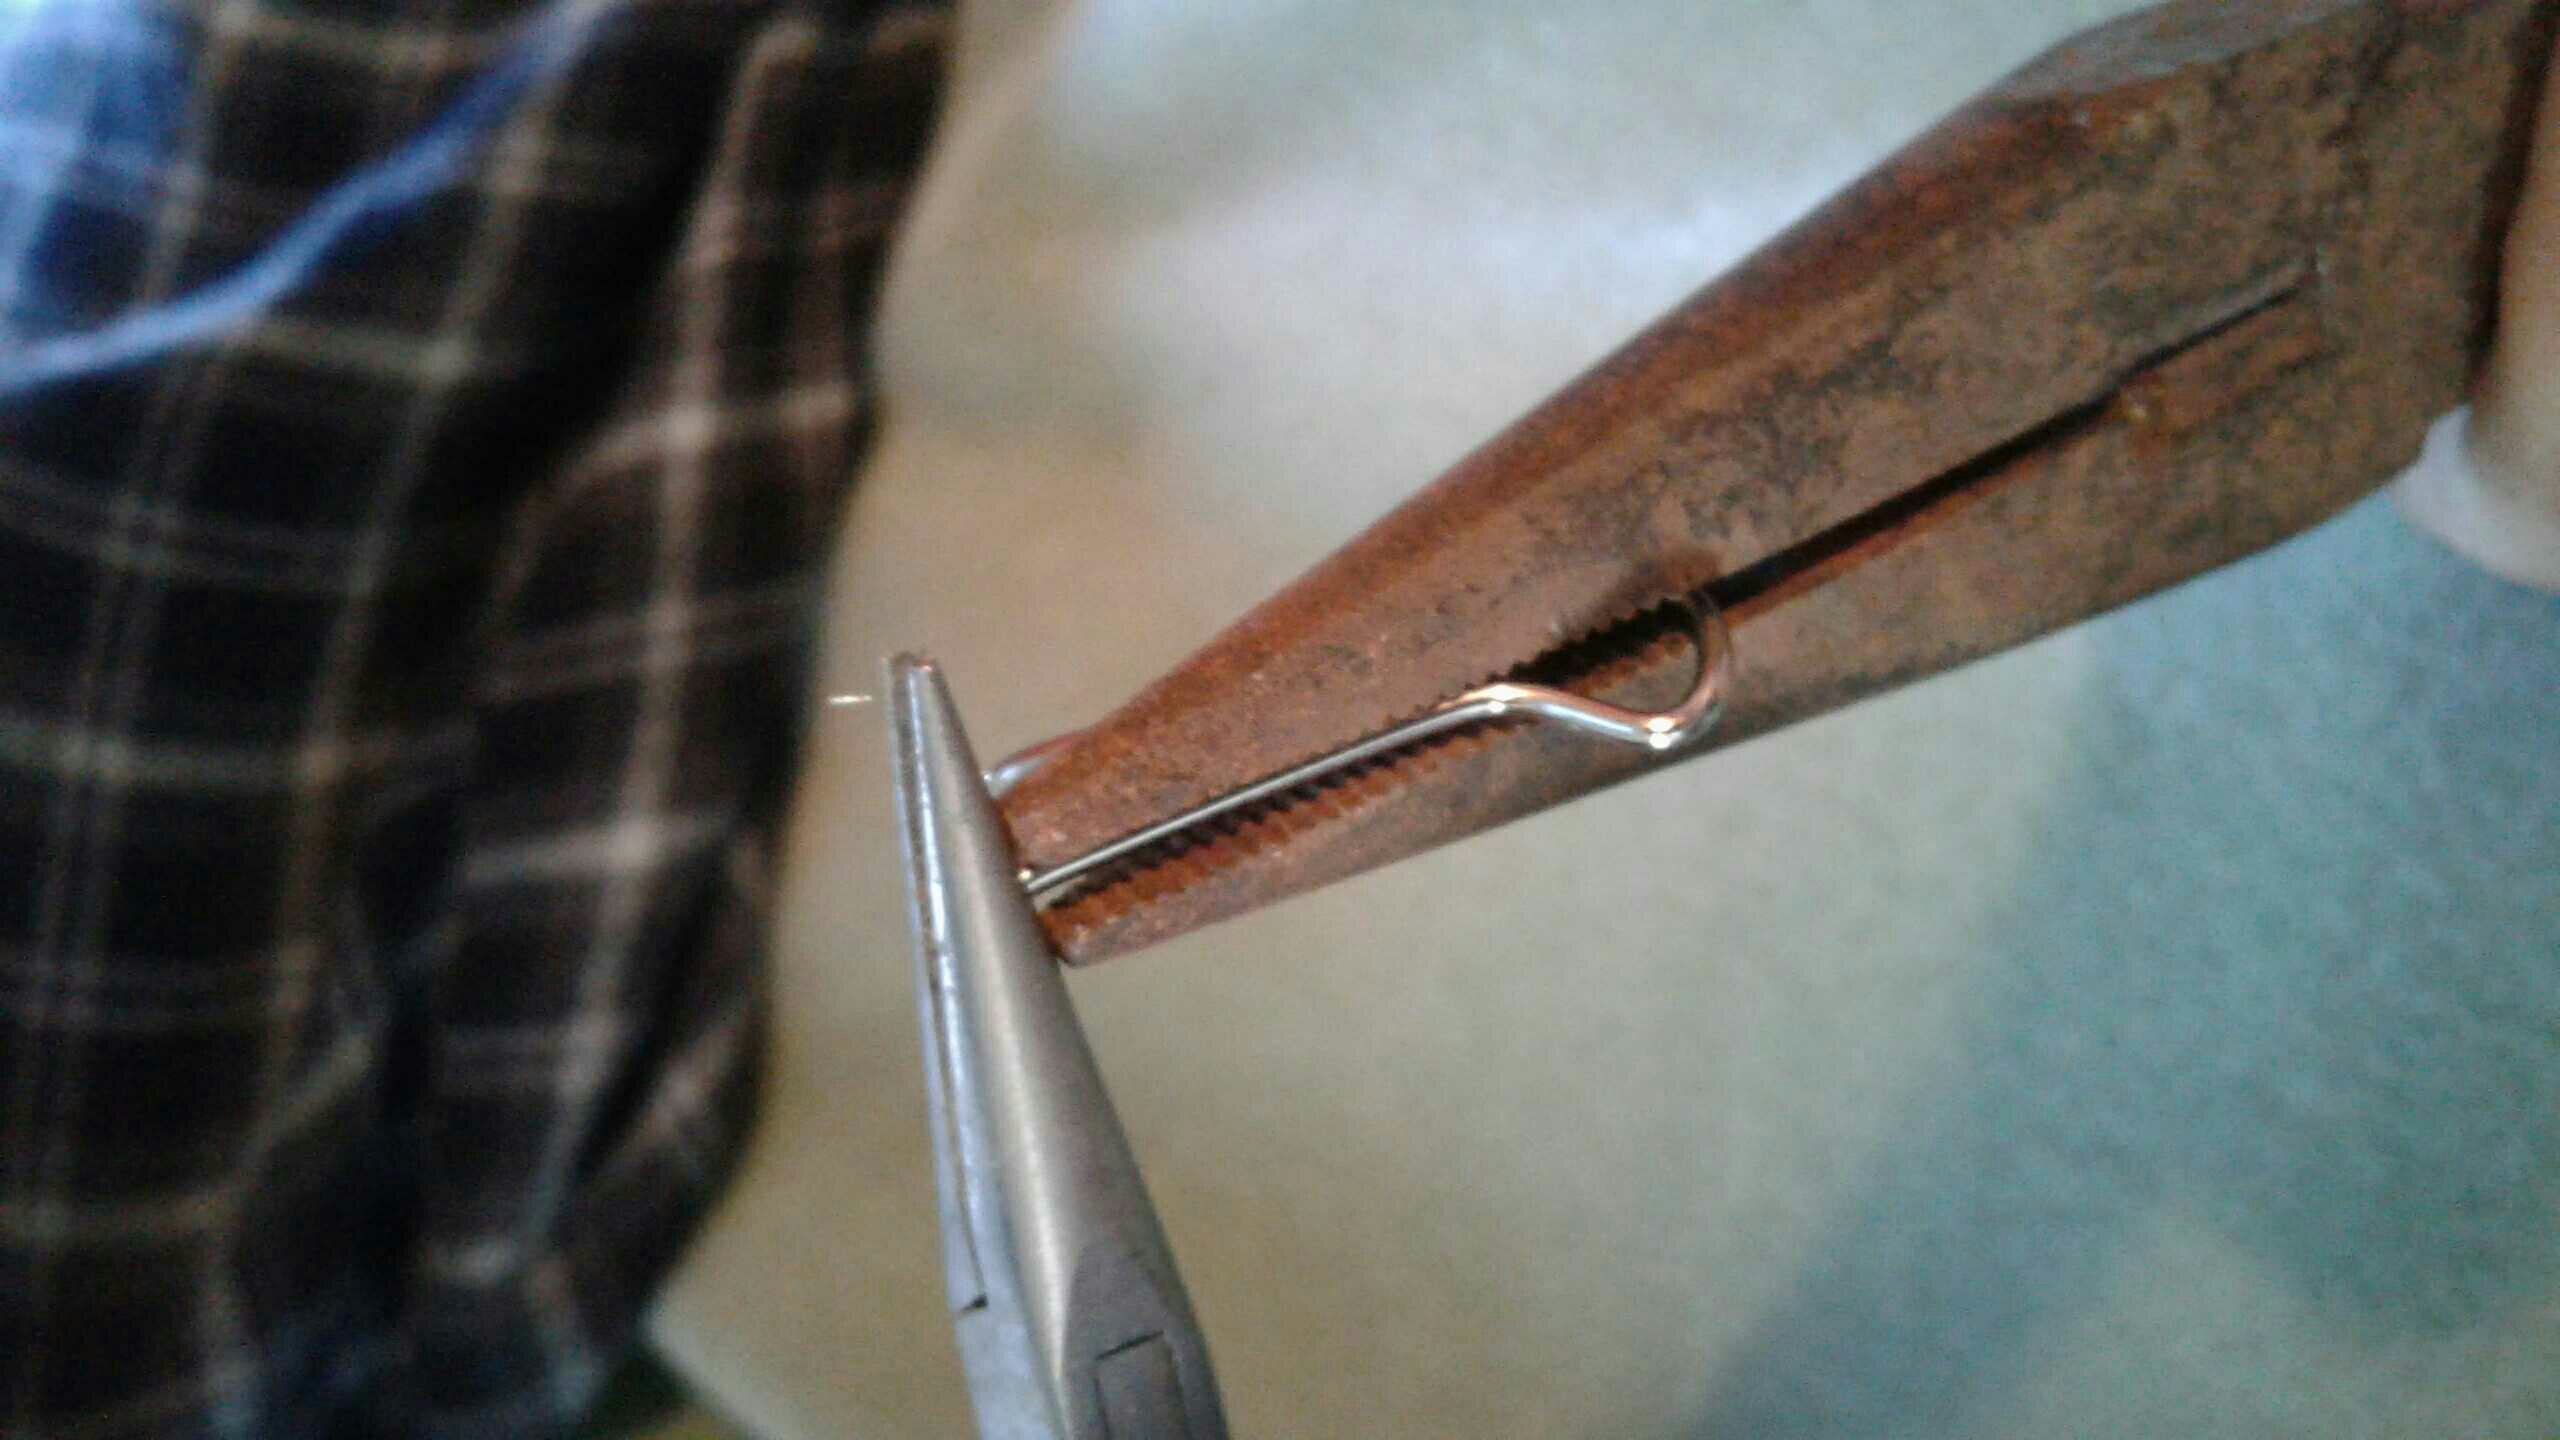
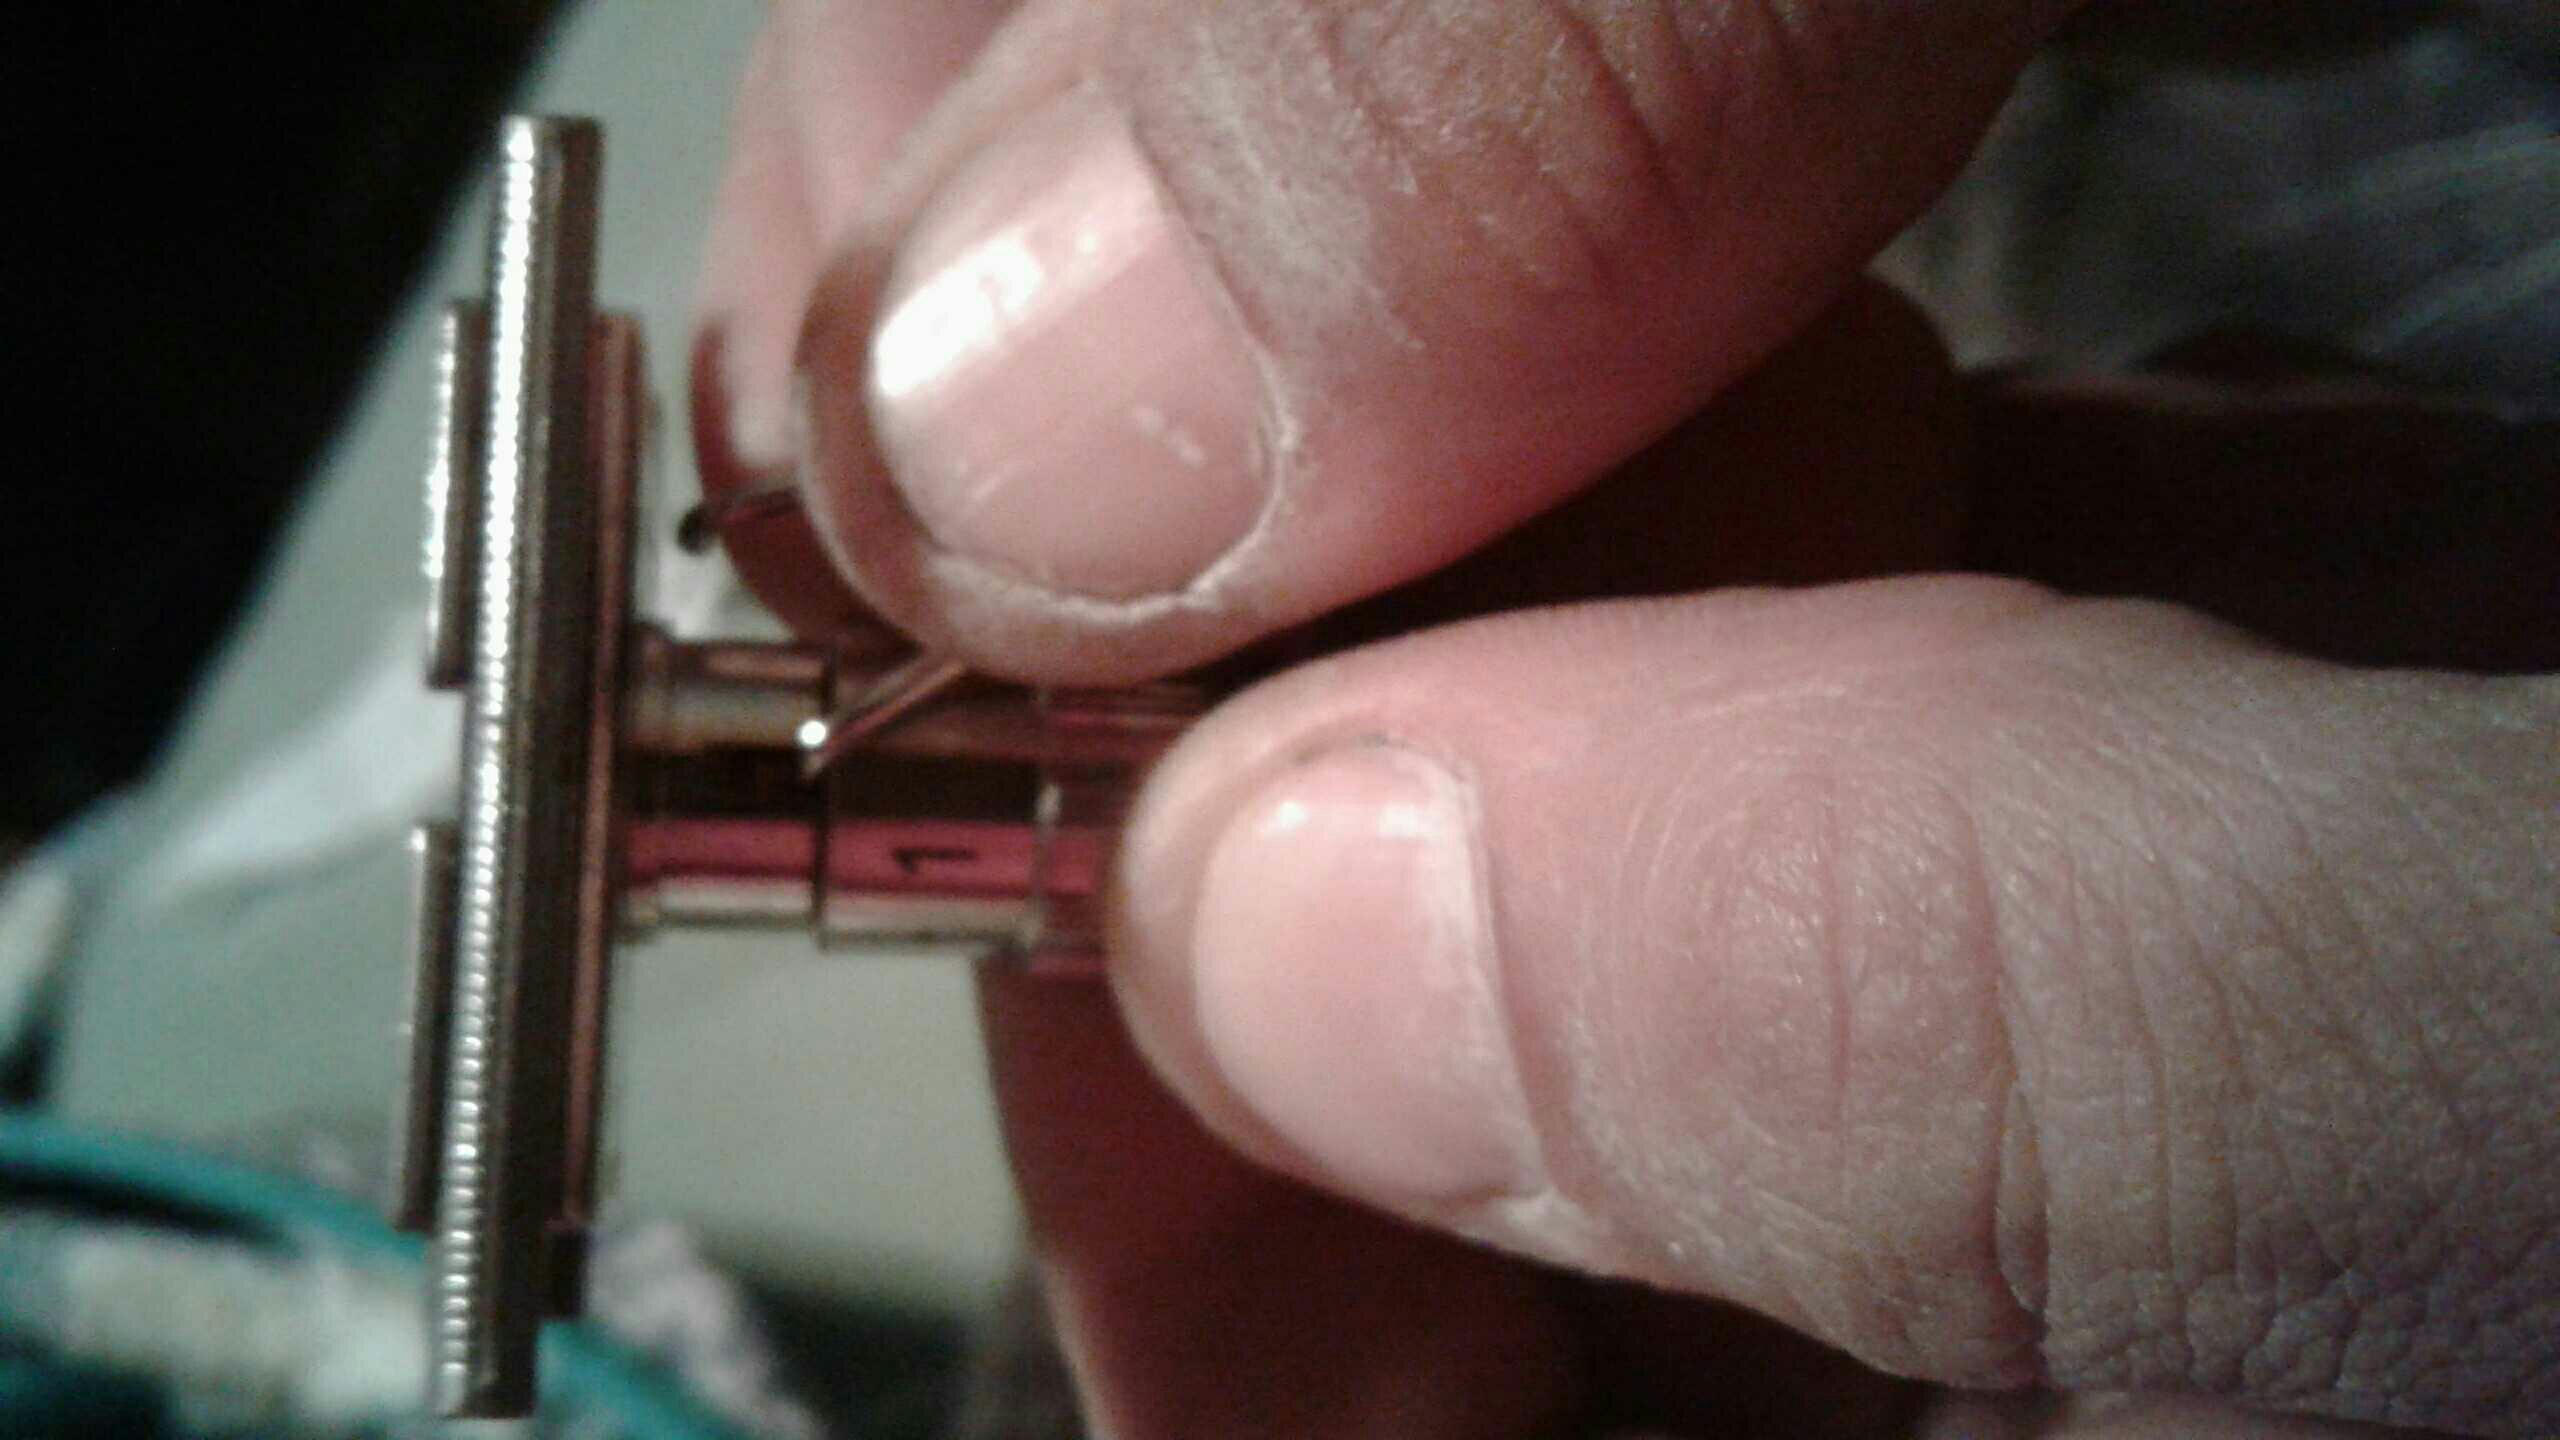
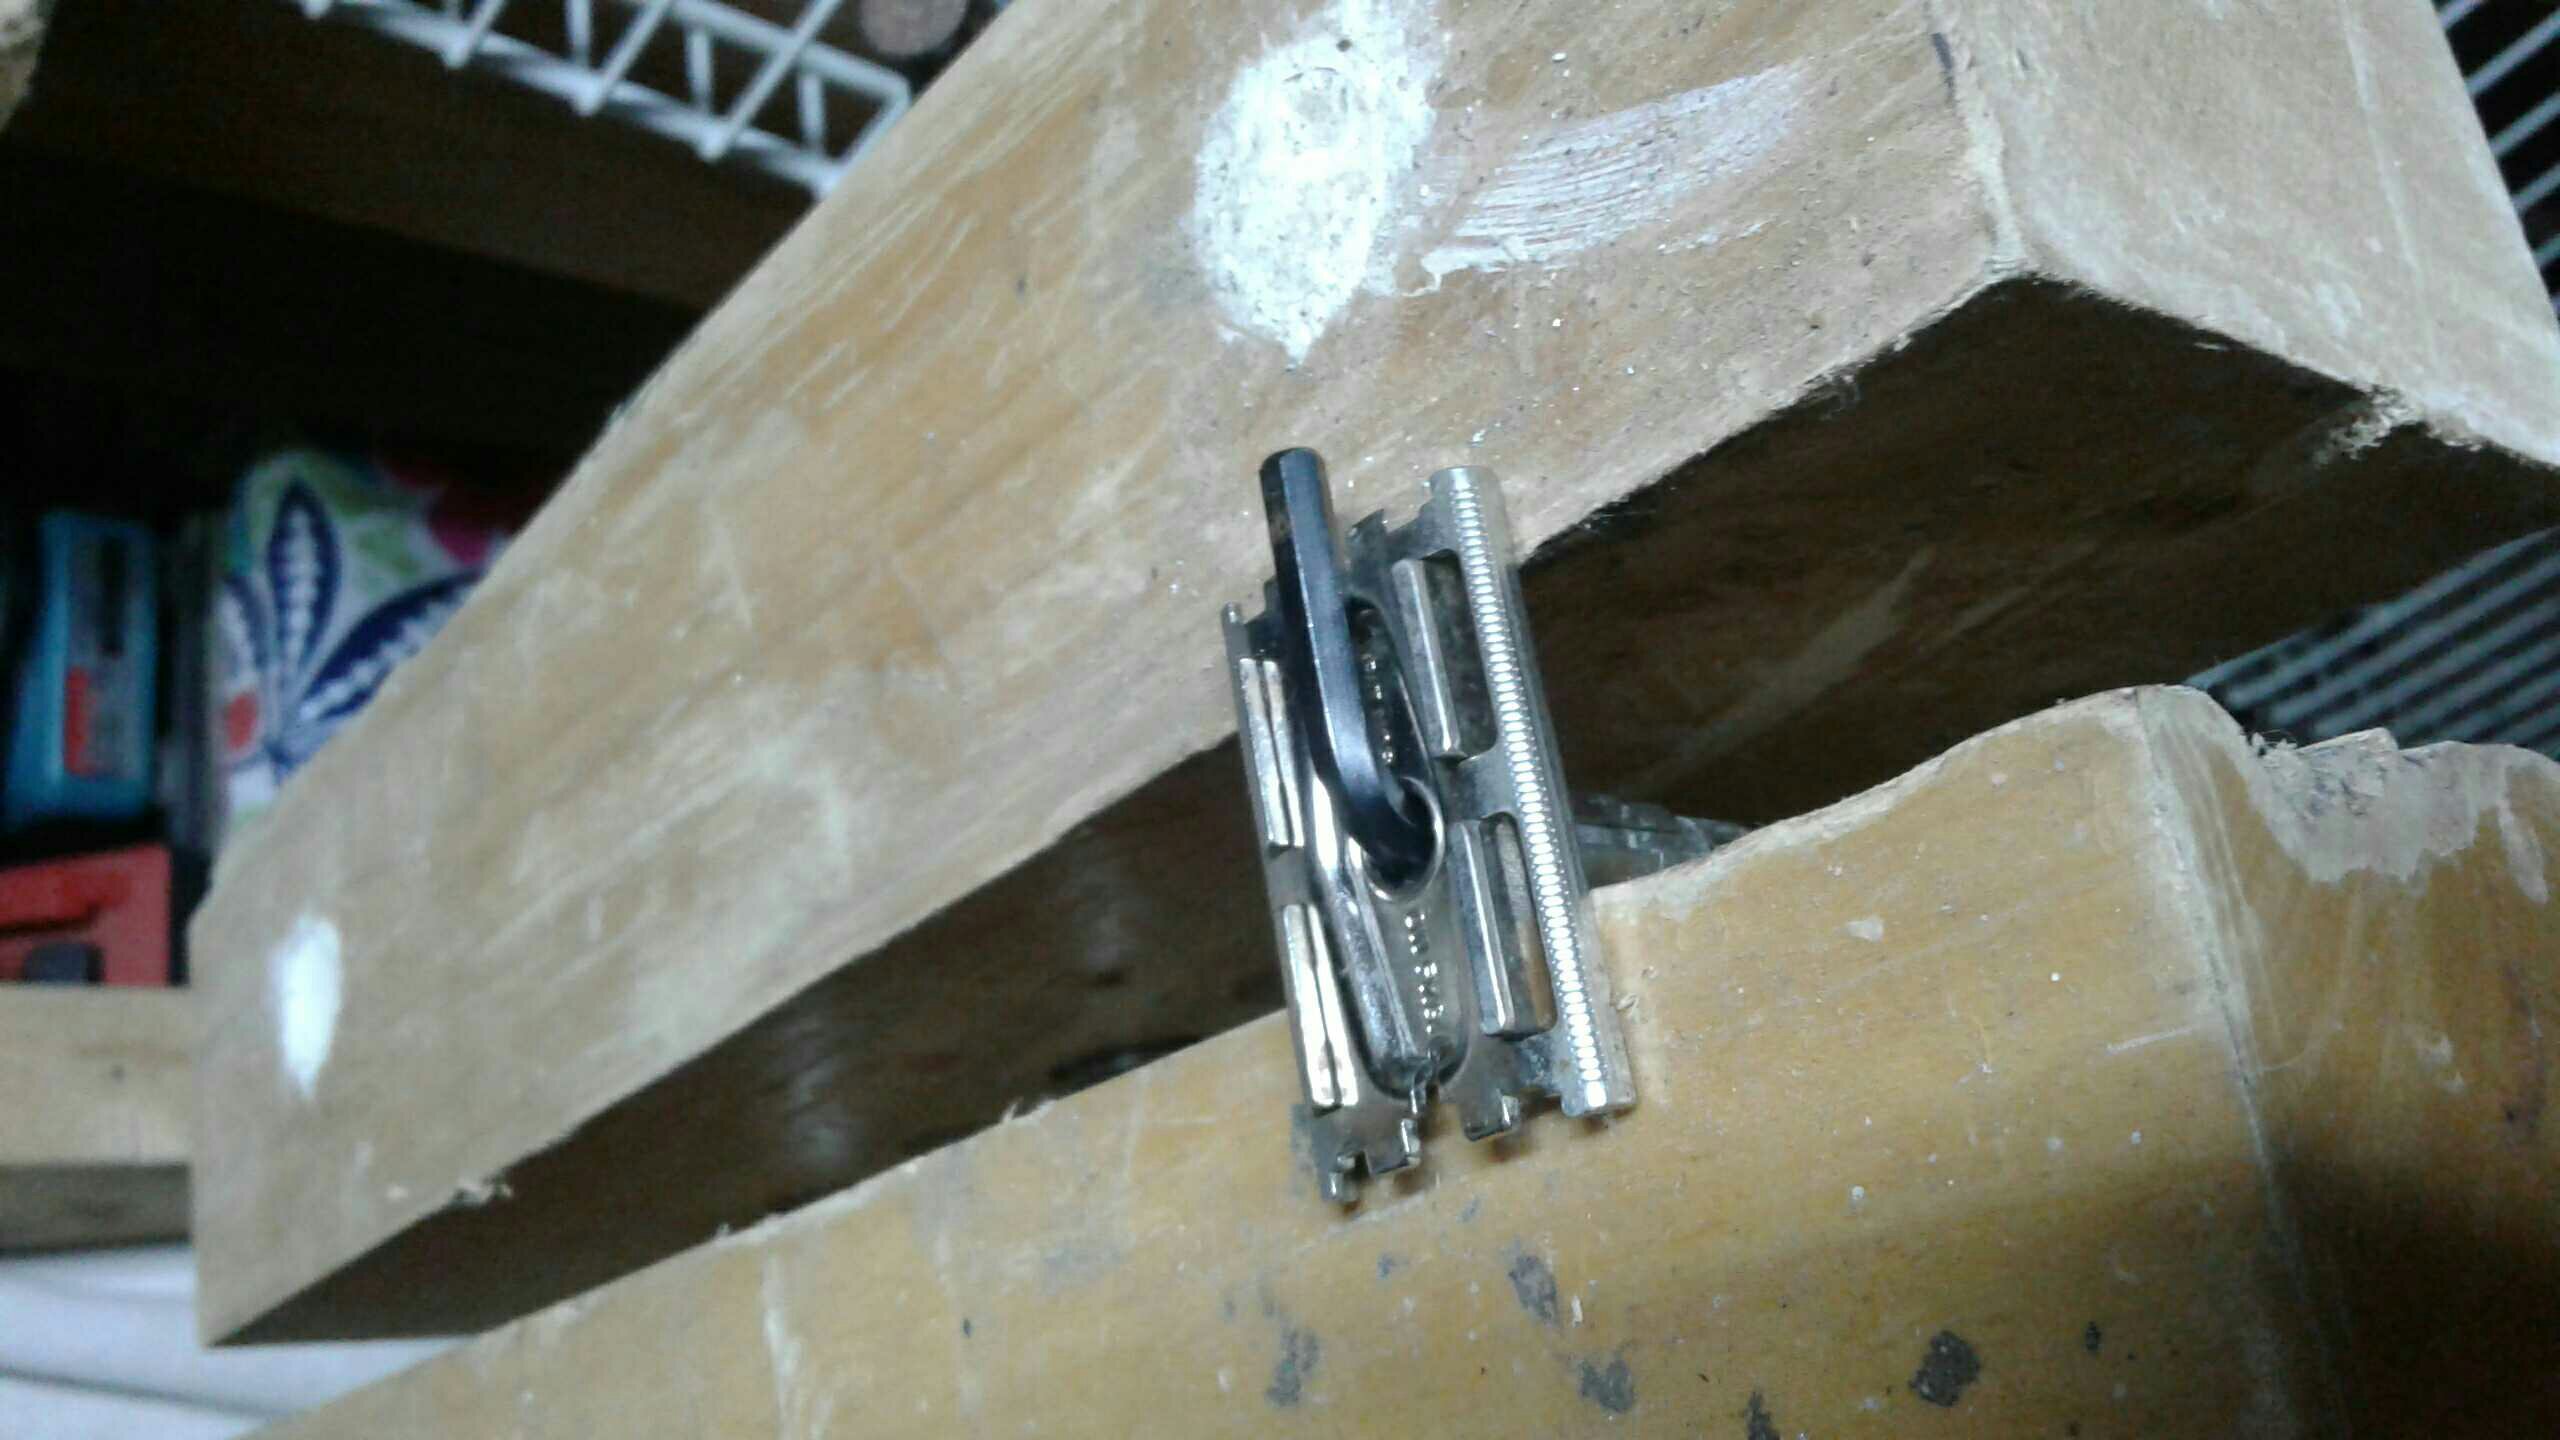
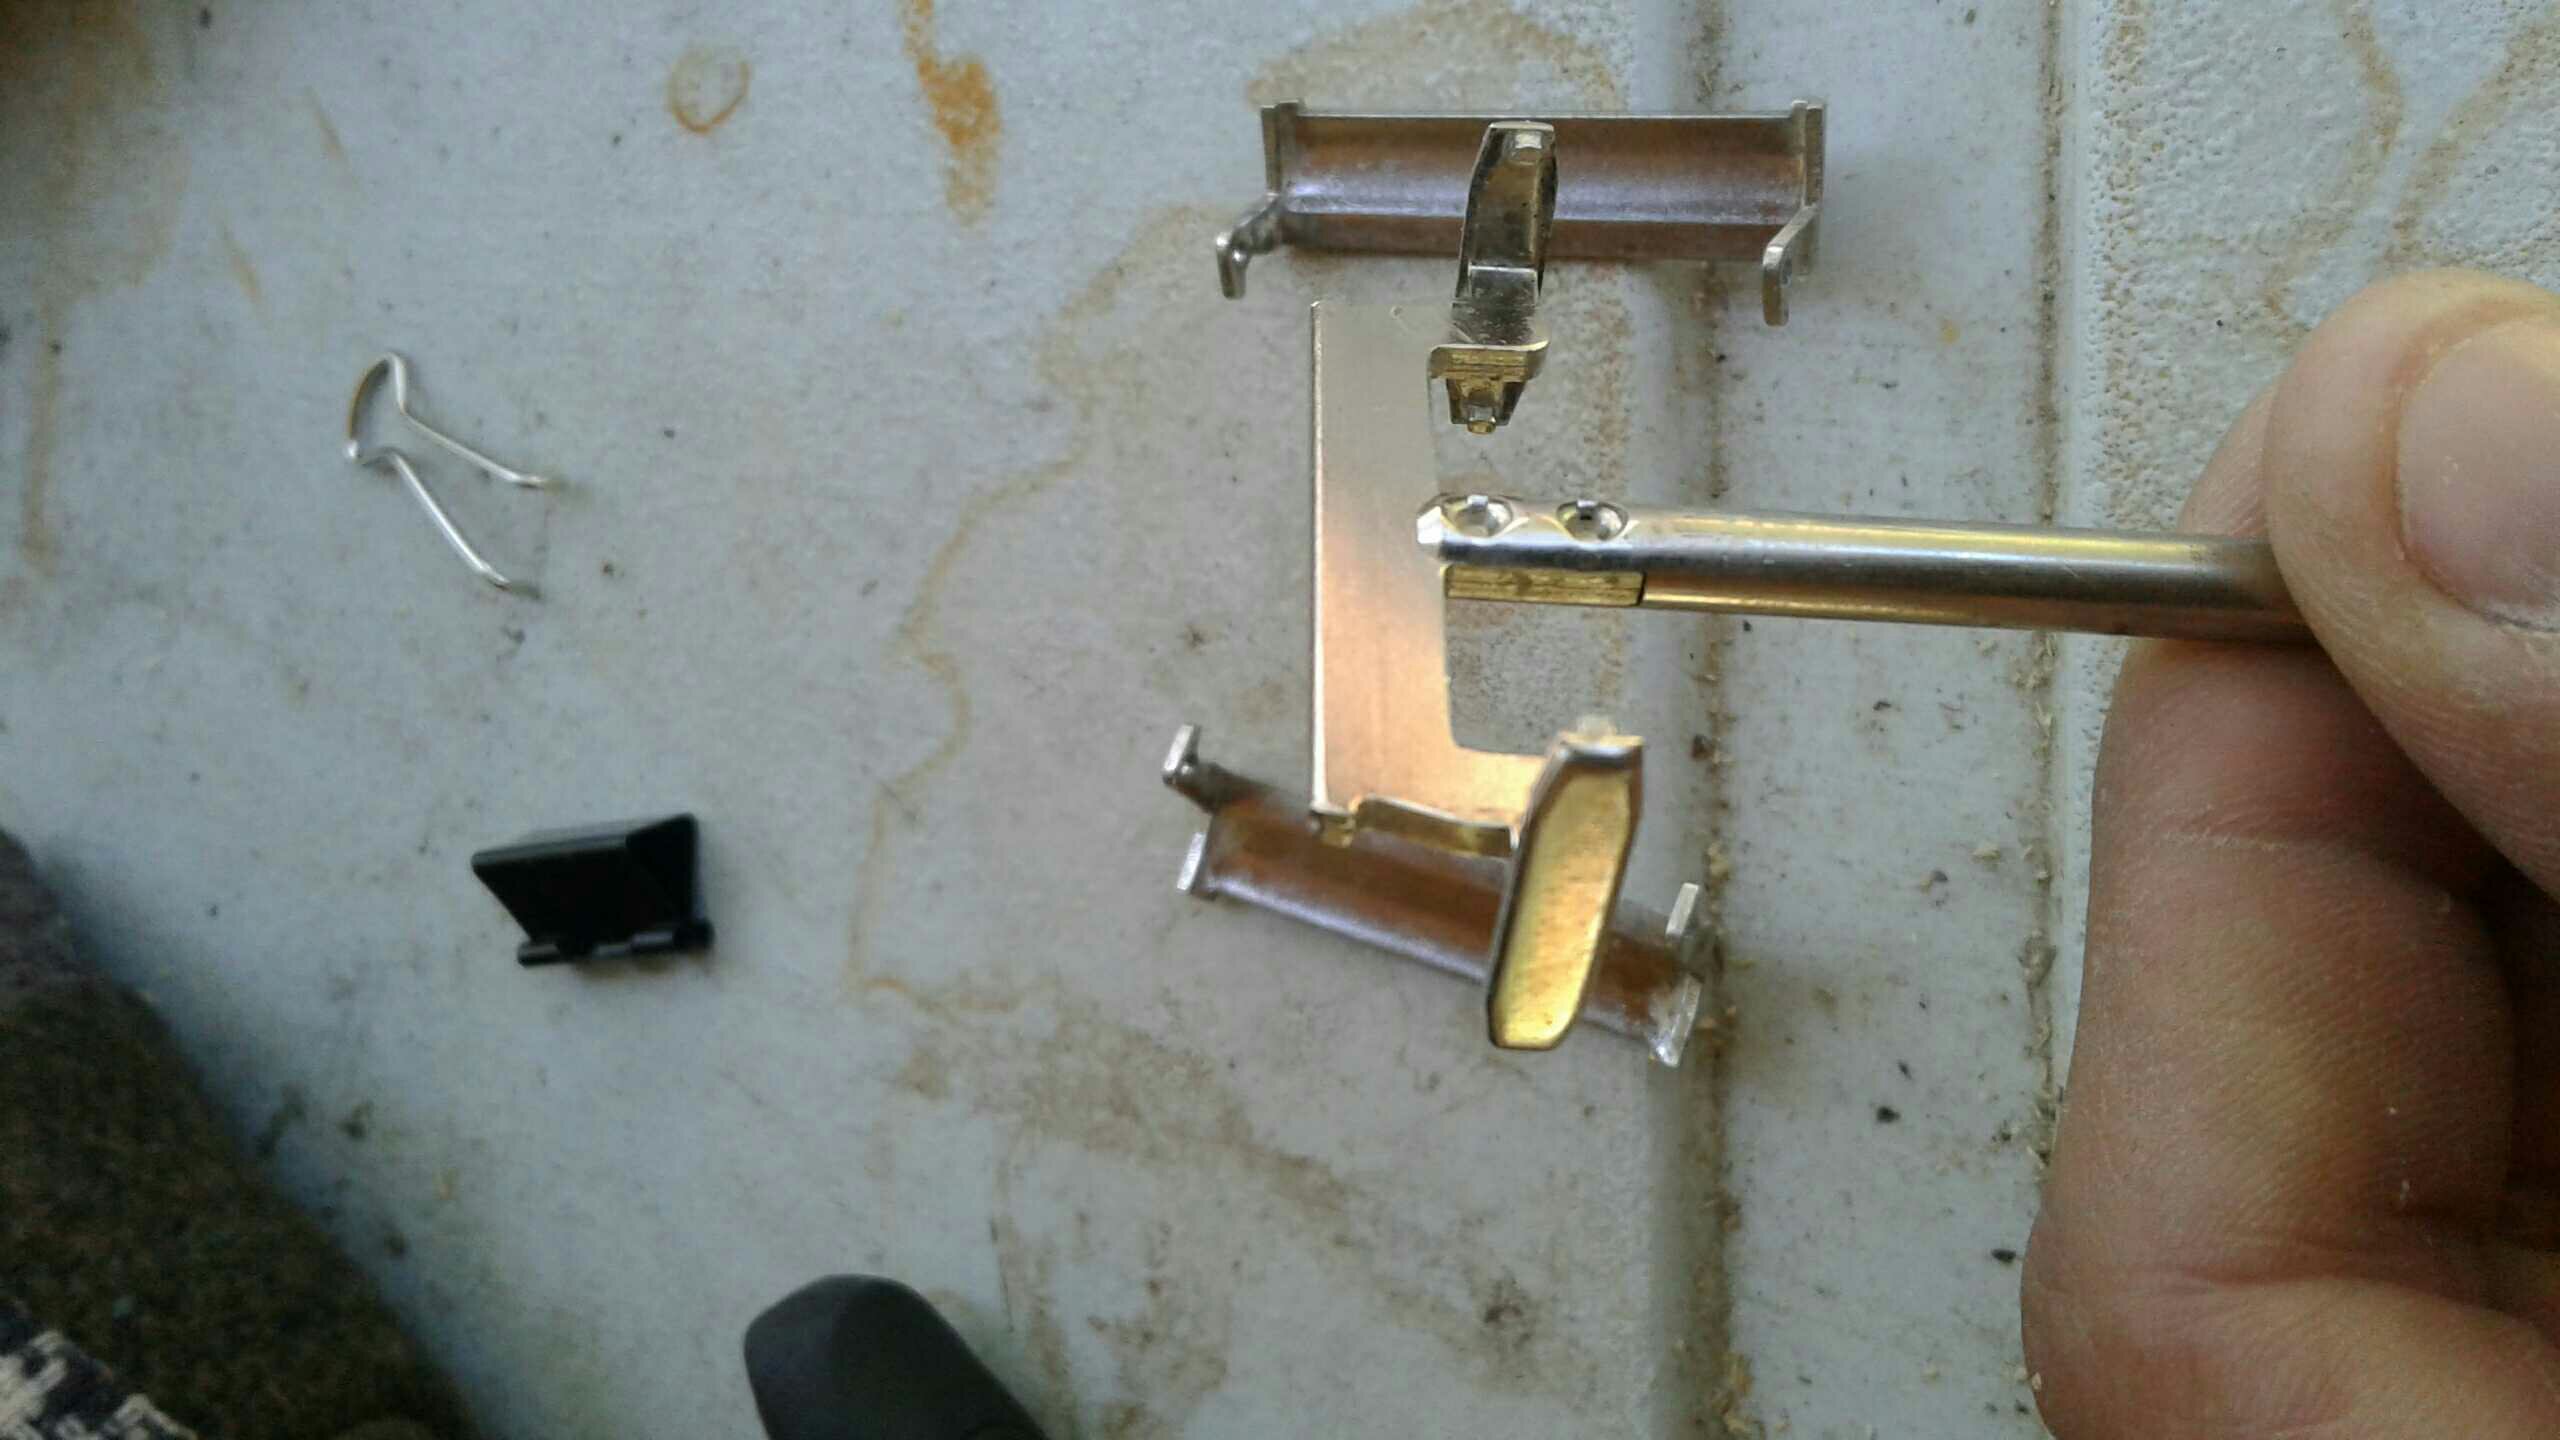
Step 1:
I just received my first Fat Boy from the bay. If you happen to be eBay member "number10bear", you have my sincere gratitude.
I will be taking this razor apart, cleaning it, an maybe replating with nickel (ambitious, but it would be SO FUN!)
I will be following the guide for Fat Boy disassembly found here:
Take Down: Fat boy comes apart
I'm a pretty handy guy and know my way around a pair of pliers, I enjoy modifying things and putting together models. I say this to give you an idea of my skill level.
Here she is after tearing off the padded envelope.
As I said, this is a 1959 Fatty, so it has the unscrewable end cap. There ARE instructions for the later models to be found on this site.
How To: Late Fatboy and Slim disassembly
I will NOT be doing one of those, and from what I understand, it is more difficult. As always, what you do with your razors is none of my business, so I am not responsible for anything that happens. That being said, if you need help with your razor and I CAN help, I will. Just ask me.
Here we go.
Step 1:
Last edited: