This was my first restoration and I couldn’t have done it without the help of many of you who have helped answer my questions in various posts. I thought I’d just close the loop by showing what I did. Please note – there’s nothing new here and it’s all been described before by others!
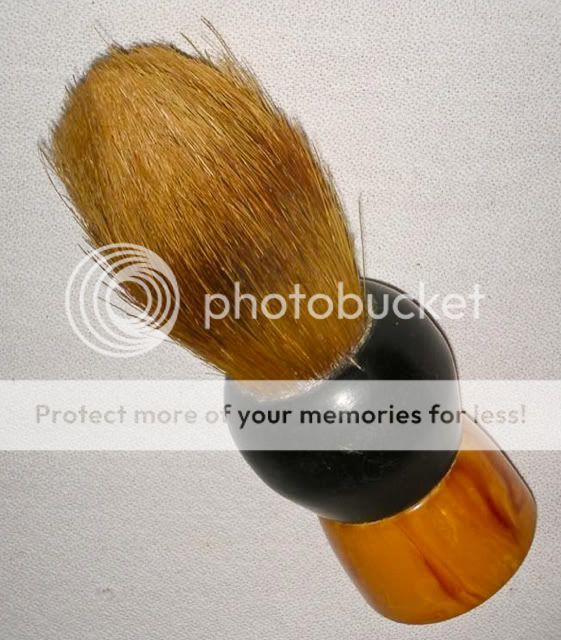
It started with this brush – a Fuller with a nice looking handle but very tough and bristly hair.
I started by chopping off the hair with a utility knife, leaving me with this:

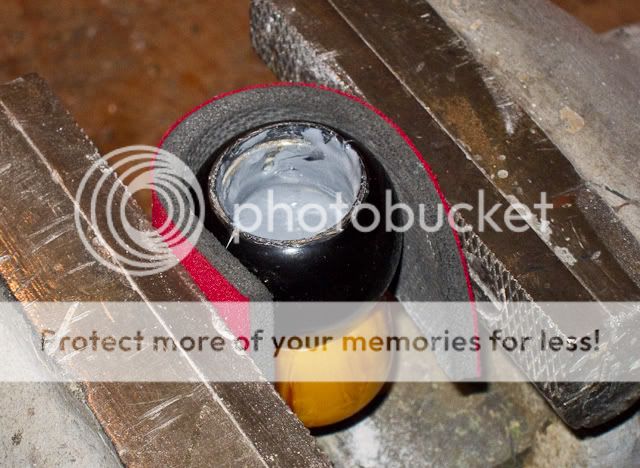
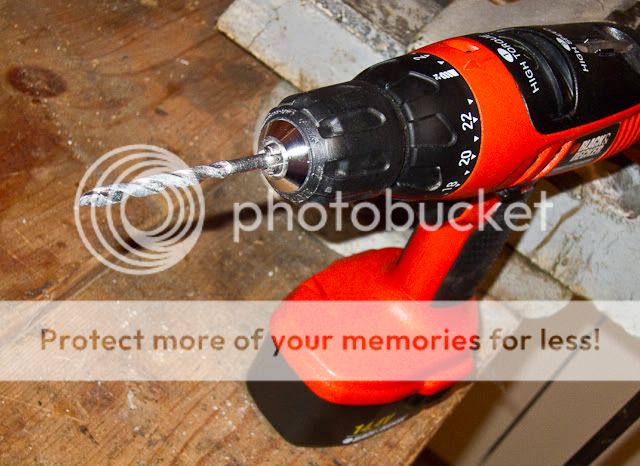
I clamped the handle in a vice, protecting it with a strip of material that I cut from an old mouse pad, and using a drill to drill out the old hair (note that the handle in the vice is from a later stage of the project :
:
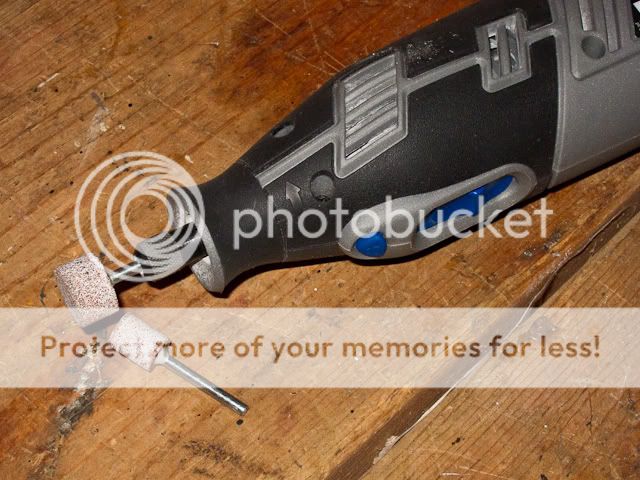
I also used a Dremel with the grinding and sanding wheel attachments as I found that the drill couldn’t do a good enough job with the very hard residual glue that was in the brush.
Eventually I found myself at the original “shelf” where the previous knot had rested:

This is the knot that I had chosen and purchased from TGN – a 22 mm diameter Silvertip Grade A knot (the diameter of the opening was 23 mm):
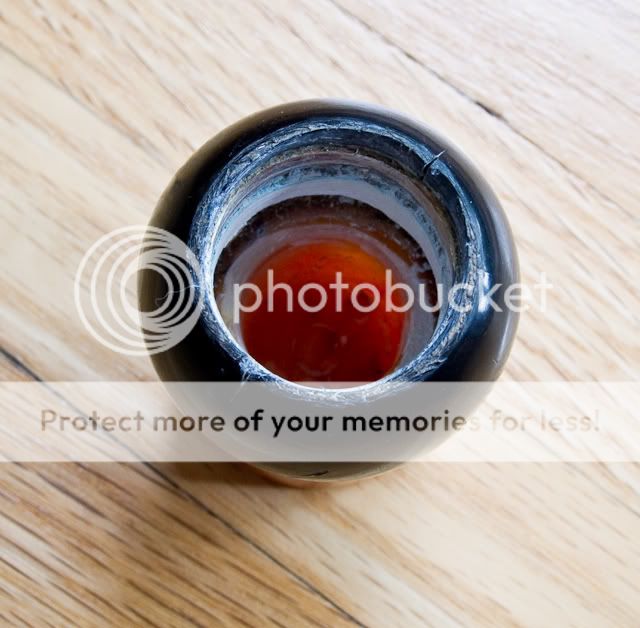
I wanted to get a relatively short loft as I face lather, so clearly the shelf where I was at, was going to be much to shallow to seat the knot at the correct depth. So spurred on by various B&Bers, I went ahead and continued to drill through the base shelf, expecting – as I had been told – that the brush would be hollow below this. And so it turned out:
I cleaned it all out with the Dremel. Then I measured how far from the rim of the handle I would need to seat the brush and I proceeded to fill the handle with marine epoxy – to a point somewhere above this point (I knew that I would have to grind the epoxy down at a later stage).
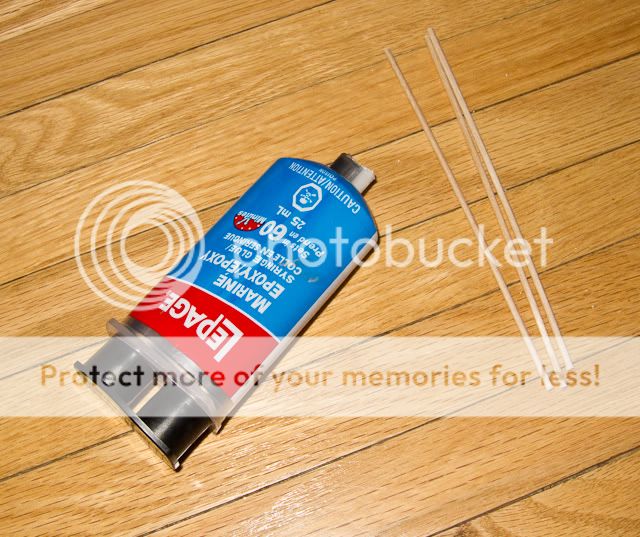
Filling the handle with the glue was a bit tricky. I tried mixing the glue and then using stir sticks to transfer it into the handle. This worked OK but I had to be really careful not to dribble any on the outside of the handle. I also realized that because the glue had a double spout, I could squeeze it right into the handle and then mix it in the handle, and that worked well enough.
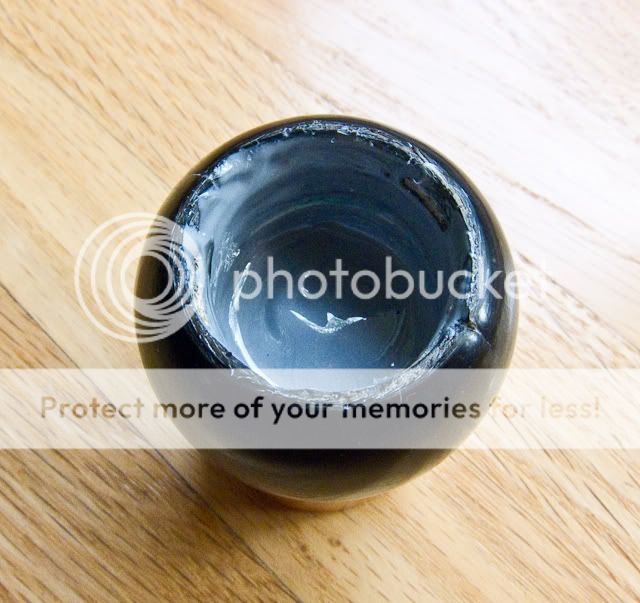
Eventually I was left with this:
After 24 hours, I proceeded to Dremel down to the correct level with regard to my desired loft (45 mm) and then it was just a matter of putting a little more glue into the handle and then placing the knot.
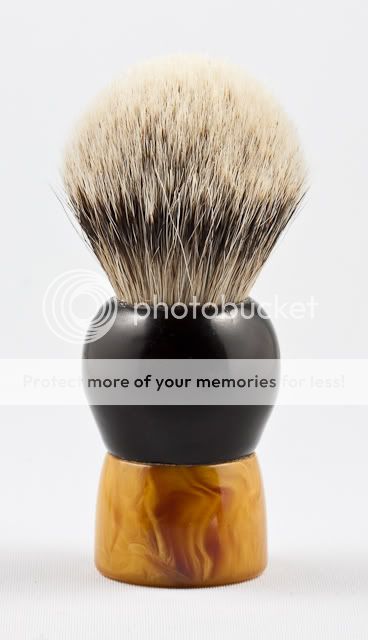
And this is the result. I’m pretty happy with it and can't wait to use it!
It started with this brush – a Fuller with a nice looking handle but very tough and bristly hair.
I started by chopping off the hair with a utility knife, leaving me with this:
I clamped the handle in a vice, protecting it with a strip of material that I cut from an old mouse pad, and using a drill to drill out the old hair (note that the handle in the vice is from a later stage of the project
:
I also used a Dremel with the grinding and sanding wheel attachments as I found that the drill couldn’t do a good enough job with the very hard residual glue that was in the brush.
Eventually I found myself at the original “shelf” where the previous knot had rested:
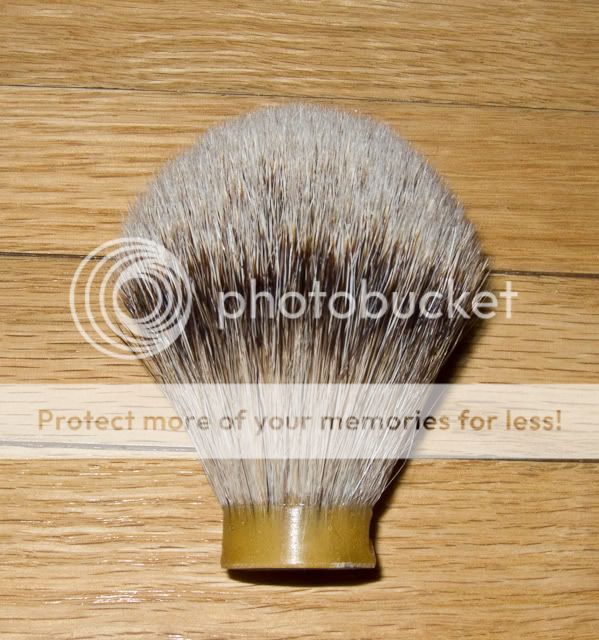
This is the knot that I had chosen and purchased from TGN – a 22 mm diameter Silvertip Grade A knot (the diameter of the opening was 23 mm):
I wanted to get a relatively short loft as I face lather, so clearly the shelf where I was at, was going to be much to shallow to seat the knot at the correct depth. So spurred on by various B&Bers, I went ahead and continued to drill through the base shelf, expecting – as I had been told – that the brush would be hollow below this. And so it turned out:
I cleaned it all out with the Dremel. Then I measured how far from the rim of the handle I would need to seat the brush and I proceeded to fill the handle with marine epoxy – to a point somewhere above this point (I knew that I would have to grind the epoxy down at a later stage).
Filling the handle with the glue was a bit tricky. I tried mixing the glue and then using stir sticks to transfer it into the handle. This worked OK but I had to be really careful not to dribble any on the outside of the handle. I also realized that because the glue had a double spout, I could squeeze it right into the handle and then mix it in the handle, and that worked well enough.
Eventually I was left with this:
After 24 hours, I proceeded to Dremel down to the correct level with regard to my desired loft (45 mm) and then it was just a matter of putting a little more glue into the handle and then placing the knot.
And this is the result. I’m pretty happy with it and can't wait to use it!
Last edited: