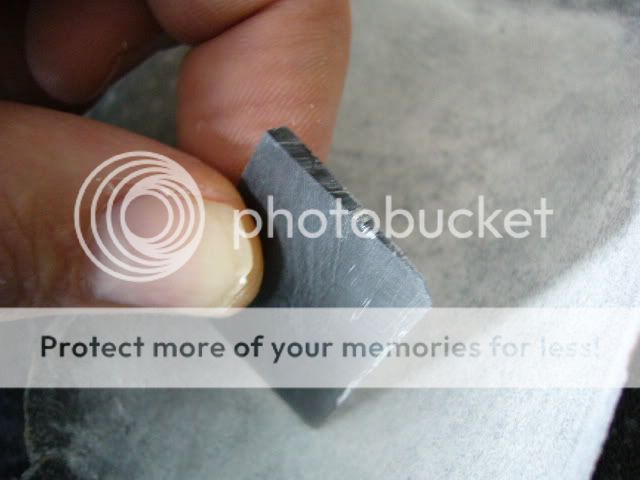
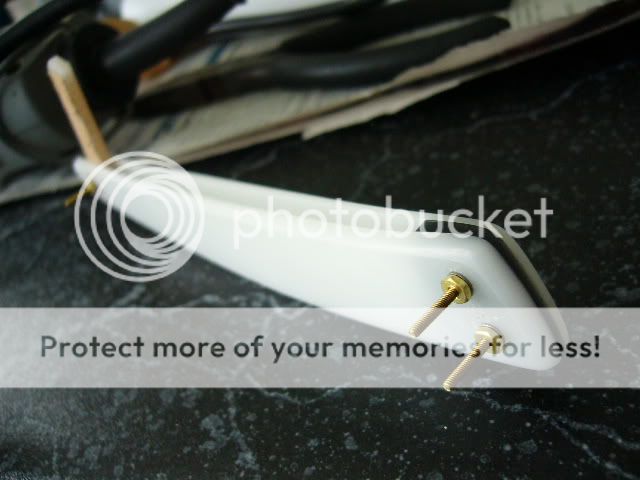
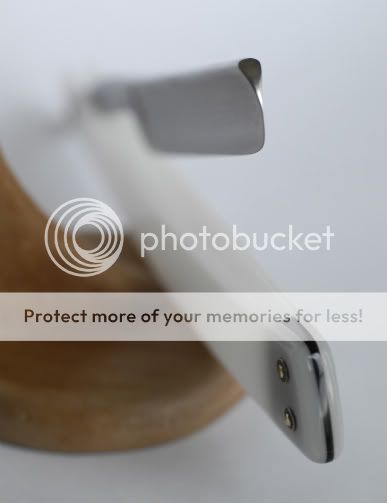
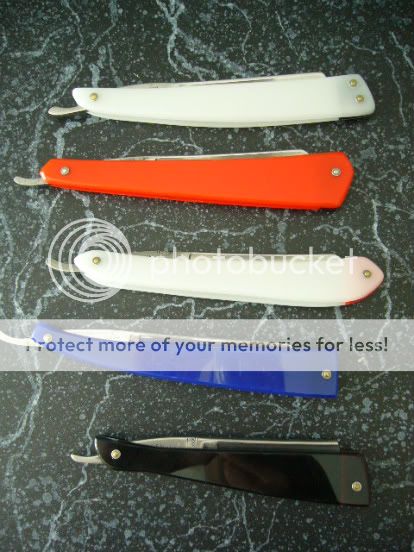
A couple of people have suggested that they are quite comfortable sanding and polishing their own blade but are not too sure about making scales. This means that they are either stuck with the mangy old scales the razor came with, or else they have to buy those pre made scales which, chances are, will not be a 100% fit.
A while ago I was making a set of scales for my first blade restoration, so I clicked a couple of photos to act as a reference. I found the photos on my drive last night so I thought I might post them in case anyone finds them useful. I don't have pics of a few steps so I'll try to explain what happened and maybe slot in some photos from the next resto later.
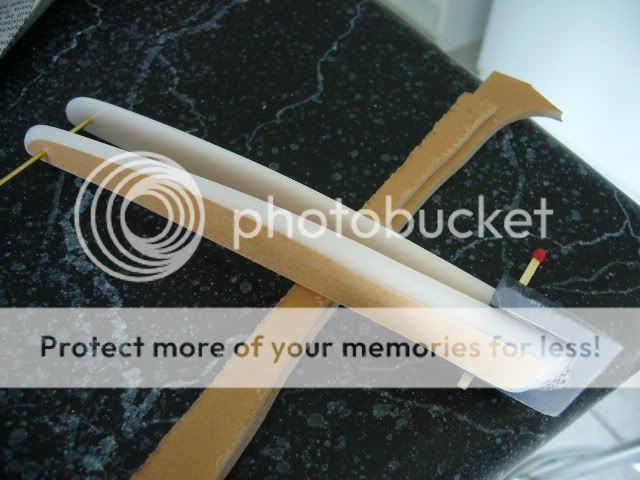
First draw your design on a piece of paper and cut it out. Stick your two bits of acrylic together with double sided tape. Glue your pattern to it with paper glue. LEAVE THE BROWN PAPER ON THE ACRYLIC! It will not get in the way and it will protect the surface.
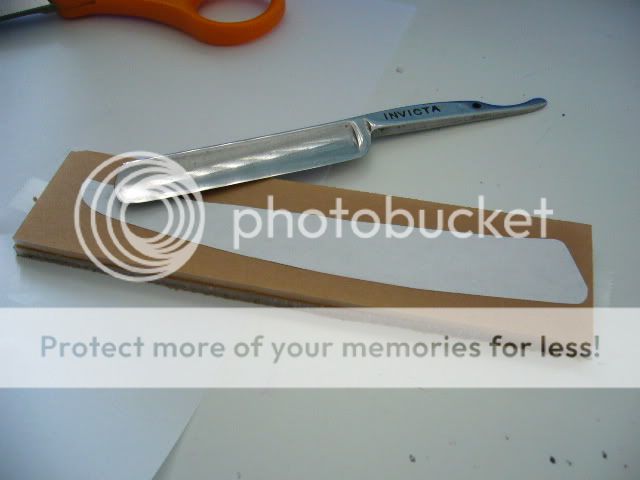
Go to your band saw and cut the booger out. You can also use a scroll saw or even a coping saw if you put the acrylic in a vice. A scroll saw can possibly run the risk of melting the acrylic if you go too slow, as the same part of the blade is used to whole time and can get hot. A band saw blade has time to cool as it goes around and does not have that problem. You don't have to be too neat. Just make sure if you deviate from the line you go OUTSIDE rather than inside the line. You can tidy it up when sanding.
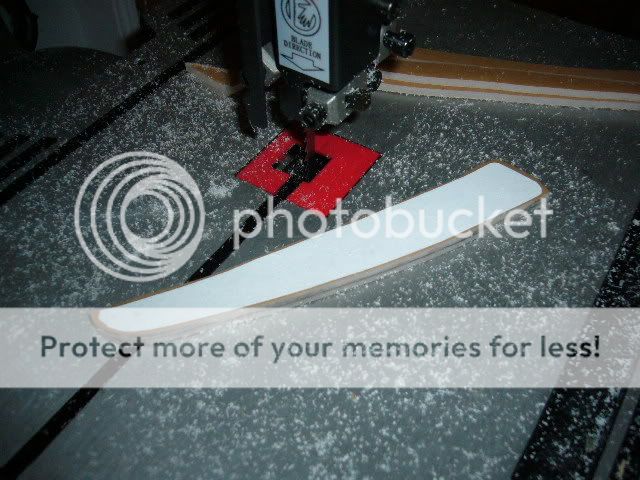
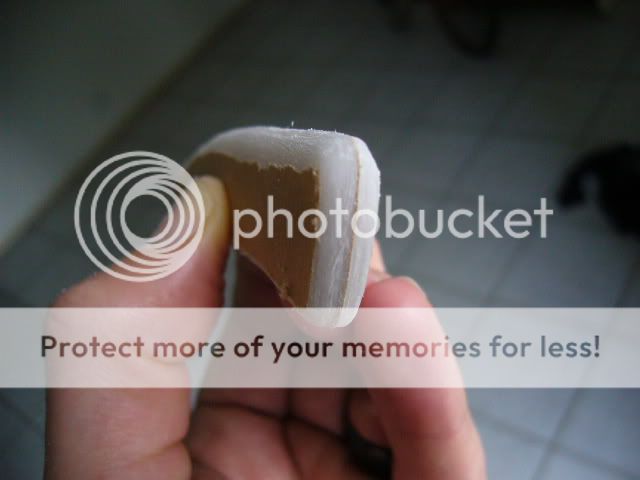
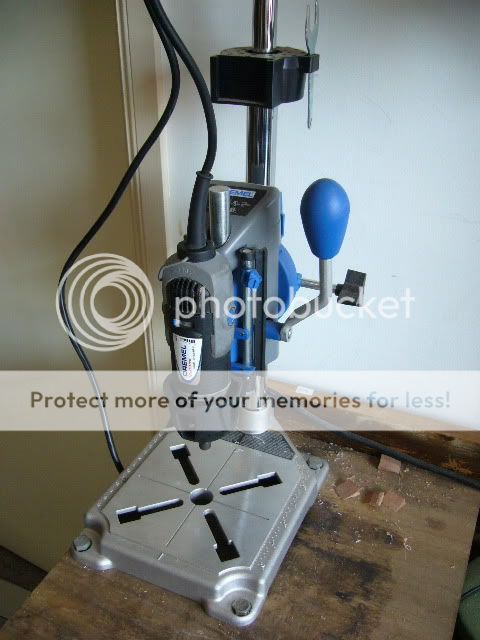
LEAVE THE TWO PIECES TOGETHER. Next you are going to be sanding and shaping. It will be far easier to keep both halves exactly the same if you work on them together. The best tool I have found for this is the sanding drum on a Dremel. You could also use some sort of router to round the edges, but I like to do it by eye. Go slow and keep sighting down the edge to make sure it is even.
Part two on the way...


A while ago I was making a set of scales for my first blade restoration, so I clicked a couple of photos to act as a reference. I found the photos on my drive last night so I thought I might post them in case anyone finds them useful. I don't have pics of a few steps so I'll try to explain what happened and maybe slot in some photos from the next resto later.
First draw your design on a piece of paper and cut it out. Stick your two bits of acrylic together with double sided tape. Glue your pattern to it with paper glue. LEAVE THE BROWN PAPER ON THE ACRYLIC! It will not get in the way and it will protect the surface.

Go to your band saw and cut the booger out. You can also use a scroll saw or even a coping saw if you put the acrylic in a vice. A scroll saw can possibly run the risk of melting the acrylic if you go too slow, as the same part of the blade is used to whole time and can get hot. A band saw blade has time to cool as it goes around and does not have that problem. You don't have to be too neat. Just make sure if you deviate from the line you go OUTSIDE rather than inside the line. You can tidy it up when sanding.

LEAVE THE TWO PIECES TOGETHER. Next you are going to be sanding and shaping. It will be far easier to keep both halves exactly the same if you work on them together. The best tool I have found for this is the sanding drum on a Dremel. You could also use some sort of router to round the edges, but I like to do it by eye. Go slow and keep sighting down the edge to make sure it is even.

Part two on the way...
Last edited:


 Sand and polish the wedges widest edge (the one that will be next to the blades toe) now, you will not be able to get at it once it is in place.