Coffee prepared "Vietnamese style" can be in a word, exceptional. For most, this would come as quite a shock, as Vietnamese coffee from most restaurants (all i've tried) is simply undrinkable swill. It tends to be prepared with very cheap (and often stable) Robusta coffee from a can, poorly ground and loaded with sweetened condensed milk. I use high quality, fresh roasted coffee beans, ground right before the application of boiling (or near boiling) water, and if any milk is added, it's 2%. You CAN add sweetened condensed milk, but frankly it ruins the taste profile.
For all intents and purposes - consider this more a tutorial on how to make exceptional coffee using a Vietnamese coffee filter - versus doing it in a pure "traditional" manner. Vietnamese coffee filters are quite common, and can often be found at Asian markets for around $5.
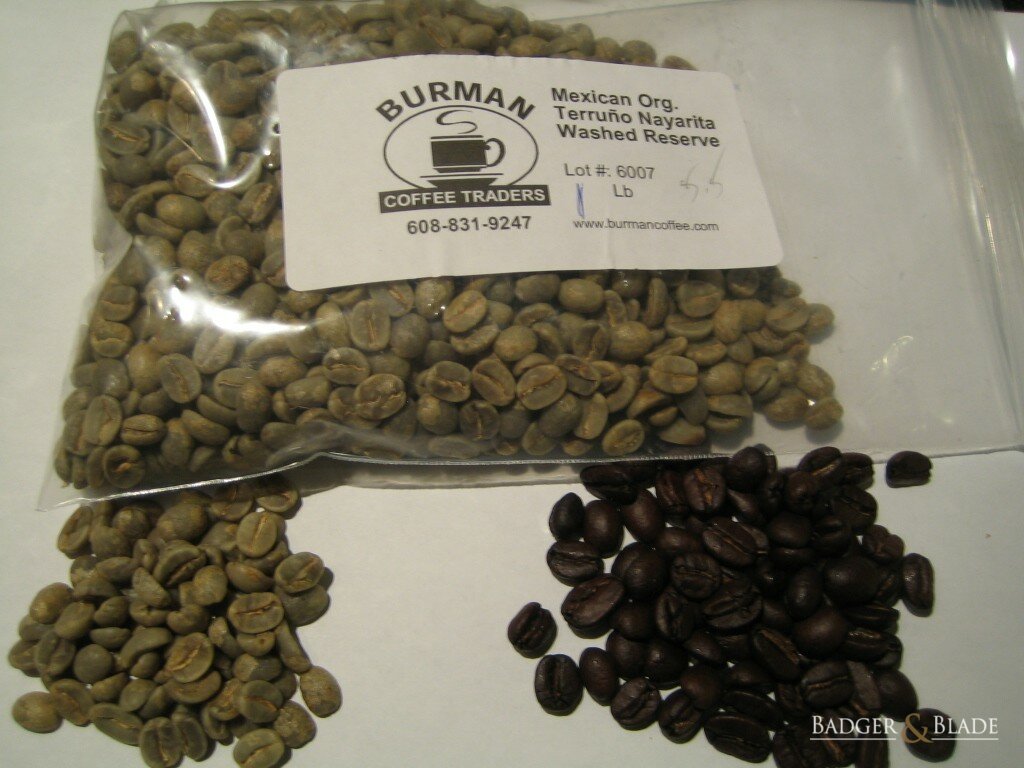
Step 1: Acquire some high quality coffee - ideally full city + as anything above FC+ starts to lose body/character. For this particular cup, i've chosen a DELICIOUS organic Mexican Terruno Nayarita washed reserve, roaster to Full City + on a Behmor 1600 (8oz of beans roasted at 19 minutes on P4). Use poor quality coffee, get poor results, use fresh roasted, quality coffee - prepare to be shocked...
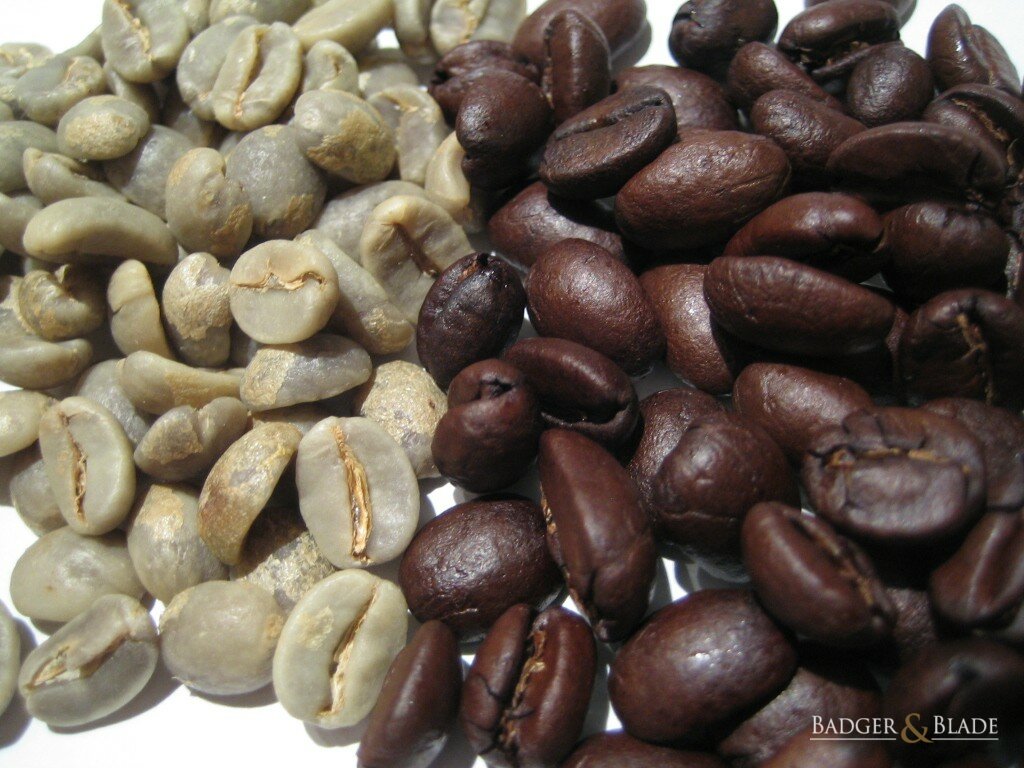
Before and after:
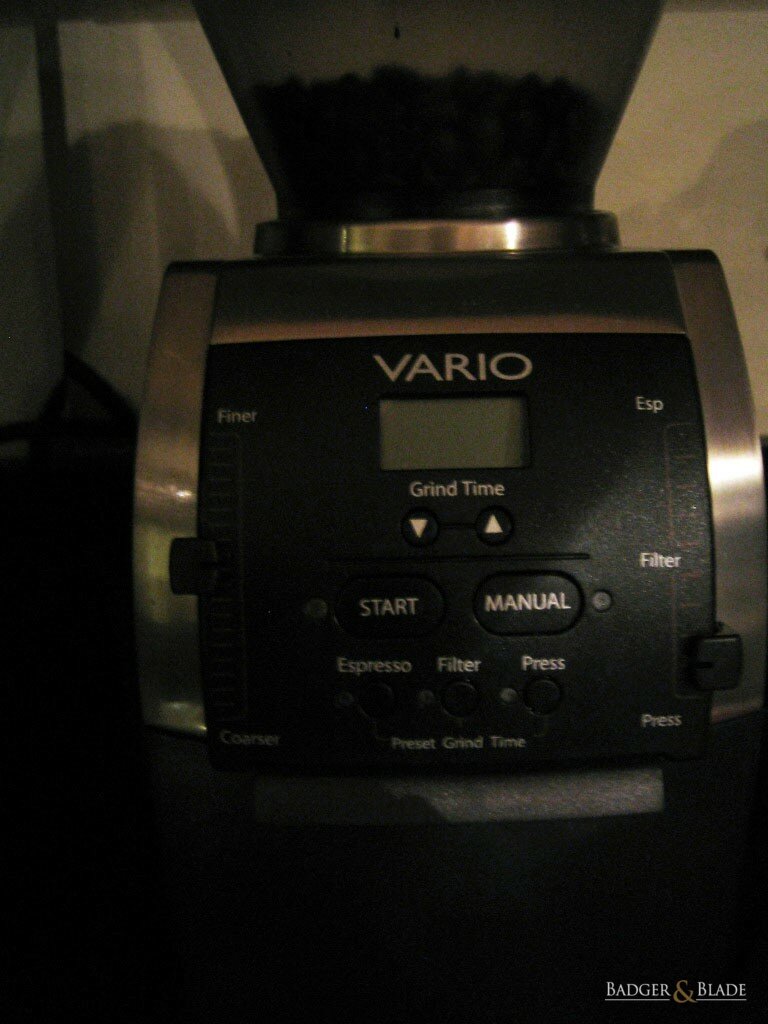
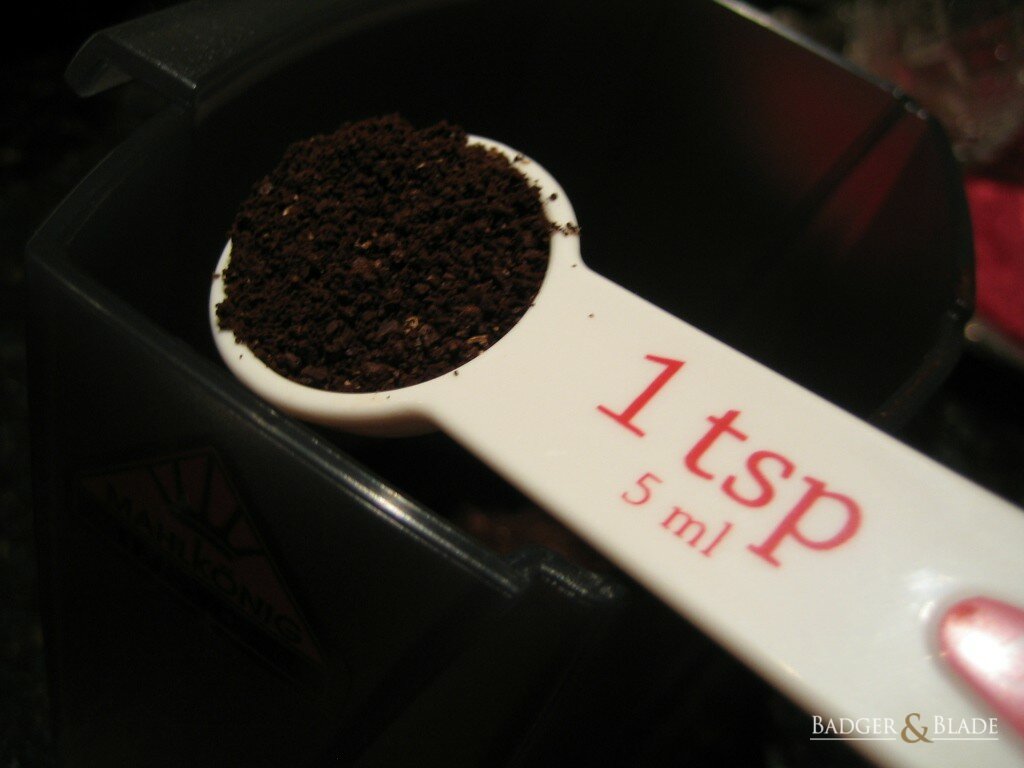
Step 2: Grind fresh coffee beans with a good quality burr grinder. This is essential - as the filter holes are larger than that of a french press, so if you use a poor quality grinder that is inconsistent or produces "fines" when grinding for a french press, it won't cut it. I use the second coarsest setting on my Vario, but you most certainly do not need that high end a grinder.
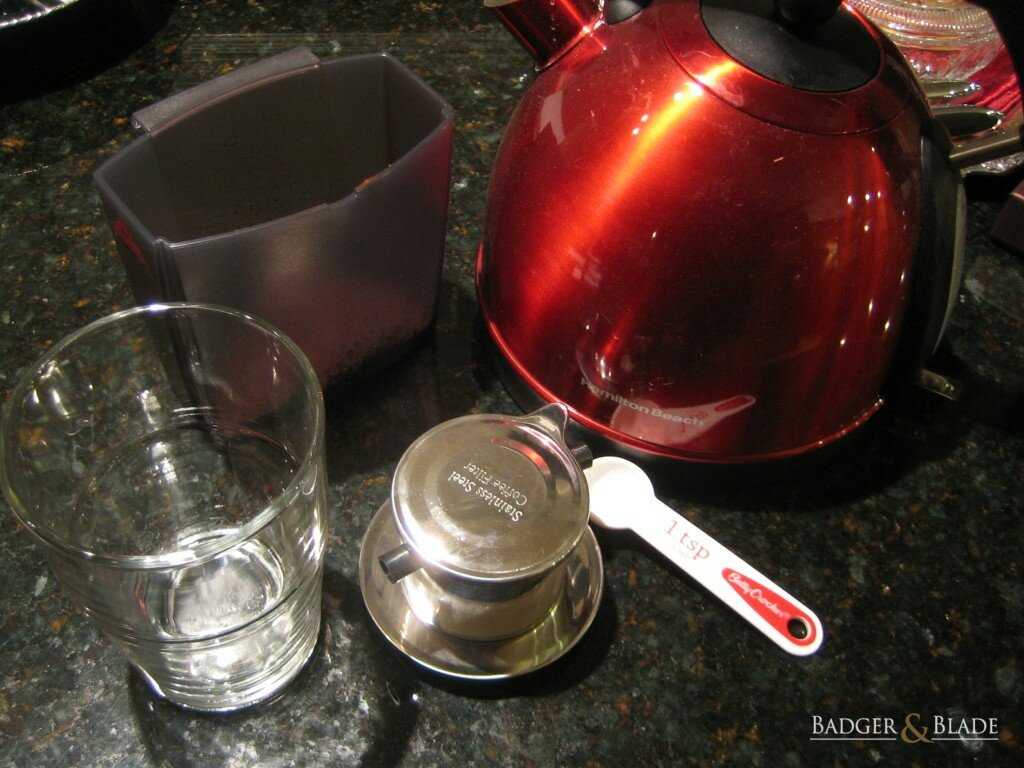
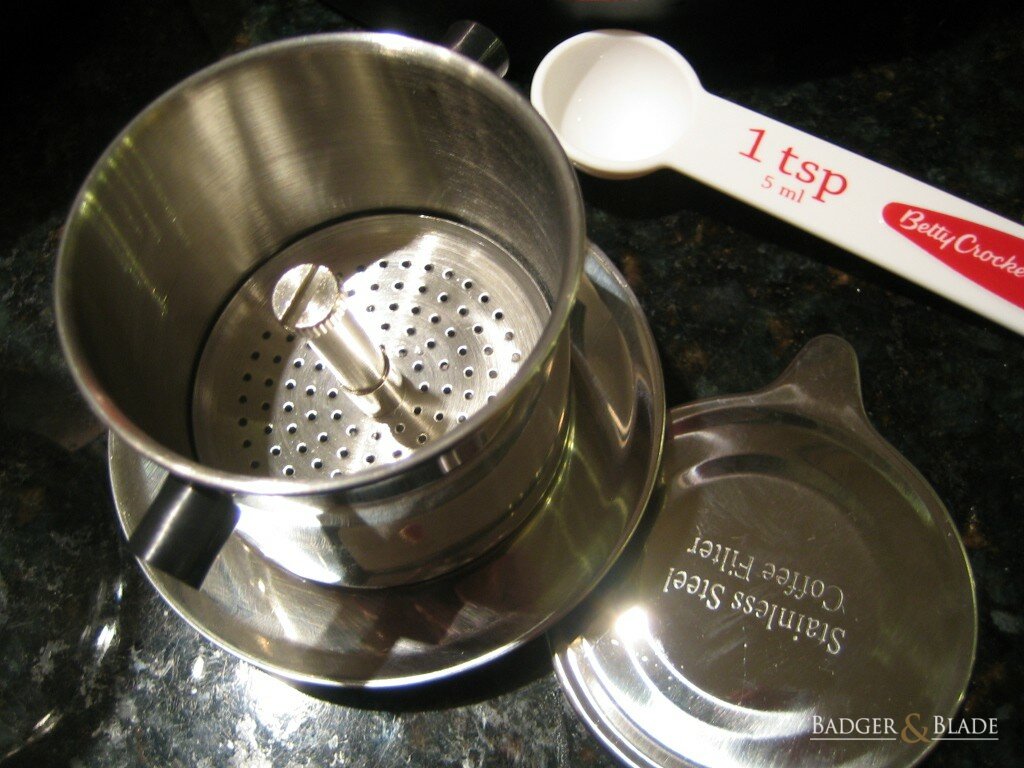
Step 3: Put together the items you'll need for preparation.
1.) Coarse ground coffee (french press setting)
2.) Cup
3.) Teaspoon measurement
4.) Water boiler (or source for boiling water)
5.) Vietnamese metal coffee filter
6.) *OPTIONAL* Flat head screw driver
7.) *OPTIONAL* Ice
8.) *OPTIONAL* Milk (of your choice)
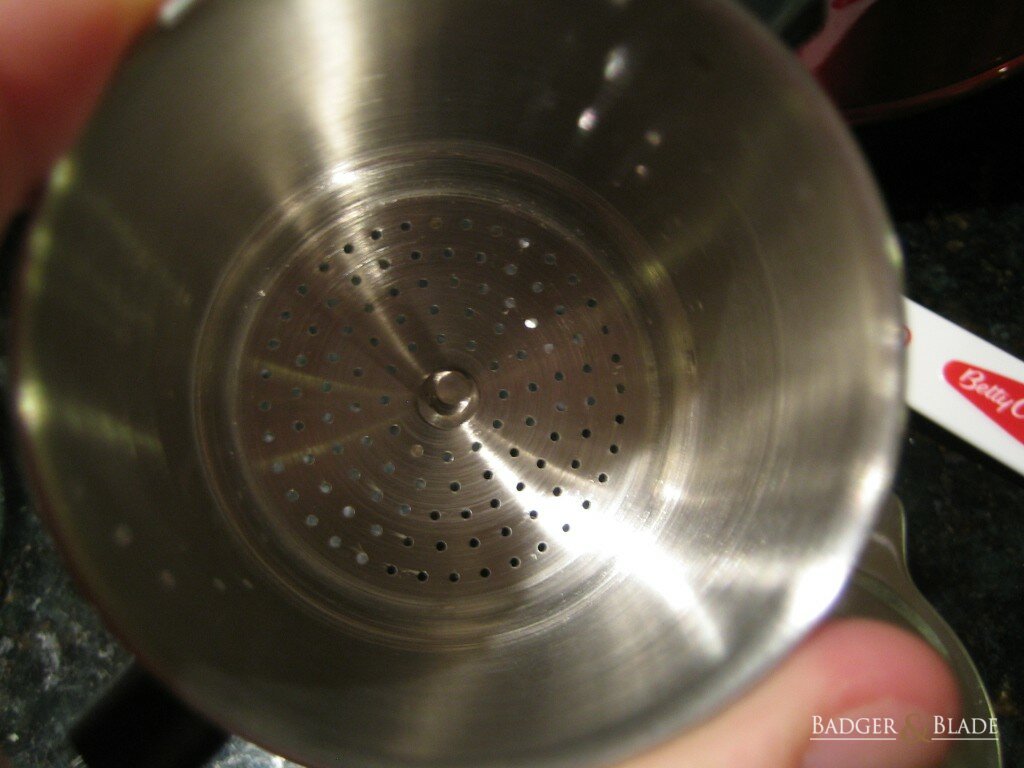
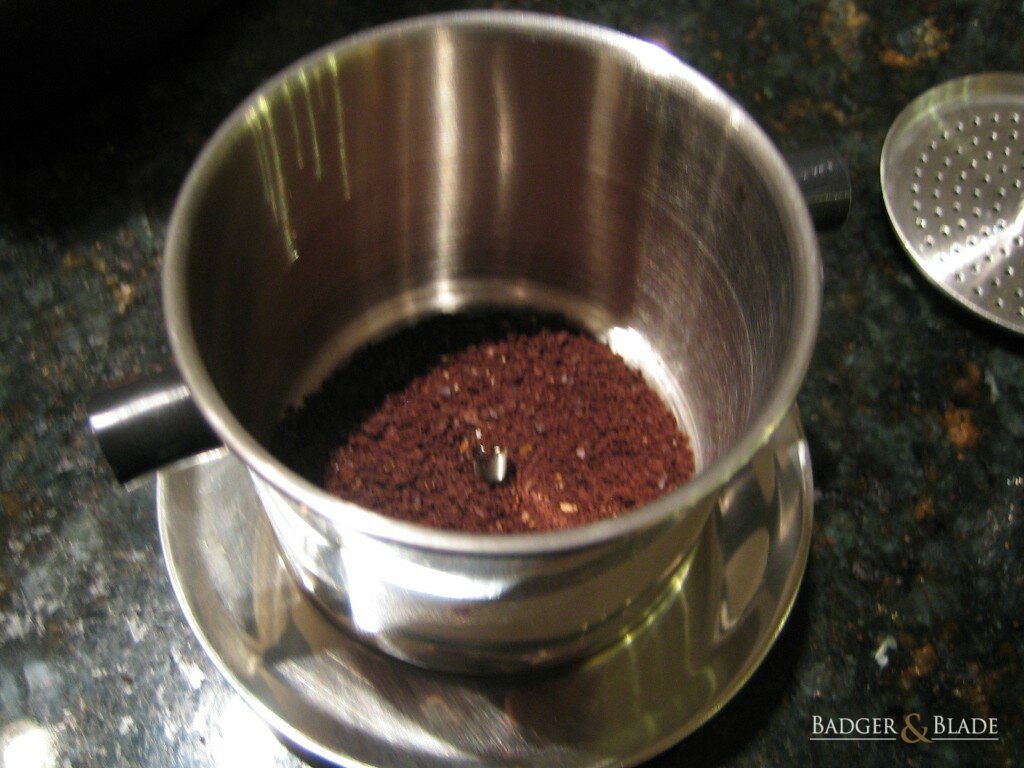
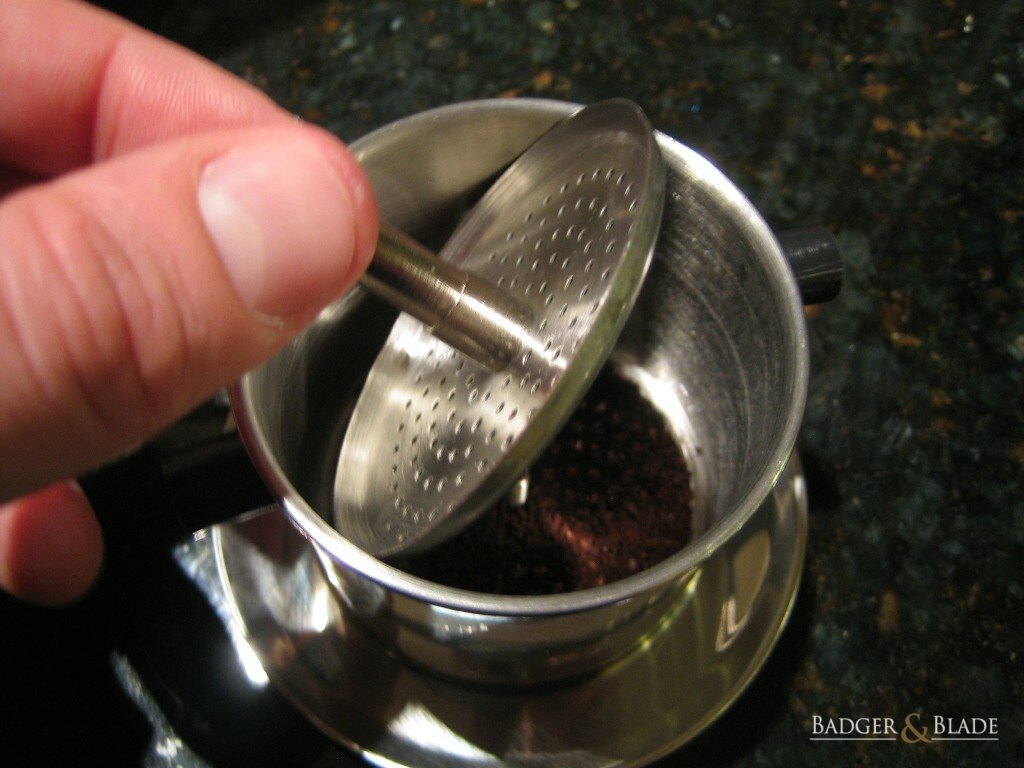
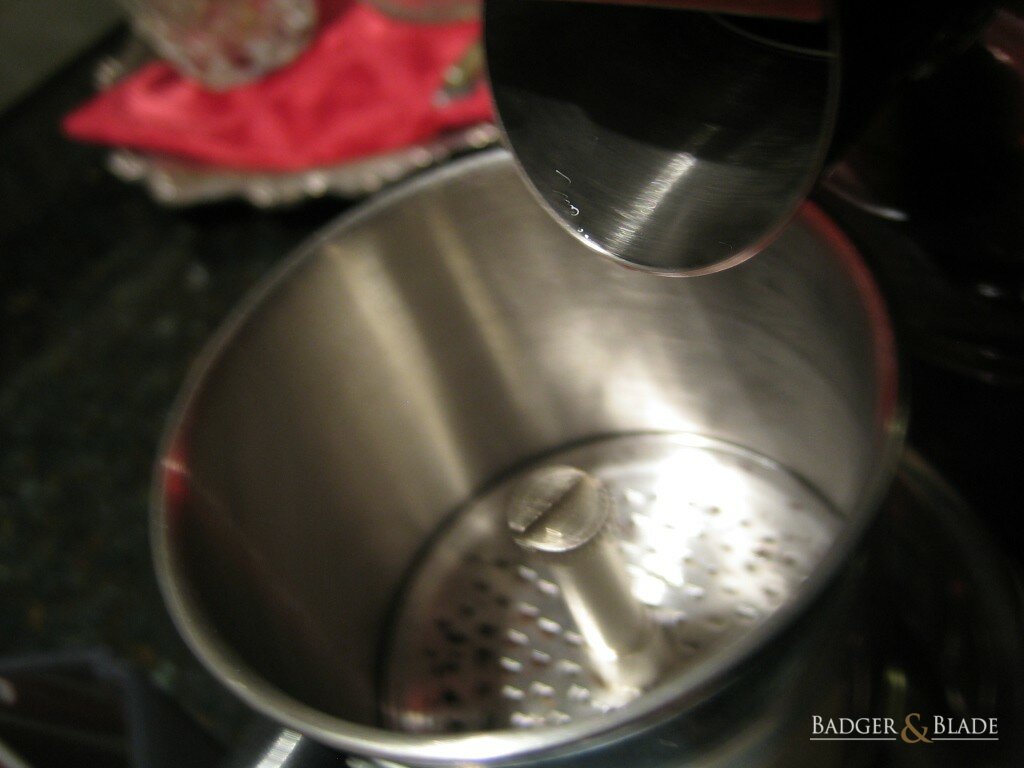
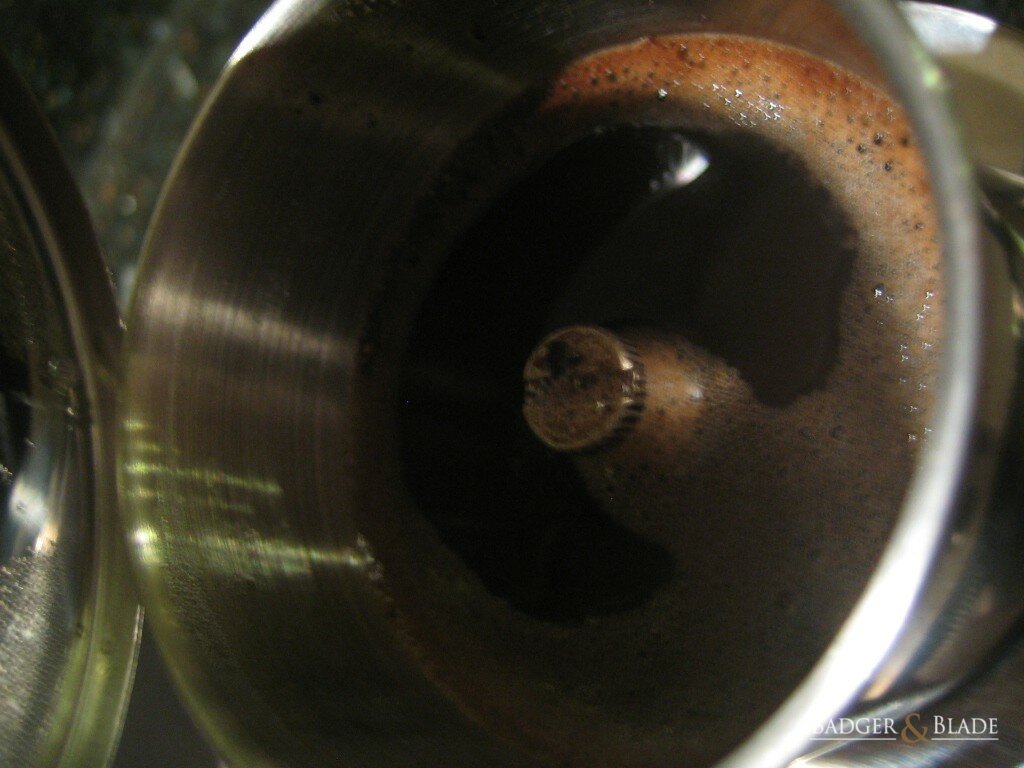
Step 4: Remove the top of the coffee filter, then unscrew the top filter screen
Notice the size of the holes? You don't want "fines" in your grind, or they'll end up in your cup, and you'll be left with a bitter brew...
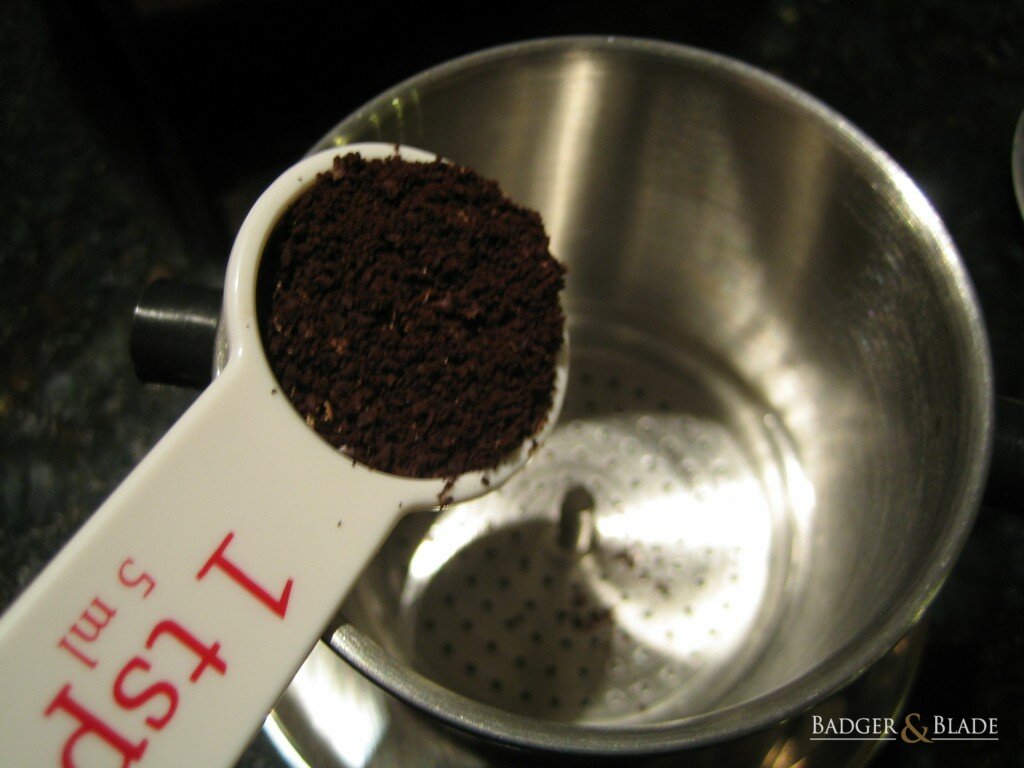
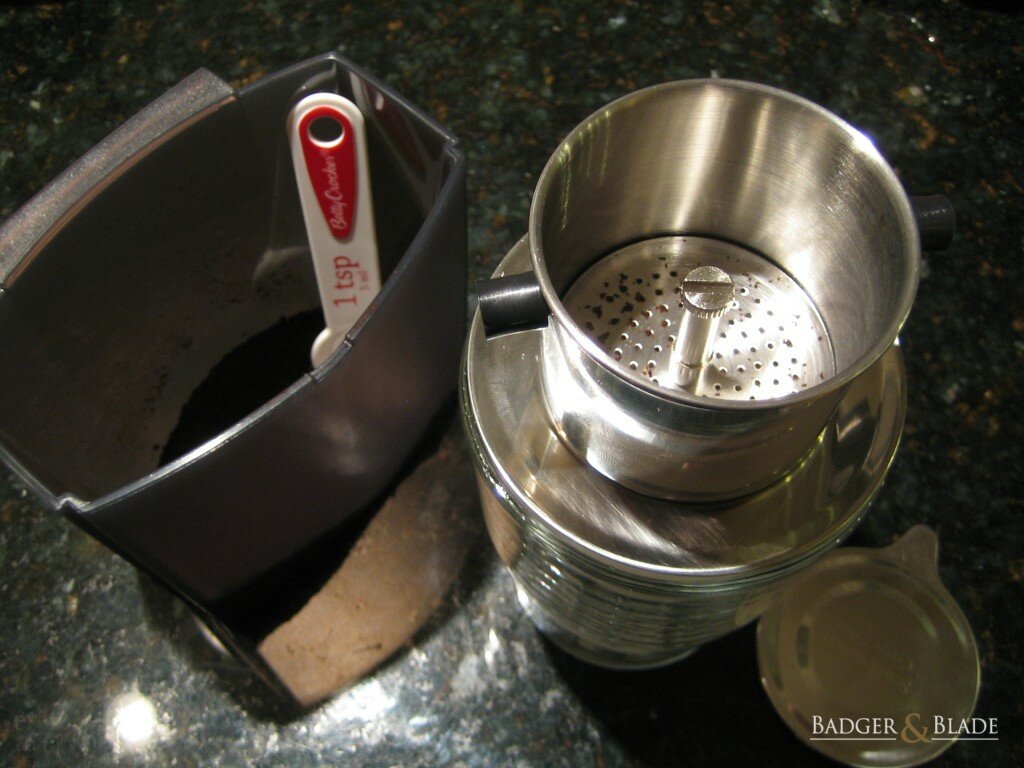
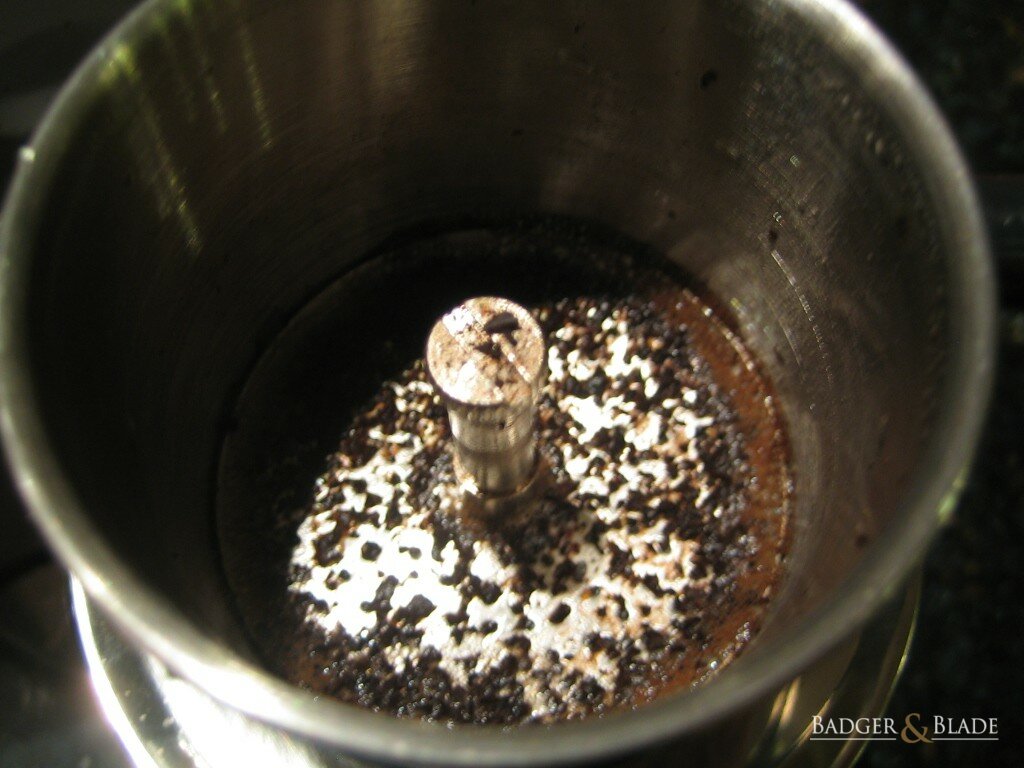
Step 5: Pour 4 teaspoons of freshly ground coffee into the filter and then lightly shake the filter back and forth to evenly distribute the ground coffee as level as possible...
Step 6: Put the top filter in place, and turn the screw/top filter clockwise to tighten it. You want the top filter to be lightly snug against the ground coffee. This is an essential step - you'll read in some places to turn the top filter 2X, to leave it loose, or to really tighten it down - all of these are incorrect instructions and will yield poor results. If you screw it down too tightly, the ground coffee cannot expand enough, and with the application of boiling water when the coffee AND metal expand, you won't be able to loosen the top filter until cool. If you have it too loose, the ground coffee will expand TOO much and it will brew too quickly, leaving a sour and weak brew. Again - just tighten it until lightly snug.
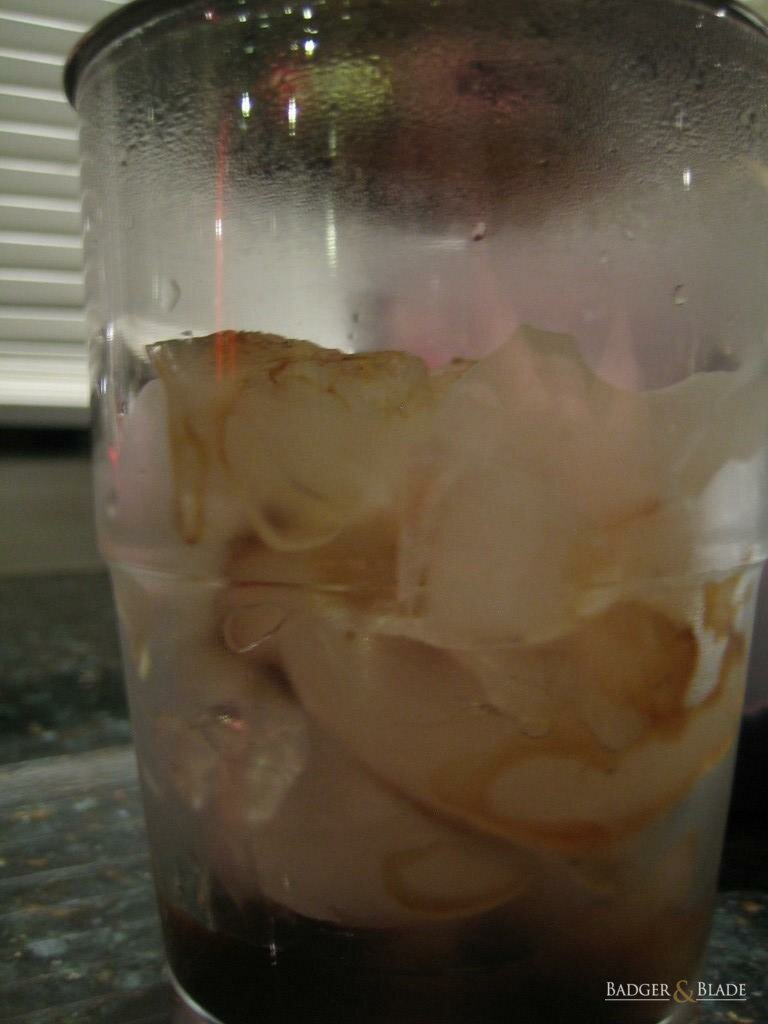
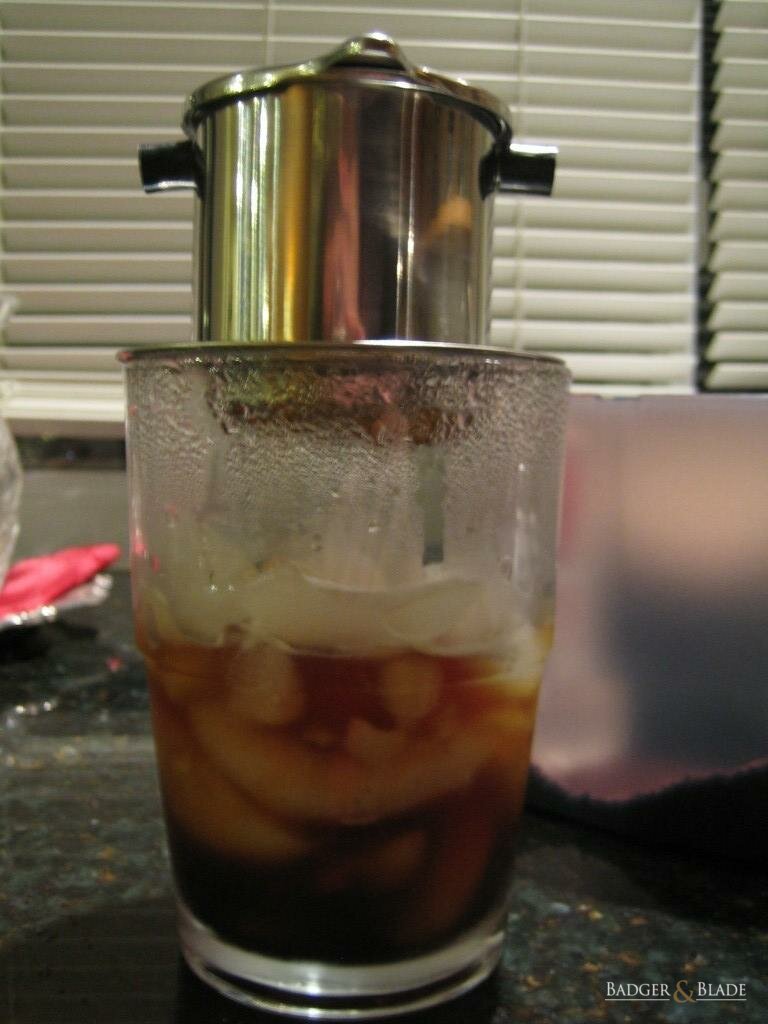
Step 7: Add ice if making an iced coffee and place the filter on top of your cup. In this instance I used ice, and personally feel this filter works best when making iced coffee.
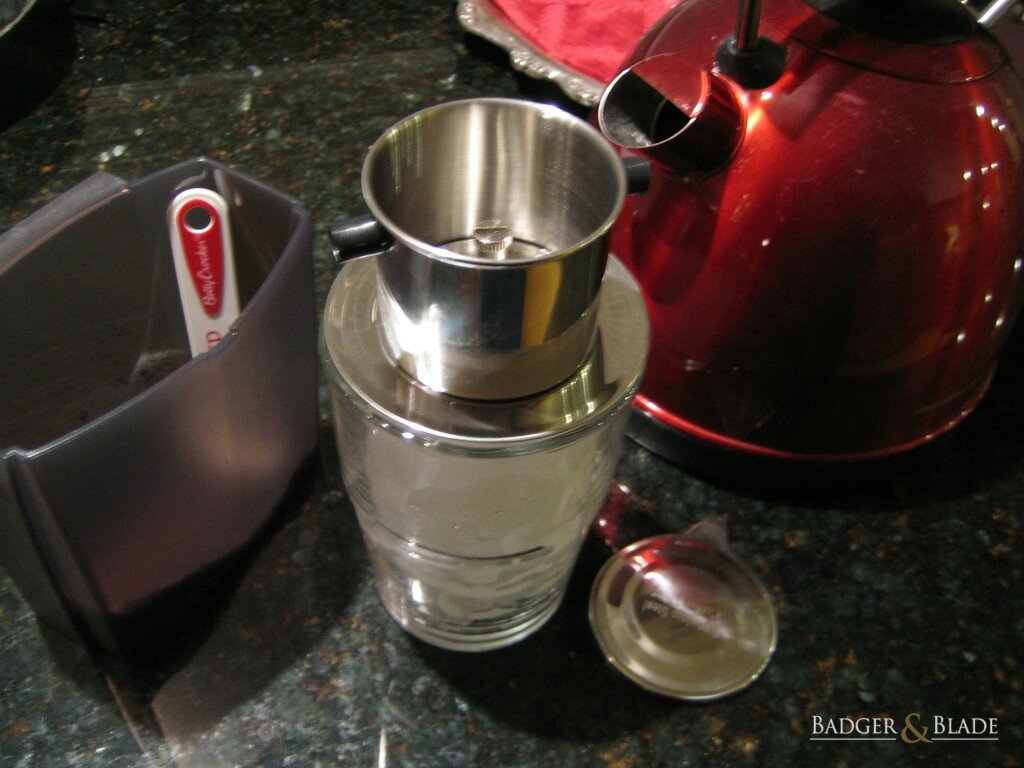
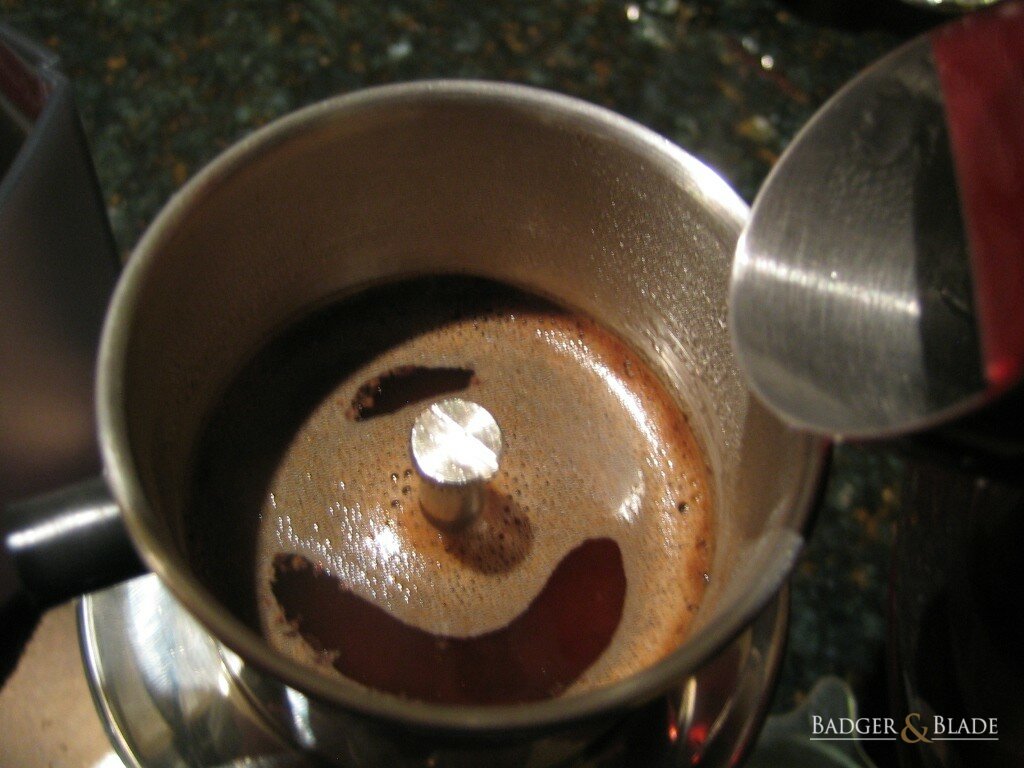
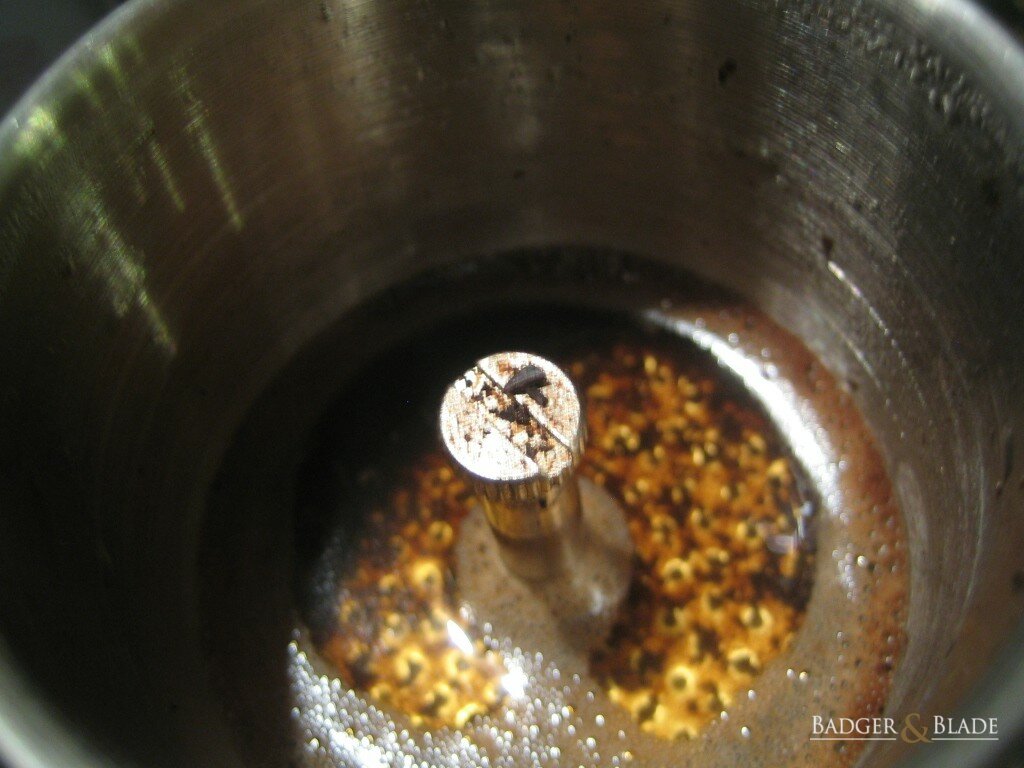
Step 8: Fill the filter about 1/4 full with water that had just been taken off a boil and take care not to pour water onto the center screw (you'll see why in step 9)...
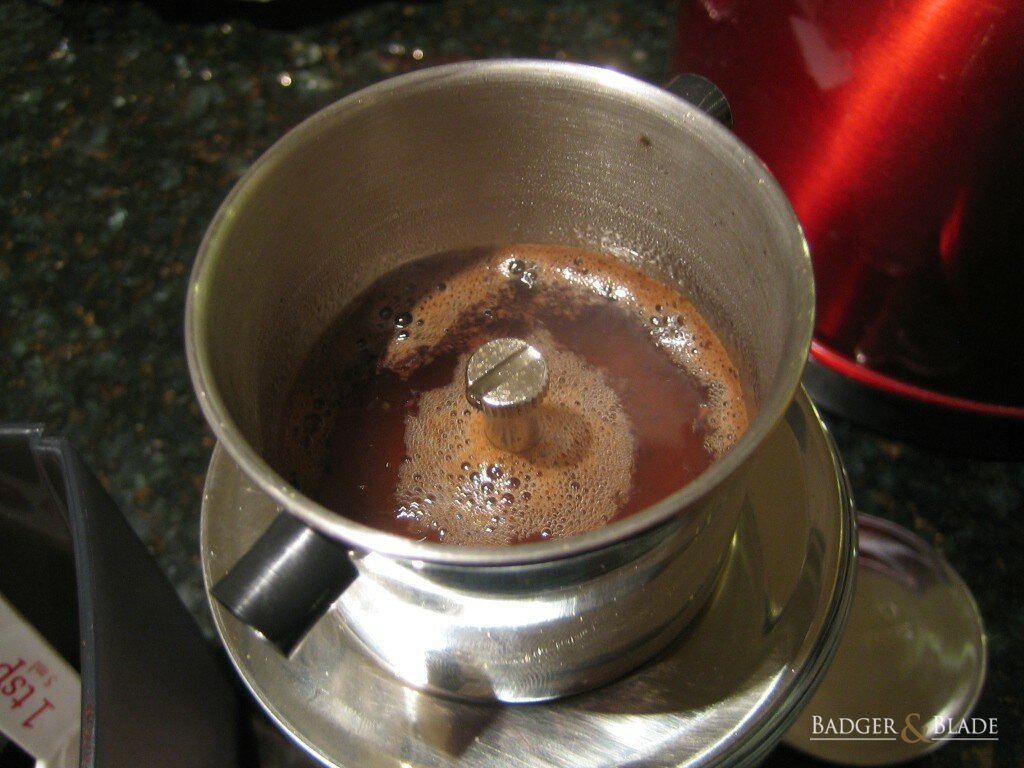
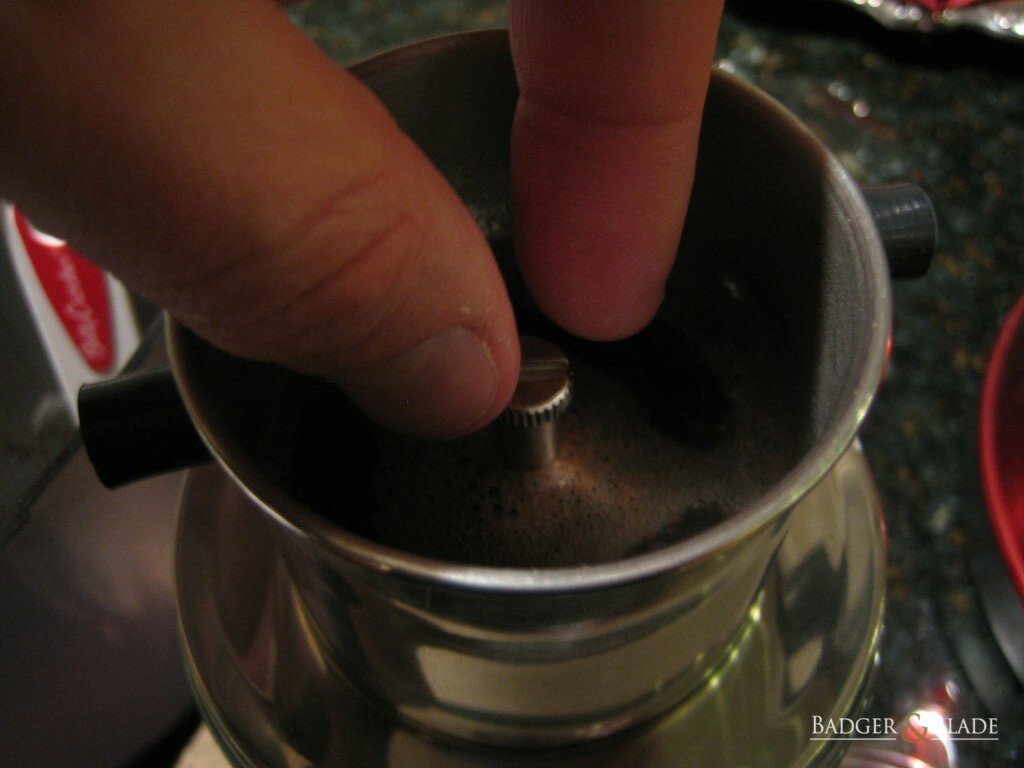
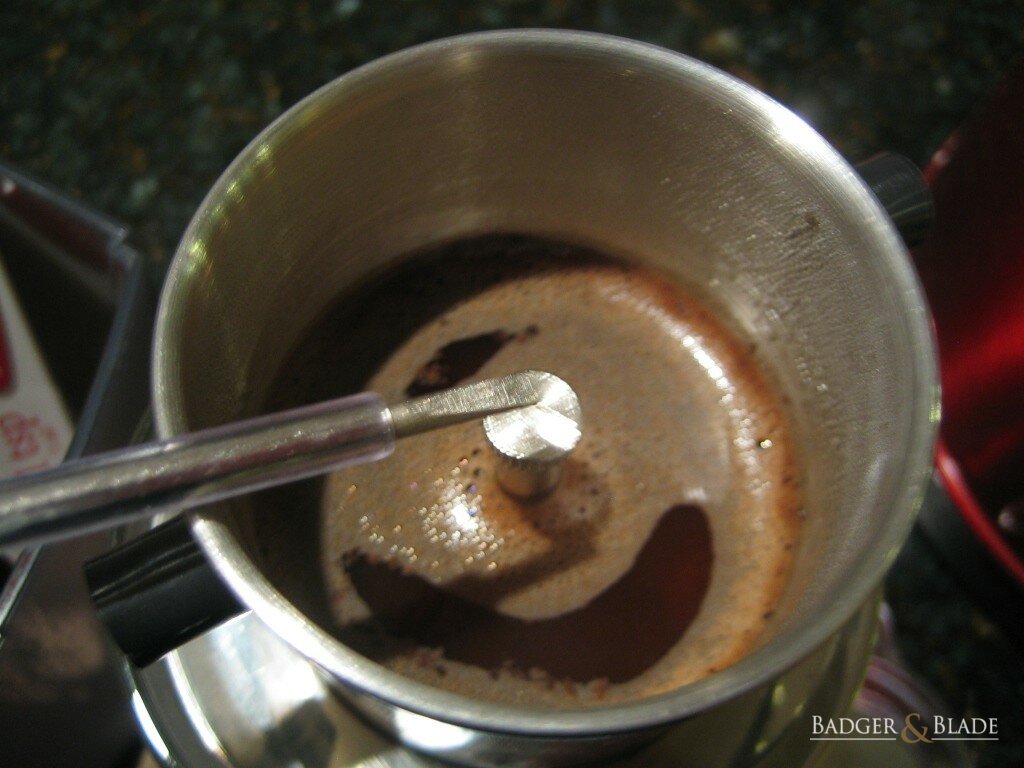
Step 9: Wait 30 seconds, then twist the top screw 2 rotations counter clockwise to loosen the top filter a bit, help better distribute the water, and allow the ground coffee to expand a bit - but not too much, so as to have the proper flow. Note: if you've poured boiling water on the top screw, it will be too hot to touch, so you may need to use a flat head screwdriver...
Step 10: Fill the filter to the top with the 200+ degree water from your kettle and put the metal lid on the filter. Note: the kettle you initially used to fill the first 1/4 of the filter at this point will be about perfect brewing temperature of around 200-205 degrees fahrenheit.
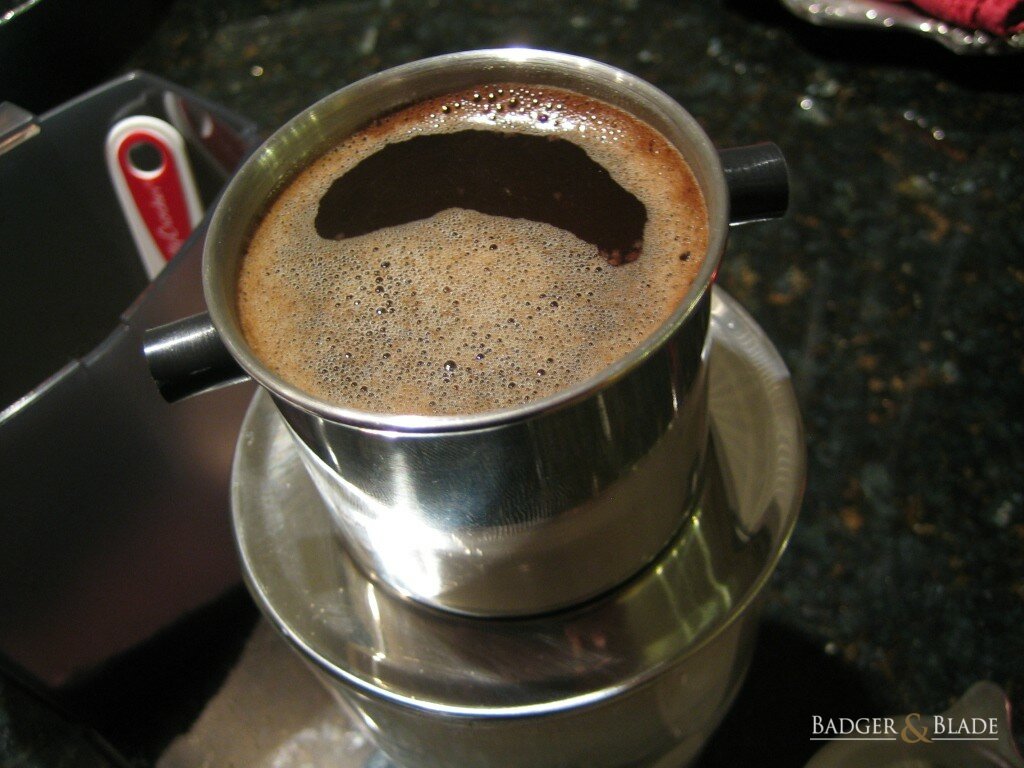

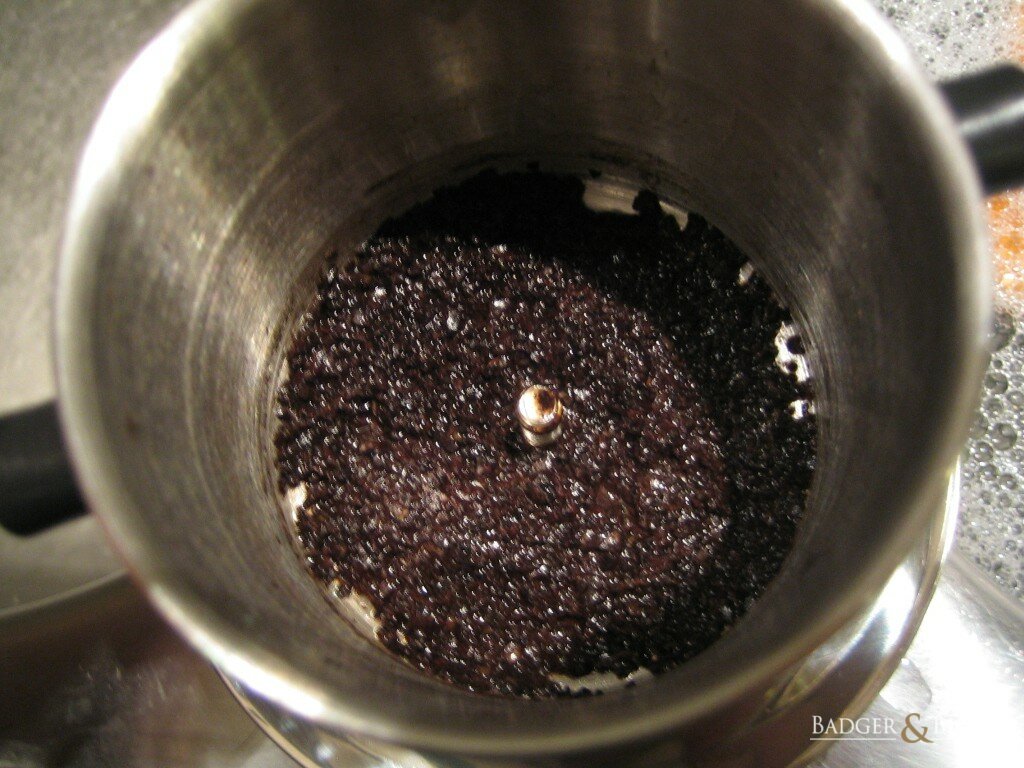
Step 11: Wait for the coffee to brew...

Drippin' away...
Half way there....
Getting close....
Done!
Step 12: Pick up the filter (still over your cup) and take off the top lid, and place the filter on top of the lid. This will allow you to move it to the sink, or to a waste receptacle to dump out the ground coffee, without spilling any molten hot residual drops of coffee on the floor, your feet, or your hands.
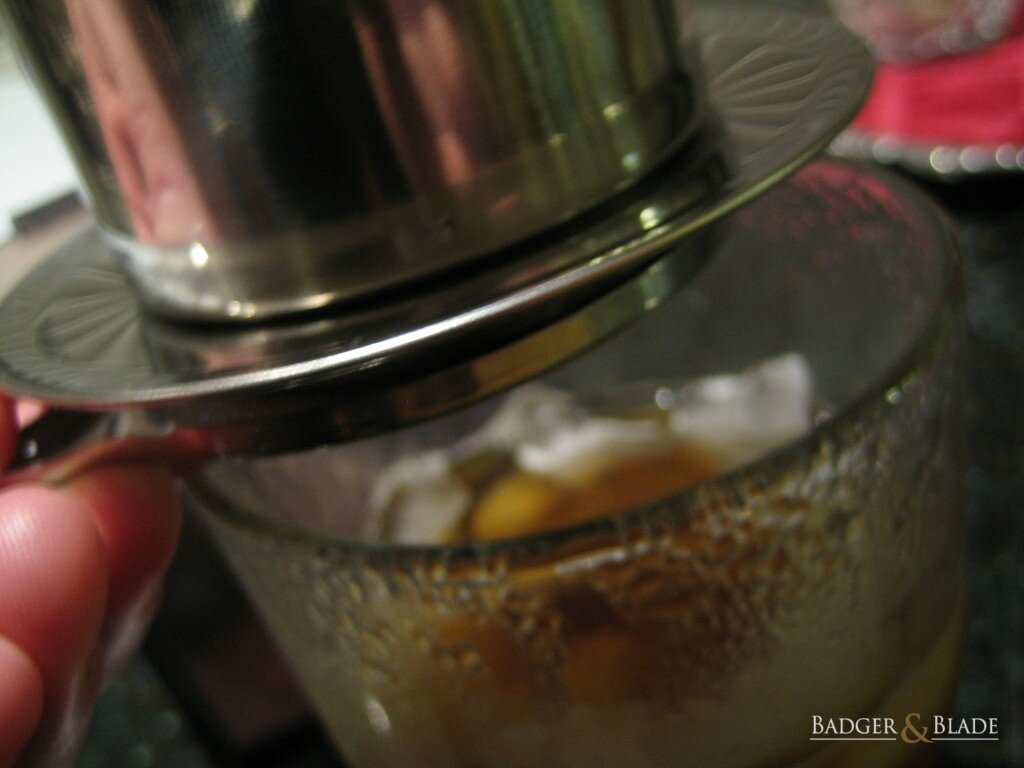
Step 13: Twist the top screw counter clockwise until the top filter is free, then dump the spent grounds into a waste receptacle.
Step 14: Enjoy some fabulous coffee, and if you care to - add a splash of milk - you won't need, or want to add much - especially in iced form, as this will be a wonderfully flavorful brew - and if done right, have no acidity or harshness...
Straight...
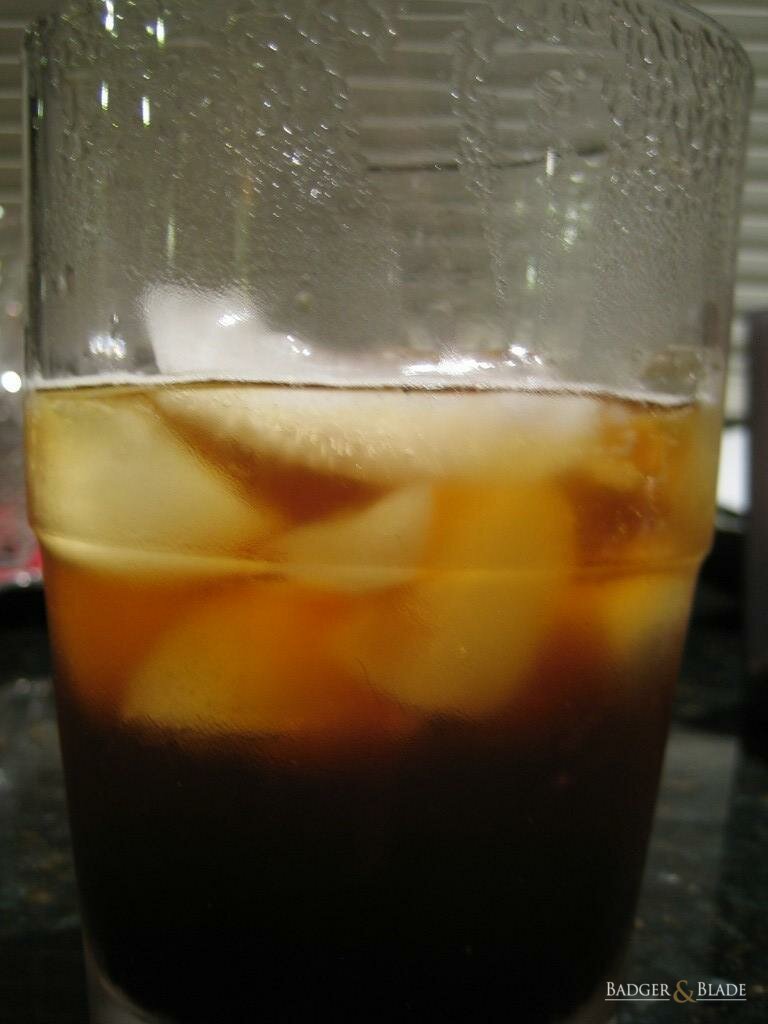
Slash of milk...
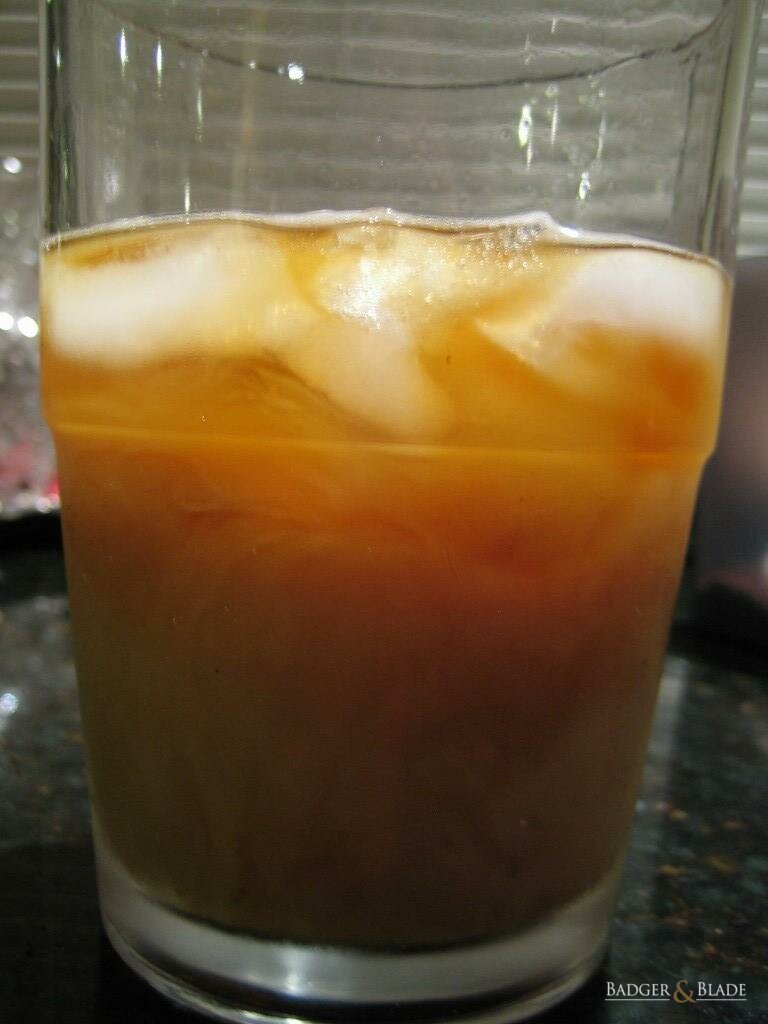
Enjoy!
For all intents and purposes - consider this more a tutorial on how to make exceptional coffee using a Vietnamese coffee filter - versus doing it in a pure "traditional" manner. Vietnamese coffee filters are quite common, and can often be found at Asian markets for around $5.
Step 1: Acquire some high quality coffee - ideally full city + as anything above FC+ starts to lose body/character. For this particular cup, i've chosen a DELICIOUS organic Mexican Terruno Nayarita washed reserve, roaster to Full City + on a Behmor 1600 (8oz of beans roasted at 19 minutes on P4). Use poor quality coffee, get poor results, use fresh roasted, quality coffee - prepare to be shocked...
Before and after:
Step 2: Grind fresh coffee beans with a good quality burr grinder. This is essential - as the filter holes are larger than that of a french press, so if you use a poor quality grinder that is inconsistent or produces "fines" when grinding for a french press, it won't cut it. I use the second coarsest setting on my Vario, but you most certainly do not need that high end a grinder.
Step 3: Put together the items you'll need for preparation.
1.) Coarse ground coffee (french press setting)
2.) Cup
3.) Teaspoon measurement
4.) Water boiler (or source for boiling water)
5.) Vietnamese metal coffee filter
6.) *OPTIONAL* Flat head screw driver
7.) *OPTIONAL* Ice
8.) *OPTIONAL* Milk (of your choice)
Step 4: Remove the top of the coffee filter, then unscrew the top filter screen
Notice the size of the holes? You don't want "fines" in your grind, or they'll end up in your cup, and you'll be left with a bitter brew...
Step 5: Pour 4 teaspoons of freshly ground coffee into the filter and then lightly shake the filter back and forth to evenly distribute the ground coffee as level as possible...
Step 6: Put the top filter in place, and turn the screw/top filter clockwise to tighten it. You want the top filter to be lightly snug against the ground coffee. This is an essential step - you'll read in some places to turn the top filter 2X, to leave it loose, or to really tighten it down - all of these are incorrect instructions and will yield poor results. If you screw it down too tightly, the ground coffee cannot expand enough, and with the application of boiling water when the coffee AND metal expand, you won't be able to loosen the top filter until cool. If you have it too loose, the ground coffee will expand TOO much and it will brew too quickly, leaving a sour and weak brew. Again - just tighten it until lightly snug.
Step 7: Add ice if making an iced coffee and place the filter on top of your cup. In this instance I used ice, and personally feel this filter works best when making iced coffee.
Step 8: Fill the filter about 1/4 full with water that had just been taken off a boil and take care not to pour water onto the center screw (you'll see why in step 9)...
Step 9: Wait 30 seconds, then twist the top screw 2 rotations counter clockwise to loosen the top filter a bit, help better distribute the water, and allow the ground coffee to expand a bit - but not too much, so as to have the proper flow. Note: if you've poured boiling water on the top screw, it will be too hot to touch, so you may need to use a flat head screwdriver...
Step 10: Fill the filter to the top with the 200+ degree water from your kettle and put the metal lid on the filter. Note: the kettle you initially used to fill the first 1/4 of the filter at this point will be about perfect brewing temperature of around 200-205 degrees fahrenheit.
Step 11: Wait for the coffee to brew...
Drippin' away...
Half way there....
Getting close....
Done!
Step 12: Pick up the filter (still over your cup) and take off the top lid, and place the filter on top of the lid. This will allow you to move it to the sink, or to a waste receptacle to dump out the ground coffee, without spilling any molten hot residual drops of coffee on the floor, your feet, or your hands.
Step 13: Twist the top screw counter clockwise until the top filter is free, then dump the spent grounds into a waste receptacle.
Step 14: Enjoy some fabulous coffee, and if you care to - add a splash of milk - you won't need, or want to add much - especially in iced form, as this will be a wonderfully flavorful brew - and if done right, have no acidity or harshness...
Straight...
Slash of milk...
Enjoy!
Last edited by a moderator:


 Do you ever brew real strong coffee with it? Similar to what you might get in Europe? I don't have one of these at home, but when I've had it brewed for me before they only used approx half that much water (not sure how much coffee). OP drank their cup with lots of condensed milk (half coffee and half milk) whereas I added more hot water to my cup to get an americano style drink. Which turned out real nice. Overall I was left thinking this may be less fuss than the Aeropress brewer since there is no paper filter to worry about and no need to plunge. Just need to get a feel for loading with right pressure so that it will drip through properly.