What's new

Step-by-step Ever-Ready brush restoration

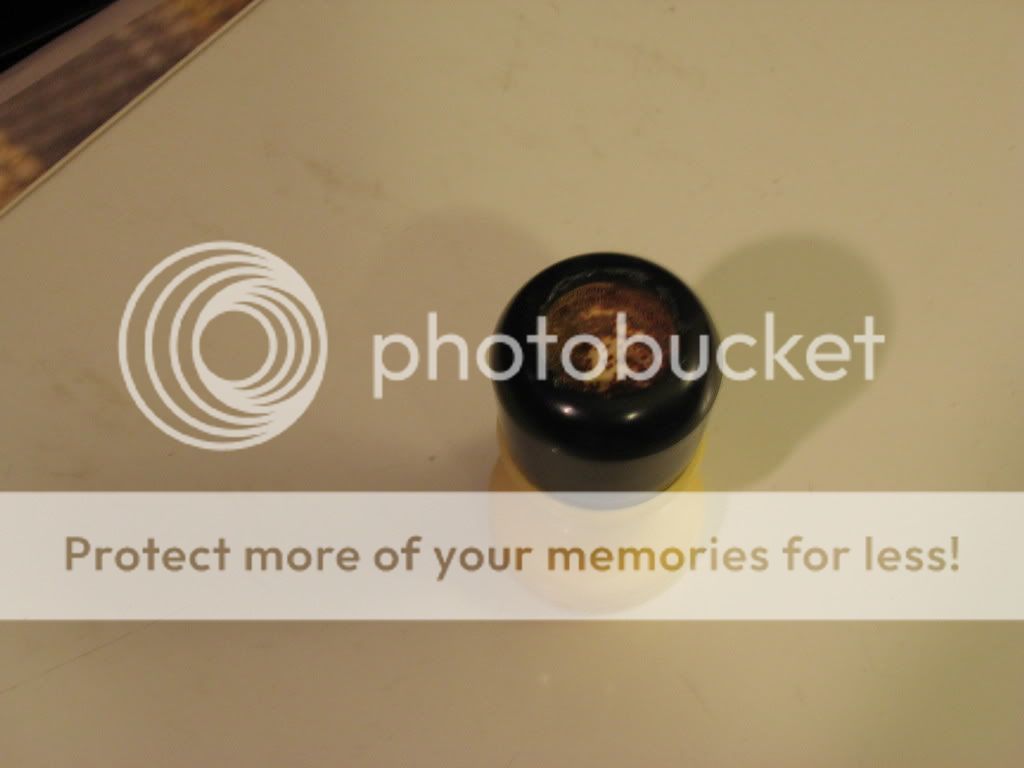
I have a rubber set 200. And it is hollow. I didn't occur to me that it was until it was too late. Actually it says set in rubber. Very thin layer of plastic/rubber? under the epoxy for the knot, it has broken apart quite a bit. I still have enough to epoxy the .5mm disk I cut to go across to seat the knot.

However, now after cutting the stinking little .5mm disk and sanding it round enough to drop smoothly in do you mention filling the entire handle with epoxy....

Thanks, I might try that.

Anybody know how deep the 24mm knots at golden nib have to sit in the handle?
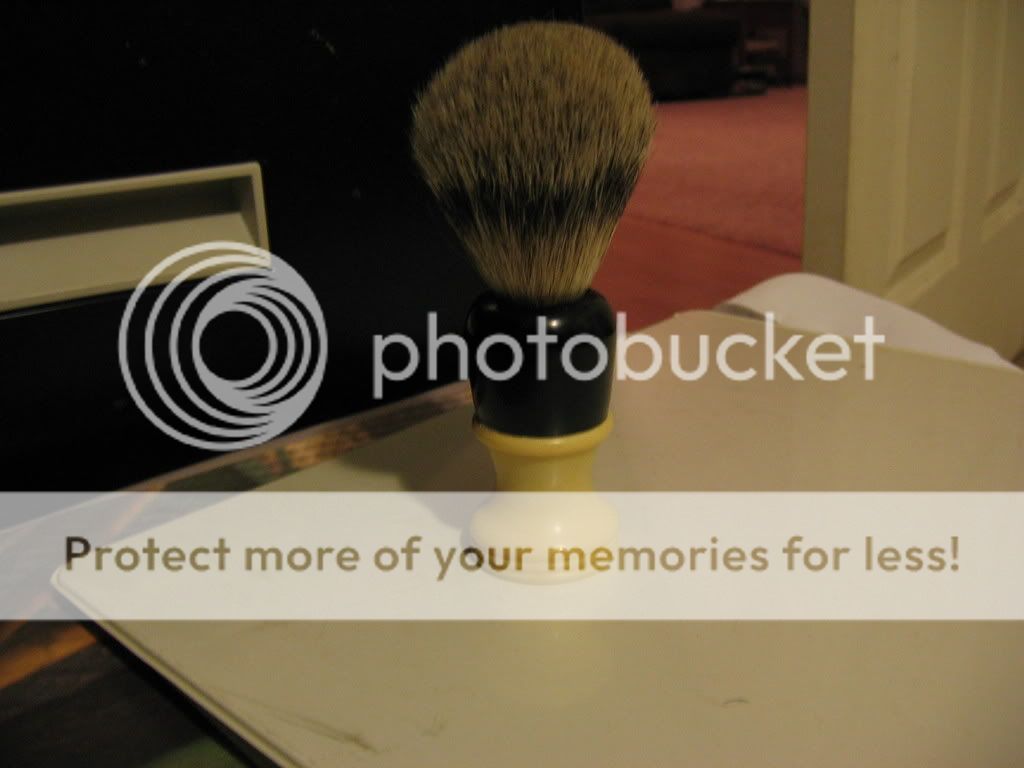
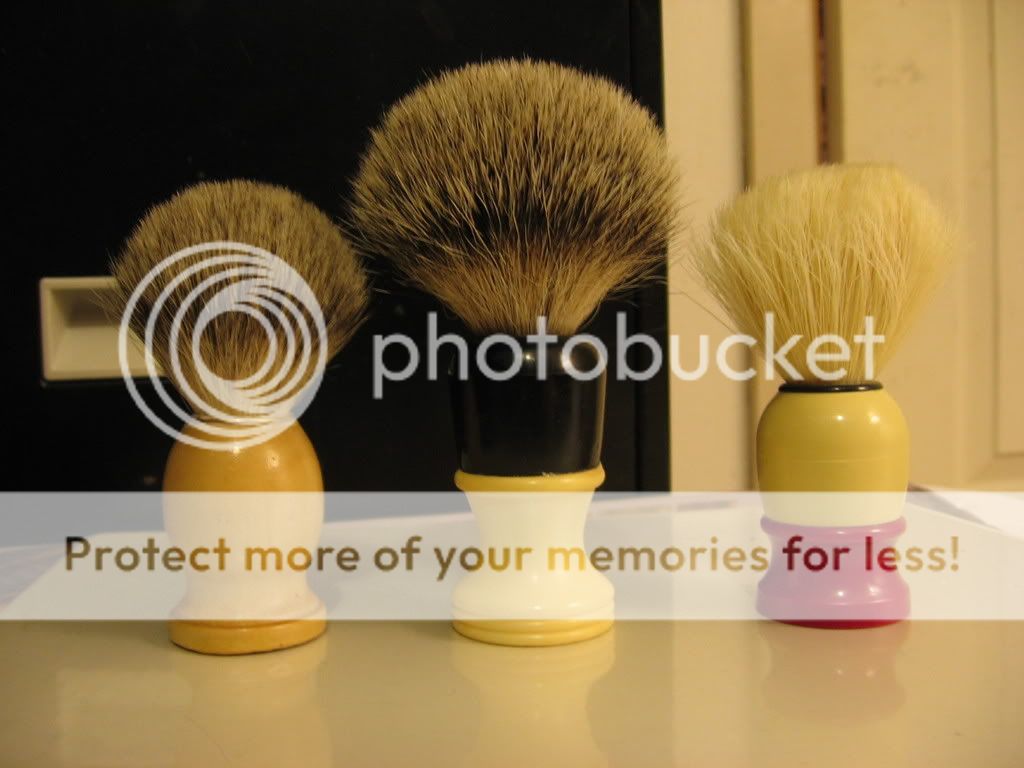
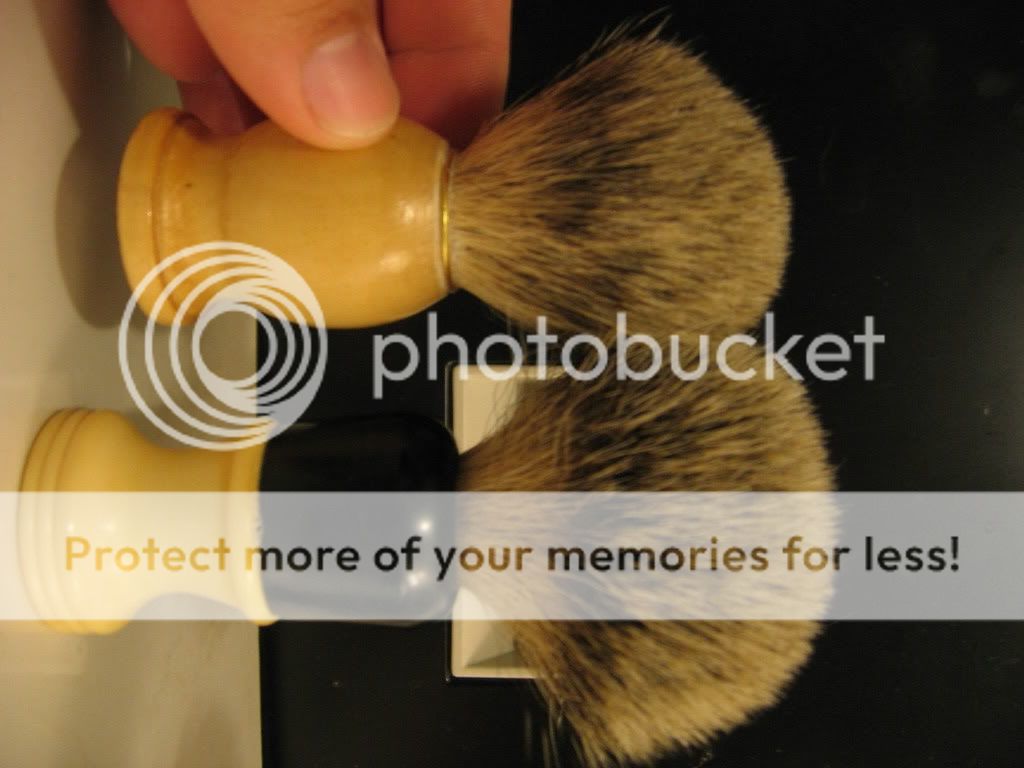
 
They have a disk of them at the bottom which was about 1/8"- 3/16" thick that needs to sit below the surface at the very least. I'd recess the knot about 1/2" personally.

Yeah sorry I was a little delayed with the epoxy answer...
 
wonder if this would work:
- acquire short piece of dowel rod ( or any other cylindrical device) the same diameter as opening in handle/knot
- fill with enough epoxy to fill inside diameter of handle, insert rod desire distance into handle, turn upside down to dry
- once epoxy sets, remove rod to create custom badger knot seat

don't know if it would be possible, but it's a thought

it would save some weight from filling the entire handle up, but then it would be top heavy anyway, so never mind :blush:
 
2 questions..

1) it appears that the old ever-ready I started working on is a 23 mm. Any ideas if it would be better to open it up a little more to take a 24 mm knot or should I assume a 22mm with 1mm epoxy filler?

2) While cleaning out the old knot, I guess I got over aggressive (or it was already cracked) but I broke off a chunk of the plastic/rubber bottom that the knot rests. With the brush being hollow, will it be the ruination of any knot I now put in this handle when there is nothing for the knot to rest on?


1. Blankity Blanks has 22mm knots.

2. unless you punched the entire brush support out, it's not a problem. My first handles had a few holes, but for the most part the support remained. If you lost the whole support, you can stuff paper to the correct height, place a chipboard shelf on top of the paper, and when yu epoxy the knot in, the epoxy will hold the brush to the rim.
 
very timely advice; however, I have the first steps down, already done with one old brush, just needing the info on gluing the knot into a hollow handle :confused:

I use a black marine epoxy that I got at Arrow / Tru Value Hardware. you mix the 2 part of the epoxy together, and place a dab on the end of the knot with a popsicle stick. You can put a little epoxy on the inside perimeter of the handle also. Use good judgement. "less is more." The last thing yo want is to have the epoxy come gushing out oon the handle.
 
I have a couple of question as well regarding the knots from the sites you have listed. I am thinking of buying a buffalo horn handle and then get the knot and make it myself.

Now my question is that are these knots just as good as say Shavemac or other makers? and the second question is how to determine which knot size to use?

Thanks for the great tutorial :)

I have a Shavemac and these are just as good. Great quality and densely packed.
 
Aaron... not upset by the delay with the epoxy answer. I appreciated getting any answer.

I e-mailed Tony directly and he informed me that the knot should sit 3/8 to 1/2 inch in. Which matches what Aaron responded as well. He suggested epoxying cork to fill the hollow area.

I checked the depth of the opening on the Ever-Ready I was working on. It isn't quite 3/8 to start with. If I added the disk, the knot wouldn't sit deep enough. So, I will need to punch out what is left of the bottom. I am not sure where to get a piece of cork that large, but I am thinking that I might just use a piece of dowel to fill the hollow area (concerned about weight) or styrofoam (concerned about longevity). Hmmmmm..... what if I filled it with high density spray foam? I could then go back and drill the knot hole again.. Will the foam be strong enough to last? Will the epoxy break the foam down?

Ugh... At a certain point, it will become cheaper to buy a new brush.
 
Outstanding work lads. Excelsior! There's going to be a sudden surge of guys in the "just-out-of-town" antique stores tomorrow looking for good deals on old brushes.
 
Here's a few more that I've done. Note the Fuller brush with white epoxy. This was my first restoration and I learned never to use white marine epoxy.
 
I just used some clear epoxy wood coat called glazecoat to fill mine but then again I've got one with a clear lucite handle so if there was cork in it you'd be able to see it.
 
I use a black marine epoxy that I got at Arrow / Tru Value Hardware. you mix the 2 part of the epoxy together, and place a dab on the end of the knot with a popsicle stick. You can put a little epoxy on the inside perimeter of the handle also. Use good judgement. "less is more." The last thing yo want is to have the epoxy come gushing out oon the handle.

thanks
my question actually got sort of clarified, I didn't do good job of such; one brush I accidentally drilled out the entire knot "shelf", so my question was how to glue the knot to the hollow handle; now we have several suggestions, so I'll have to ponder on how I want to exactly do it.
I'm cleaning up my second brush, and though I've drilled a couple of holes already through the shelf, I think if I'm careful I can salvage enough to mount the knot without issue
thanks again
 
well, I've taken pictures to of my little accomplishment, and have used it twice now....Wow! I got the 20mm silvertip from goldennib, I can't see myself needing anything bigger, the thing nearly covers the entire side of my (shaving area of my) face as I lather, and whips up lather like crazy!
awesome

proxy.php


proxy.php


prior to first use:
proxy.php


after 2nd use, and with Tweezerman and Burma Shave for comparison:
proxy.php


a little side by side comparison for the restored ever ready and tweezerman, for loft and handle size, I tried to hold the bottom of knot level:
proxy.php


and looking down:

proxy.php


(please ignore the toes, wasn't aware they snuck in the picture :biggrin1:)
 
Wine bottle???

Cheers

Mat


Actually, I found that I can take 2 corks (each 1" X 5/8") and glue them together to get the length and diameter I need.

The new knot came into today! YAY! Unfortunately, my epoxy and corks are at school. We have flooding damage and are off for the day. Who would have thought we would have had 13" of rain from Ike in Indiana...
 
stopped by and looked at a Rubberset brush I know of in a local antique store, has anyone restored one of those? can't tell if it's hollow or not, it's black and red, black part where the knot goes. it's only $6, very tempting...
 
Top Bottom