I have been wanting to make a brush and actually posted about it shortly after I got started DE shaving with soap/brush.
I have been in the garage doing other projects and went off on a tangent a couple times to tinker with some scrap maple from a piece I made a few years ago.
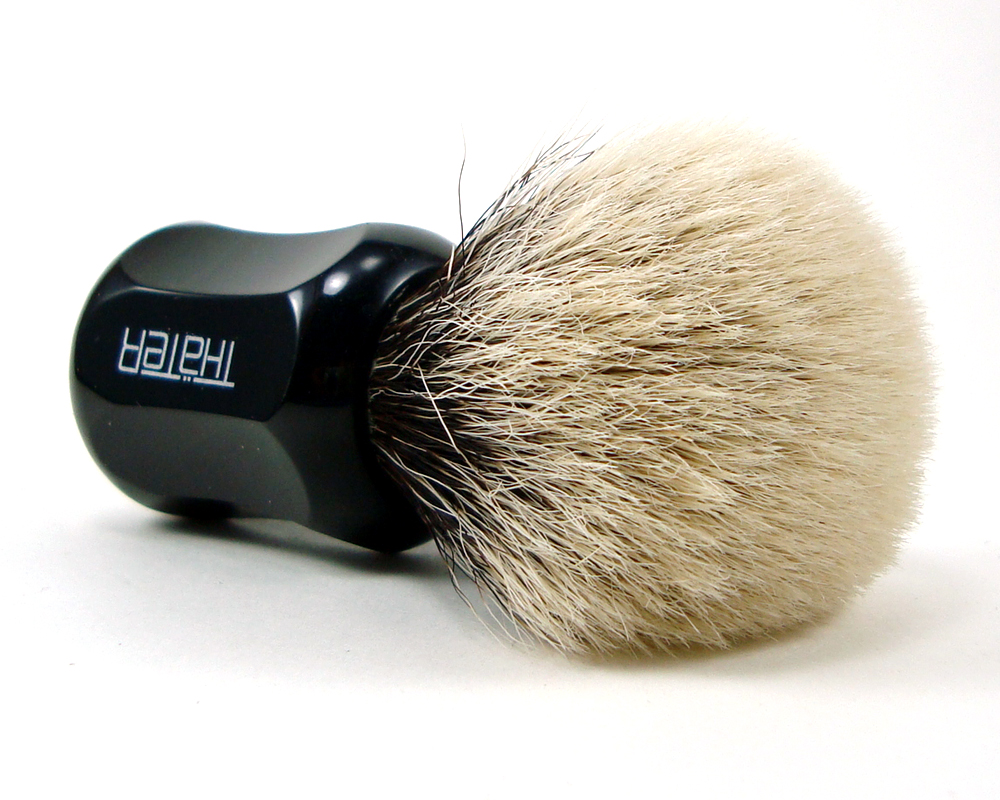
I've always loved the look of the Thater handles so that's where the inspiration for this came from.
Started by squaring up the stock and then cutting off the corners.

Traced a rough outline and made a stencil/pattern from it.I traced this on opposite angled faces and then just roughed it out with the nose of a combo belt/disc sander. The horizontal lines were just to keep me from going too far up or down while shaping it.


I did 4 opposing sides with the guidelines and then did the "in-between" sides by eye.
I'm going to borrow my neighbor's drill press to bore a 1" knot hole, maybe 15 or 20mm deep, and a pilot for a mandrel (cut off lag screw). Then my plan is to spin it in a drill while I use the belt sander to round off the top and bottom circumferences and have that blend to the sharper corners on the concave sides.
The concave starts so low because the diameter is a little small for a 24mm knot to fit already and I didn't want to break through when I bore the hole that deep. I face lather almost all the time so I'm hoping to get it set in the 48mm range. This will be my first badger so I'm not sure exactly what I'll like yet. I figure I can always trim the top and re-round it later if I prefer a little more loft.
Not sure what I'll get for a knot just yet.
Just felt like sharing.
I have been in the garage doing other projects and went off on a tangent a couple times to tinker with some scrap maple from a piece I made a few years ago.
I've always loved the look of the Thater handles so that's where the inspiration for this came from.
Started by squaring up the stock and then cutting off the corners.
Traced a rough outline and made a stencil/pattern from it.I traced this on opposite angled faces and then just roughed it out with the nose of a combo belt/disc sander. The horizontal lines were just to keep me from going too far up or down while shaping it.
I did 4 opposing sides with the guidelines and then did the "in-between" sides by eye.
I'm going to borrow my neighbor's drill press to bore a 1" knot hole, maybe 15 or 20mm deep, and a pilot for a mandrel (cut off lag screw). Then my plan is to spin it in a drill while I use the belt sander to round off the top and bottom circumferences and have that blend to the sharper corners on the concave sides.
The concave starts so low because the diameter is a little small for a 24mm knot to fit already and I didn't want to break through when I bore the hole that deep. I face lather almost all the time so I'm hoping to get it set in the 48mm range. This will be my first badger so I'm not sure exactly what I'll like yet. I figure I can always trim the top and re-round it later if I prefer a little more loft.
Not sure what I'll get for a knot just yet.
Just felt like sharing.