Intro
Buying soaps with their expensive containers isn't for everyone. For me, the fancy packaging is usually awkwardly shaped and far from ideal for loading your brush. The IKEA Grundtal is perfect in terms of price, functionality and design.
With my help, you'll be thoroughly enjoying your soap refills in a more practical way. I can't take credit for the idea, as I did steal the idea from other members, but I did improve upon what was suggested. I tried to print out a picture of the label to regular photo paper and fitting it snug within the lid, which quickly absorbed water, smeared the ink and lost it's shape. So, here is my contribution to the B&B community: the BMILCS GRUNDTAL PROJECT!

What You'll Need
Getting started is easy: head to Walmart and pick up the following:
- Scotch Self-Seal Laminating Pouches: 4.3 x 6.3
- Photo paper
- Regular or Double sided Scotch tape
Go to your local IKEA or order the following online:
- IKEA Grundtal Containers: http://www.ikea.com/us/en/catalog/products/80102919/
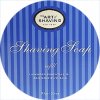
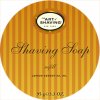
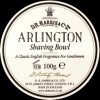
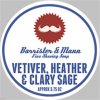
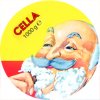
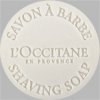
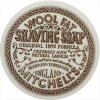
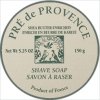
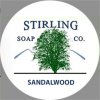
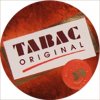
I went ahead and created a number of custom labels for the most common soaps. I will include them in a follow up post. The Adobe Photoshop (.PSD) Template that I designed can't be uploaded here but I can supply it if you email me. The exact size of the label is 254 Pixels x 254 pixels for those of you who are tech savvy, which is equal to 89.5 millimeters.
Getting Started
- Print out a label of your liking using Photo Paper. (Pictured above)
- Cut out the label within the outline of the design. There should be no white showing on the border of your cut out.
Applying the Laminate Pouch
The pouches are very straight forward and instructions are included within the package. HOWEVER, for our purposes, I recommend using the sticky side of the pouch to adhere to the printed side of the label. This is because when you cut off the lamination, only one side will stick to the paper - so the other side will fall off. You will need to tape the other side of the lamination to the under side of the label. If you were to do the opposite, the printed side of the label will have two nasty pieces of tape showing through. This is no good! So here's what I recommend:
- Open up the pouch
- Place the label inside, facing upward toward the sticky side of the pouch
- Remove the yellow strip and press it firmly so that it sticks to the opposite side.
- Remove the remainder of the packaging and press it securely to your label - smoothing it out as you go.

Cut The Label Out / Tape the under side
- Cut to the edge of your label - do not leave any excess plastic
- Keep the two pieces of laminate together by pinching them
- Lift the bottom side of laminate up and tape it together using double sided tape
- Admire your handy work!

Wrap it up already!
The label should fit perfectly within the lid of the IKEA Grundtal. Secure it with 4 pieces of regular Scotch tape and ENJOY!

I created this guide as it has been requested by many, many members of the B&B Community. The IKEA Grundtal is becoming the most popular way of storing your soaps and now you can do it with STYLE. I just spent 3 hours on this and hope that at least one person tries it out
- - THE BMILCS GRUNDTAL PROJECT - -
CUSTOM LABEL REQUESTS
If you would like me to design a label for a soap that I do not have listed here, feel free to message me or request one in this post. I am glad to design any logo you wish for your favorite soap and upload the image free of charge
PHOTOSHOP TEMPLATE
With the permission of the admins here at Badger & Blade, I supply you with this virus free link:
http://jmp.sh/v/mfcUoFiERboUhDwmqUhT
To download, click the "Download" button in the top right hand corner of your screen! Enjoy!
Last edited:
