What's new

Cleaning/ polishing

Hello,
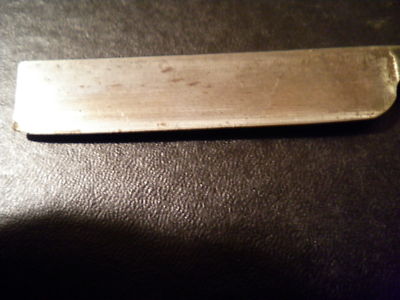
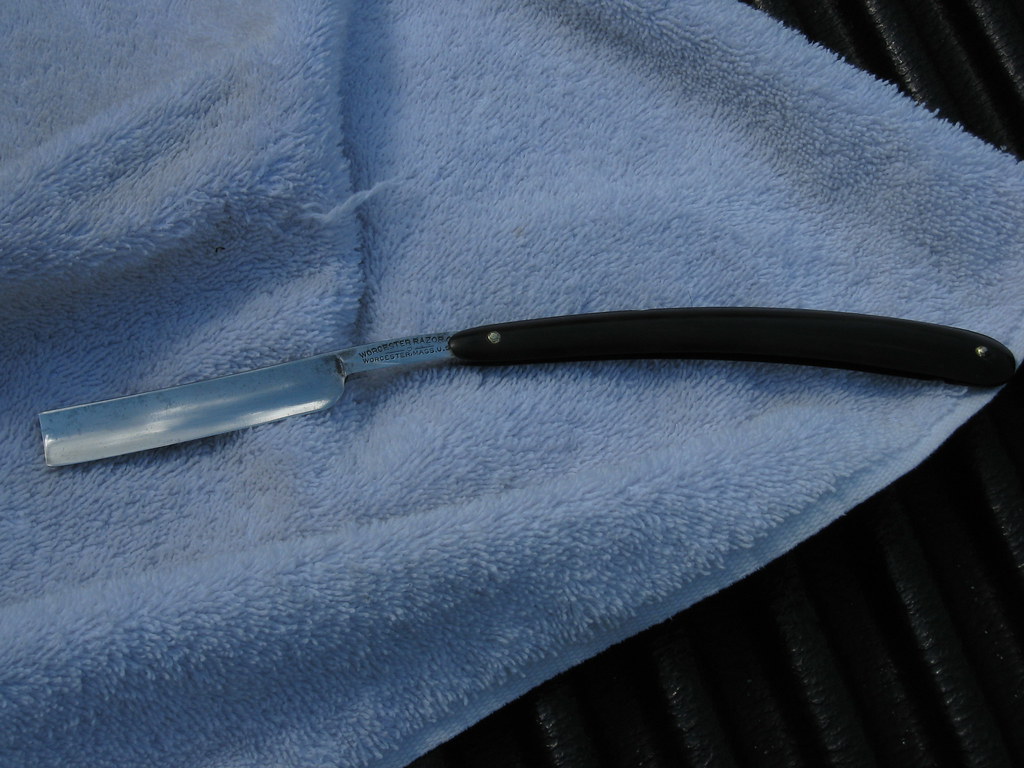
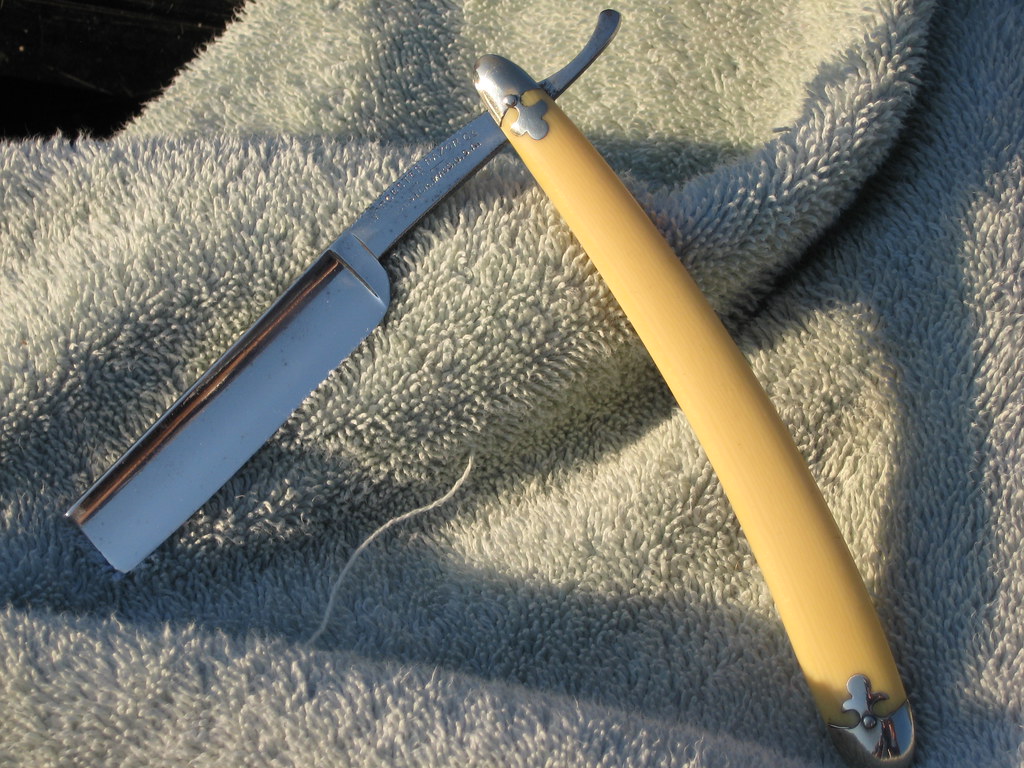
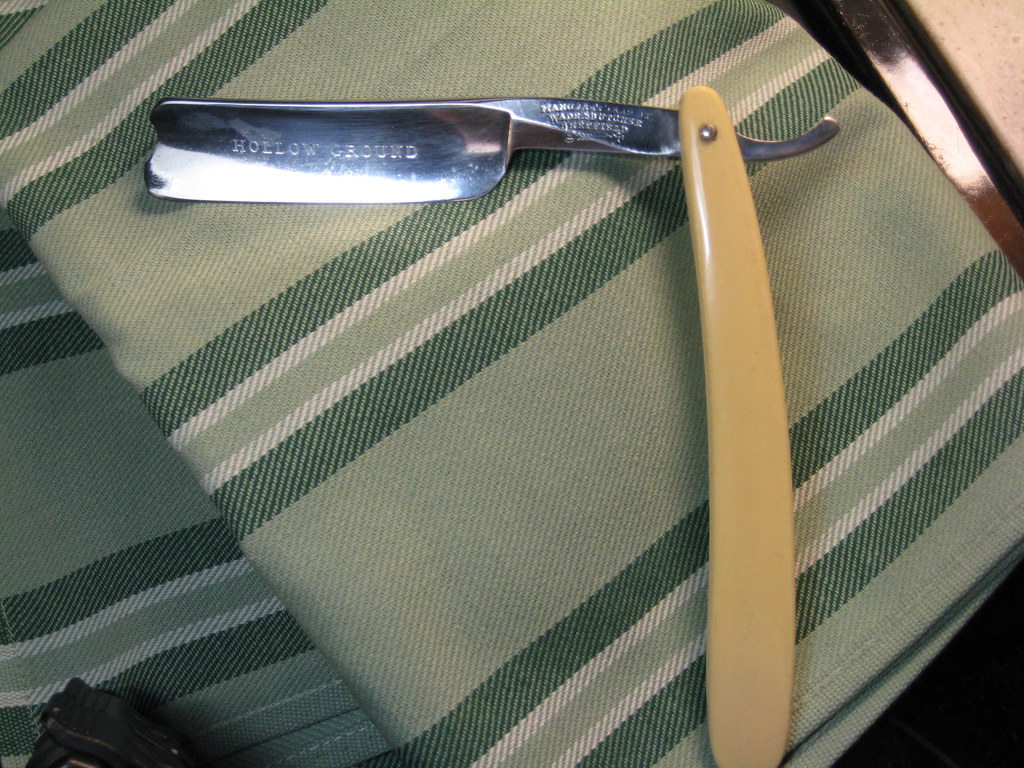
I have a whipped dog straight and I would like to give it a bit of clean and polish. I have a few questions to this end. First, what types of products should I use. Second, is it possible to clean a shave ready razor with out negatively effecting the edge, or should I wait till it needs to be honed and then clean it? Finally, is there any harm in leaving the blade in the scales for this process? I don't think I want to mess around with removing the blade since I have vary few tools. Thanks for your help.
 
It depends...
Picture of the razor? What are you trying to clean up or polish off? If you stay away from the edge, and just use hand-sanding and metal polish, you shouldn't have to rehone. If you're using buffers, it's going to require honing.
 

Kentos

B&B's Dr. Doolittle.
Staff member
I could never sand a blade without inadvertently dinging the edge on the table, with the sand paper, etc. If that whippeddog is your only razor I wouldn't do anything to it yet, just keep shaving. Once you have a back up, then sand it up, and if need be, hone it after.
 
Thanks for the advice. I will wait to attempt anything till I have another. Here is the razor, I was thinking of just trying to polish it up a bit. $IMG_2576.jpg
 
I would suggest waiting until you are ready to hone the thing before polishing, as you might otherwise damage the blade's already-prepared edge. Then, polish followed by honing. Solingen Puma paste using #0000 steel wool, as smalltank mentions, followed by final polishing with a rag, has always been good to me here in Frankreich. (No doubt there is a more suitable alternative closer to you at home.) A bit of black-rust pitting appears to exist on that baby, which may require hauling out the artillery (w/d sandpaper), as Kentos observes. You may also want to wear some tight-fitting latex or nitrile gloves during the attack, since loosened metal on the fingers can leave a bad taste in mouth. ;-)
 
Last edited:
That one cries out for descaling and buffing but you need to work within your means. Wait until it needs honing and then take a crack at it. You can do a lot without taking the pins out. Do yourself a favor and save the photo and then take another when you are done. Sometimes I find that I think I'm not getting anywhere but then compare it to where it was and get a nice surprise. There are a couple of spit marks that won't come out without some serious work but you might find that general cleaning will get it where you want it. It is OK to have a razor with a few travel marks - makes them more elegant IMHO.
 
So, I NEED to buy another straight razor so I can clean up this one?:001_smile 
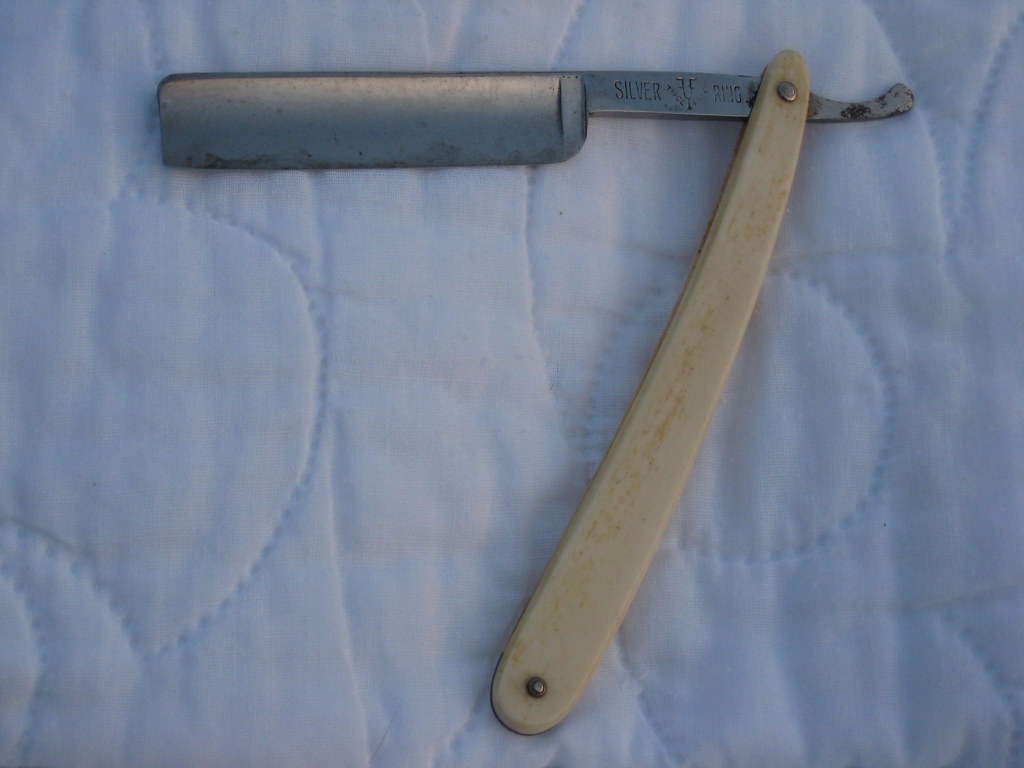
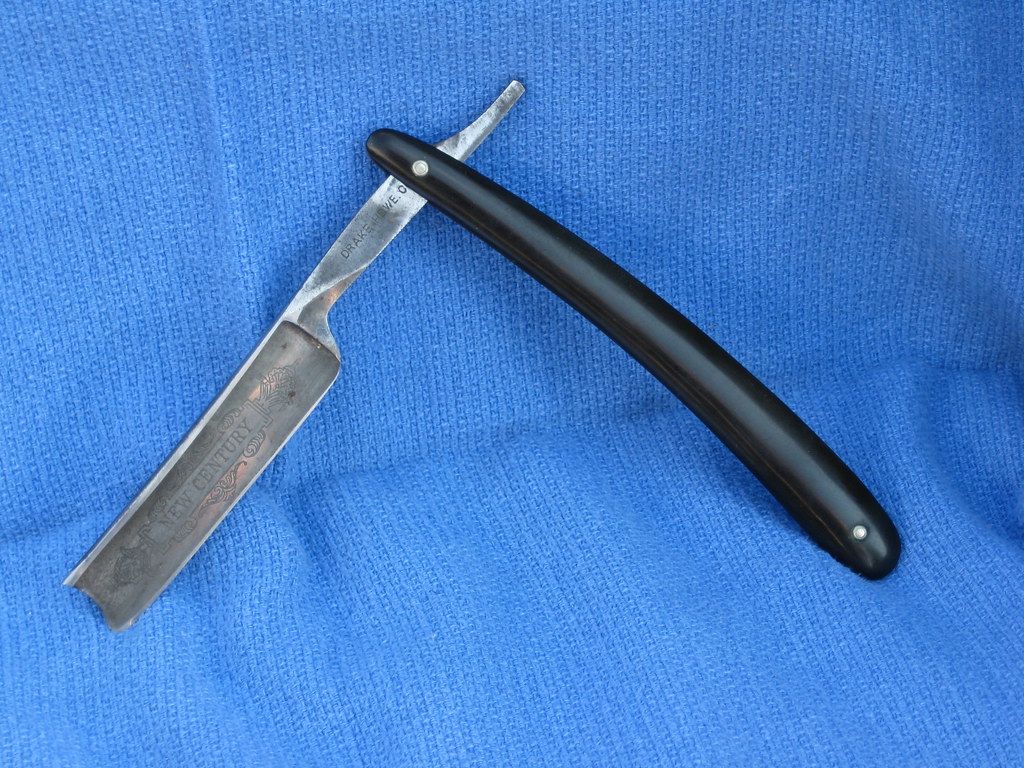
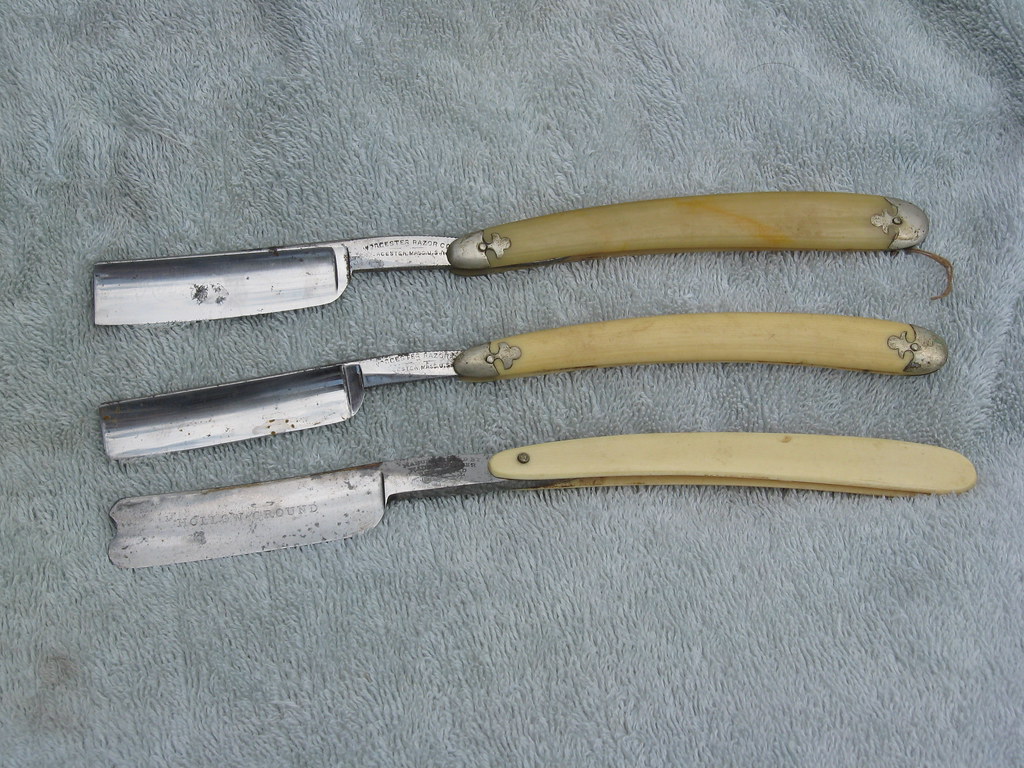
ladykate I agree that a few "scars" look goods on older razors. Translates a sense of their history I think.
 
A Dremel and buffing compounds can work wonders too if you have a Dremel . For safety sake you can make a simple holder out of wood and a few magnets. Picture of mine in my pictures I used balsa so it's soft. There is a sticky somewhere. And bill's razor blog I think has directions for wood and metal. I won't do sharp straights unless they are on wood. I found out hard way. I just got a new buffer system and have been loving results with it and all new compunds I got. Damn addciting hobby!Other one I had had 2 much speed and Hp
for me for half an full hollows. If the steel wool doesn't work don't be afraid to go to 600 grit wet/dry sandpaper and work up to 2k then using a buffing compund or the other mentioned compunds. Only few I have had needed 400 but it saves time when they do need it instead of working it rear off with a higher grit.
Be careful those edges don't forgive.
 

Legion

Staff member
I wouldn't do more than a careful buff with MAAS by hand, avoiding the edge. Anything else is asking for trouble if it is your only razor.

Really, to get that blade looking like new is a big job, and I wouldn't bother. Just learn to shave with it and then buy something prettier.
 
It is OK to have a razor with a few travel marks - makes them more elegant IMHO.

+1

Some pits will just be too deep to remove. Give it a good polish with the #000 or #0000 steel wool pad. Dab it with just a little metal polish and work it real good, then buff with a rag.

Should clean off most of the Black, but some will stay.
 
Hi Jason, I'll offer another POV. When I first became interested in straight razors about a year ago I decided I wanted to learn as much about honing as I could so I knew I would have to go through a bunch of blades to gain experience. I decided to start buying ebay razors, razors for $20 and under and a lot of them looked like yours. I knew I wanted to clean them up before honing and shaving with them so I decided to buy a buffer. this one-
proxy.php

I paid $70 for it including shipping last summer and up to this point all I've used in the way of buffing compounds have been black and green, though I have a tube of blue compound to try next time I buff up a blade in need (I have a few waiting)

Anyways, your blade looks so much like a lot of blades I cleaned using this buffer. I think the last one I cleaned up was this 5/8 Worcester. here's a before pic (from the seller's ad)
proxy.php

and here it is all cleaned up
proxy.php

here's another one I did not long ago, and here's what it looked like before cleaning w/the buffing wheels
proxy.php

here it is after-
proxy.php

this was a fairly easy one as there wasn't a lot of deep tarnish
New Century before-
proxy.php

New Century after-
proxy.php

here's 3 razors I bought from one seller (ebay)...seperate auctions he ran back to back
proxy.php
the top two are both Worcesters, the bottom one is a 1/2 hollow Wade & Butcher
here's the middle Worcester (an 11/16) after I buffed it out (cleaned it up)

proxy.php
and here's a crappy after pic of the Wade & Butcher

proxy.php
it looks better than this in person

A few caveats-

First, I clean these up for fun with the goal of having a clean decent razor to first hone then shave with. I'm not going for 100 point restorations

Secondly, I'm very careful while using the buffer so as to not over heat the blade. I keep a large plastic drink cup filled with ice/water next to the buffer and dunk the razor in the chilly mix when I sense the blade starts picking up heat

that's about it...I wear safety goggles and a respirator while buffing. Also, I did not de-pin any of these razors

If you want to do this on the cheap, try looking for free electric motors, say at your local recycling facility. An electric motor from an old clothes dryer should work fine. Most motors will have technical data stamped on a plate affixed to the motor. Info like RPM's, wattage, etc. With that info you can go to a site like Caswells and deduce which size wheels to buy for the most opportune wheel RPM. I can't remember all of the ideal #'s but my 8" wheels spin right where I want them, but they could spin slower w/o harm, using smaller diamter wheels

I'm not advocating for anyone to do this, I'm only mentionning what I'm doing and how anyone could pick up a motor or two on the cheap if you didn't want to invest money on a new purpose built bench buffer set up, and FWIW, I have this motor secured onto my bench top with some deck screws

I usually start the blades on the black compound. it cuts quickly. Using less compound on the wheel results in a slower removal time, + the blade wont heat up as quickly. When i get it (the blade) where i want it I'll switch to the green compound, and the green wheel also does a nice job on the schales

Then the razor goes to the sink in my garage where I'll wash any remaing compound away by hand using liquid dish soap. I also use a strip of 3M pad that I'll fish between the schales soaped up to loosen/remove dirt/grime/grundge. They're clean as a shiny new penny after all that and if I want to go further before honing begins, I have a few tubes of Maas polish and I should add the Maas and a small toothbrush will get to spots on/between the shank and tang where the buffer can't hit, so it's another way to get at grime and get it off the metal that the wheel couldn't touch, like right around the pivot pin part of the shank top and bottom


FWIW2, when I bid on ebay auctions, I typically look for razors that do not need any schale work, such as razors that needs new schales built for it. That's an area of blade smithing I haven't taken on yet and I've been quite satisfied getting razors that merely need some TLC (buff & hone) to bring back to life. Of course if you bid and win enough razors, eventually you'll wind up with some needing new schales...defects not mentioned by the seller<LOL>, or worse:1eye: ...all part of the scene


Best,


Jake
Reddick Fla.
 
Yes.. A full run down of a buffer set up for the guy who says he doesn't want to descale, use a lot of tools or ruin the existing edge... This is exactly what this thread needed...

:confused1
 
Tarnish & blackening removes easily with a good polishing paste like MAAS or Autosol.

However given your circumstances & being your only razor, I'd suggest to leave it.

It is also a VERY GOOD practice to dull a razor before doign any type of work with it.
Doing any type of work other then shaving with a shaving sharp razor is asking for trouble. Even if you have free health-care it's not the best practice...

I do think it would clean up nicely though with just some polish & some elbow grease
And that is easy to do even without tools, like said, a rag or steel wool & some good polish takes you far.
Leave it in the scales & use q-tips & pipe-cleaners to reach as many palces as you can around the pivot & between the scales.

But do it on a dull blade!
 
Yes.. A full run down of a buffer set up for the guy who says he doesn't want to descale, use a lot of tools or ruin the existing edge... This is exactly what this thread needed...

:confused1

I think Jake, like he said, just wanted to give his own POV over the matter. I would think that after what other people have written here, it'd be obvious to the original poster that performing a full on buffing / polishing of the blade would most likely affect the edge and make the razor unusable until honed again. And besides, as we all know, Jason will end up getting more and more razors (lol) and if he does care about the looks of his blades, a relatively cheap way of getting them nice and shiny would be through Jake's advice :p

But if it's your only razor, don't do anything to it until you have another shave ready. And for christ's sake, like honed said, if you are going to buff a blade on an powerful spinning wheel, don't work on a sharp blade...unless of course you have jedi skills :a45:
 
Thanks Jake for the thorough description of your polishing methods, you get some great results. For me the bench grinder is not possible at this point because I do not have space and am not stable in my location (I'm an ma student so when my degree is finished I will likely move again). Maybe I could approximate these results with a dremal tool?

I am in the process of acquiring another razor, so as soon as this one is in need of a hone, I will give it a clean. And make sure the blade is safely dull, despite the free health care :001_tongu

thanks for all the advice
 
Hey Jason!, Glad you found what I threw out there worthwhile. In regards to using a Dremel for blade clean ups, no, I've never tried that. You might give this a read- http://lordsofquake.net/~ToxIk/dsh/dsh.html

the above Dremel tutorial involves the use of sandpaper which removes far more material from the blade than what I've been doing. Hammertime's post mentions the need to use a jig if you go that route. i'd say that would be wise indeed

Before I settled on using a motor for buffing to clean my blades, I had read posts on B&B from those that said they had mishaps using the Dremel. Mishaps as in blades flying, breaking...but the above instructions stress the need to go at a low speed & I think those that had problems were using higher speeds IIRC

The rotating buffer wheels can be equally wrought with danger (potential). Before using mine I went to a B&B member's home to watch him use his buffing set up for tips. I had some shop experience in the early 80's using industrial equipment, like a belt sander (pedestal) so I was aware of the pitfalls letting a spinning tool catch your work and hurl it

You mentioning not having space where you live for a buffing set up reminded me of a time I lived in a 2nd floor walk up (2 bedroom apt.) in Detroit (late 70's). I kept a dirt bike in the spare bedroom during the winter=:)

If you like the way the buffer wheels can lightly clean up blades, you may want to give using a one shaft motor a 2nd thought. For instance, you could attach the motor to a small piece of plywood to make it portable. the ply wood would give it a flat sturdy/stable base. Use one motor and swap out wheels (one wheel for each compound)

If you shop for your dryer motor at a wealthier recycling center, you may come upon a perfectly good free motor. Some folks throw appliances away when they tire of the colour (sometimes truth is stranger than fiction). Junkyards have been known to pull good bench tested motors out of appliances for resale at little cost. I grew up in Detroit and frequented those places (at one time)

And I believe Caswells sells the hardware you'd need to make a wheel fit on the shaft of any motor you could come up with, and or a well stocked local hardware

Another variation on the motor portability theme, you could keep the motor in a bowling bowl bag (these bags are almost free at thrift stores), mount it into wood when you're going to buff using a reversible drill/driver (everyone has one) and deck screws. Take a look at this pic-

proxy.php

I used this jig in the back of a van I had to haul motorcycles/scooters. this was my wheel chock. I'd run the bike or scooter up to the back of the seat w/the front tire between the two pieces of wooden two bys. If a wider tired bike went in I'd back the screws out holding one of the two bys to accomadate the different tire width, using the reversible drill driver. FWIW the straps held the bike down. It all triangulated well


Best,


Jake
Reddick Fla.
 

Slash McCoy

I freehand dog rockets
Practice your dremel skills on an expendable razor like a $3.98 Gold Dollar that you have left out in the rain for a couple of weeks. Power tools have a way of grabbing things and destroying or throwing them.

You could sand by hand, but I don't think you can do it without messing up your edge. If you are gonna try, then lightly fold the sandpaper and pinch the blade between it. Work with it folded over the spine or folded over the edge, but the latter carries a high risk of severely cutting your hand, even with a "dull" blade.

Diamond paste works well too. Apply a pinhead sized dot to both sides. Pinch the blade between thumb and forefinger, from the spine. Slide the blade through, back and forth. For just one razor, you can do this with your fingers. Or use a small piece of an old tshirt. Either way, a good rubbing with diamond paste will give you a nice finish pretty darn quick. Start with 3u and then go to 1u, and then .25u for super bright mirror finish. www.tedpella.com is where I get mine but a lot of vendors carry diamond paste. Diamond is a very aggressive polishing agent. It also does double duty as an abrasive for pasting a block of balsa for stropping your razor after each shave to help maintain the edge without honing. Don't use the 3u for that, though. 1u is coarse enough. A half dozen laps on 1u and then a half dozen to a dozen more on .25u after you shave will gitter done.
 
Top Bottom