OK, I got me a whipped-dog special for birthday back a few months ago, liked it, then ended up finding three more antique store jobbies (a puma 91, a WB special, and a "pride of the west" by some Isaac something hardware store). Anyway, I've got them all to working order by getting any rust removed and having them honed, but have always wondered how the pivot hole looked on these things...no visible rust, but what about that hole?
Oh dear, that means unpinning. To do that, I've ordered myself some 1/16th inch brass rod and have located a hardware store with some size 0 SS washers and got me a ball peen hammer.
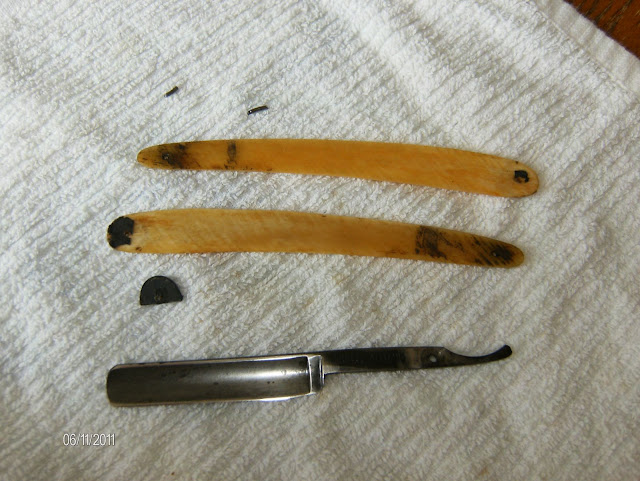
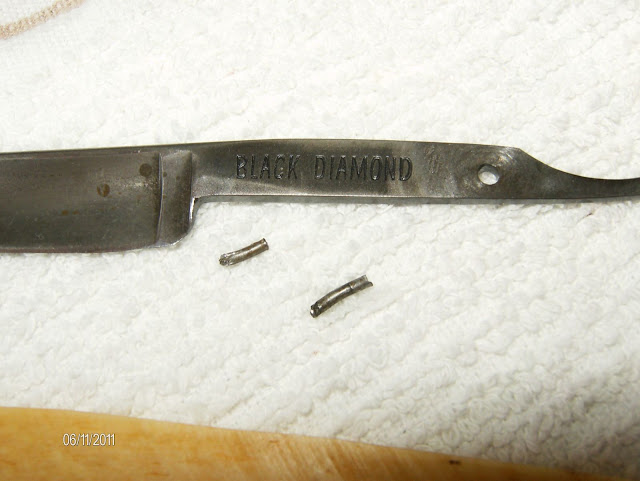
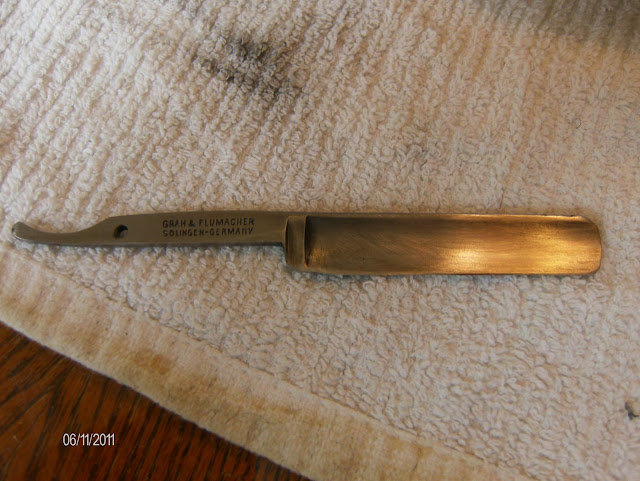
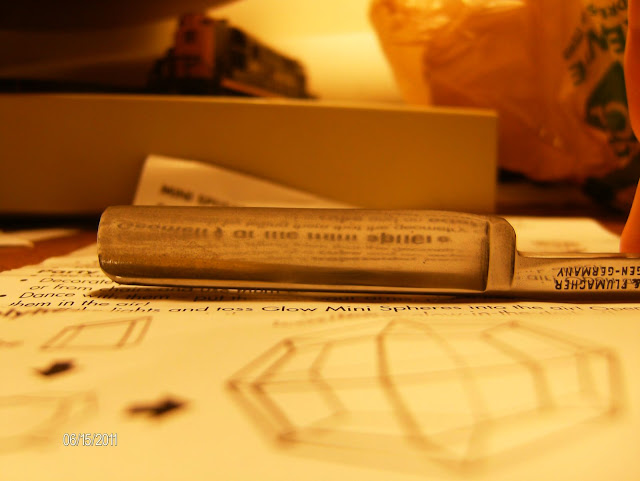
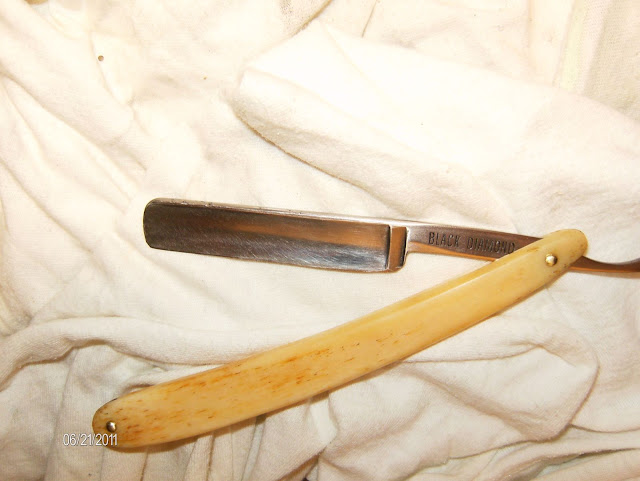
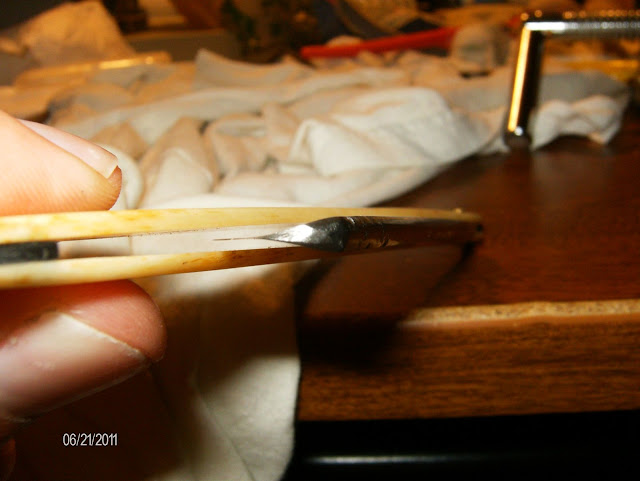
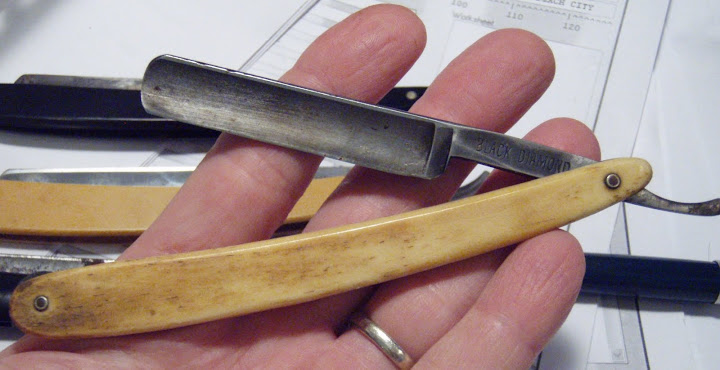
So, taking a deep breath, a file, a small bit, some pliers, and a drill press, the pins (bent!) came out of my Whipped-dog special (a Grah-Plumacher Black Diamond). No rust, but might as well tidy things up while I've got it apart, since the inside of the scales are all discolored from older rust and time.
So, questions.
Any help? I'm 95% certain I can do this with some time and effort, I just wanna get this first tear-down/rebuild under my belt to get the confidence up. I feel like if I can get this down to a science, I can help save some of these antique junkers at flea markets / antique stores from ending up in the trash-heap of time and get them shaving again.")
Thanks!
Jeff
Oh dear, that means unpinning. To do that, I've ordered myself some 1/16th inch brass rod and have located a hardware store with some size 0 SS washers and got me a ball peen hammer.
So, taking a deep breath, a file, a small bit, some pliers, and a drill press, the pins (bent!) came out of my Whipped-dog special (a Grah-Plumacher Black Diamond). No rust, but might as well tidy things up while I've got it apart, since the inside of the scales are all discolored from older rust and time.
So, questions.
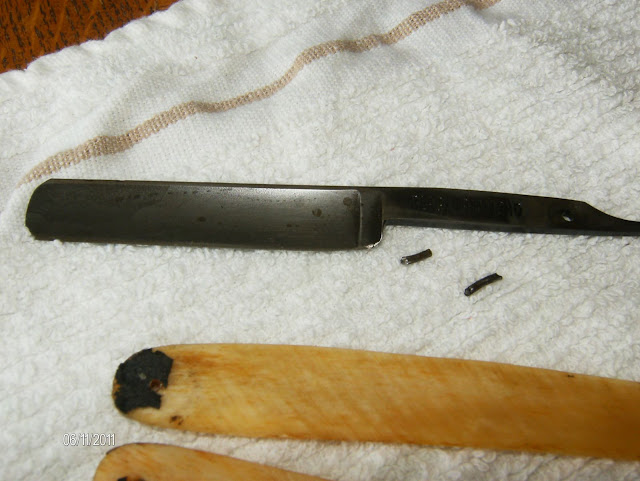
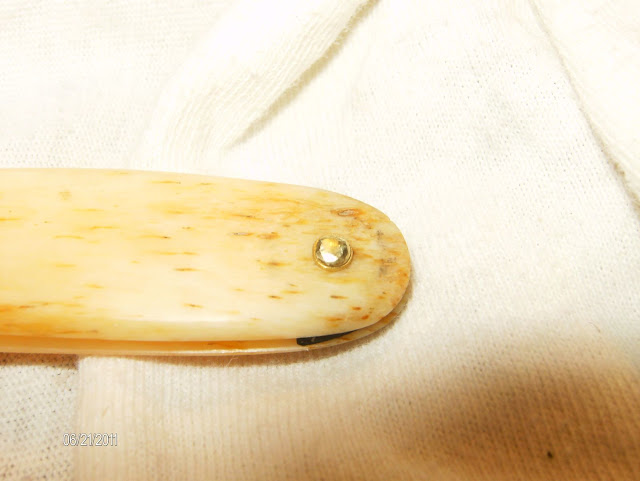
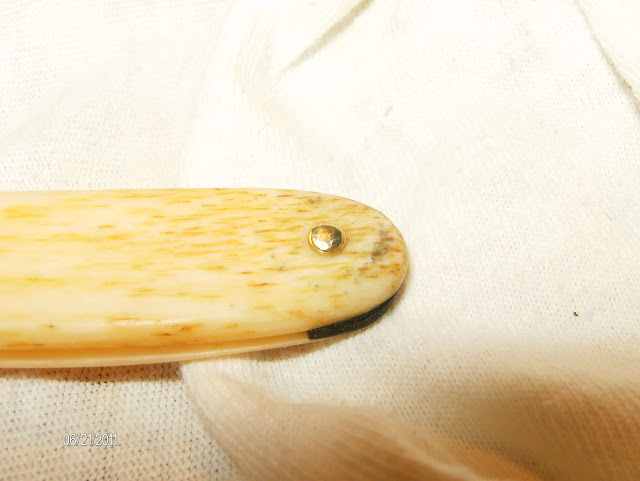
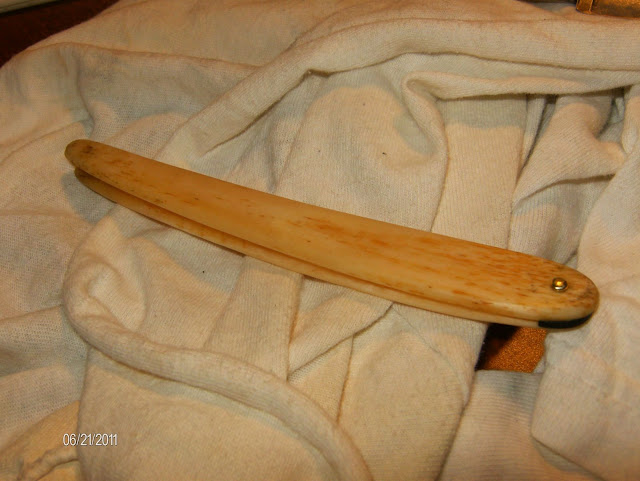
- These are bone scales. After sanding away the ook in-between the scales, and after sanding away some of the other crud on the outsides, then what? What's a nice finish for bone? I can't find mention of polyurethane in these forums, but I've got that, laquer, shellac, and some other things I've seen. Somehow I need to close up the pores in this bone and get it ready to get wet again. What's the appropriate finish?
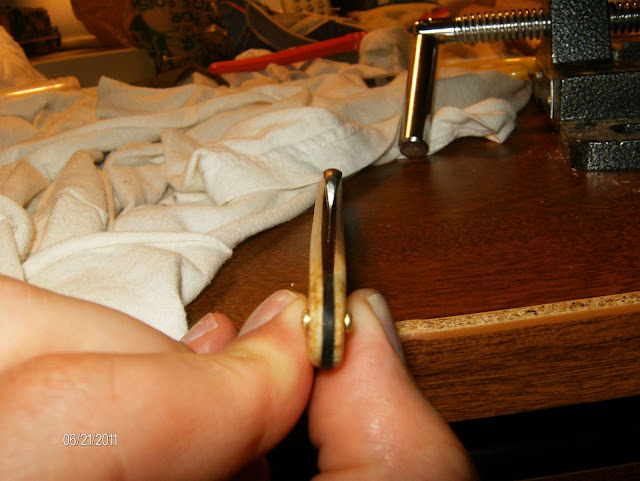
- it looked like the wedge was glued-in. is that right? With only one pin , how do you get the shape so exact to the scales? Do you first glue/pin/fasten that end, round it off with some sandpaper, finish it (above), then pin the pivot-end with the blade?
- I've been sanding with 220 grit, I'll work on upping it...
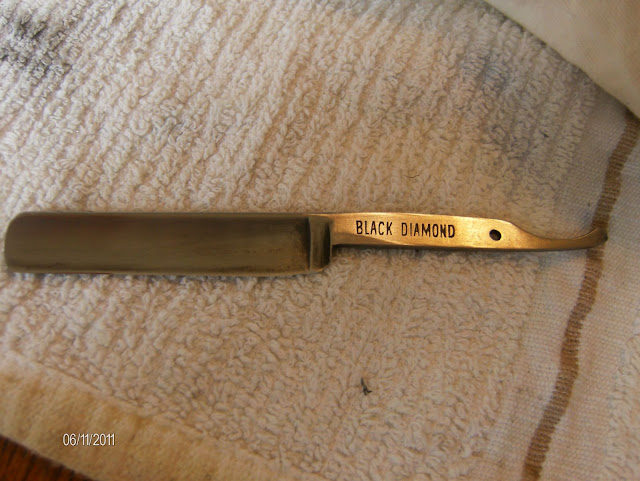
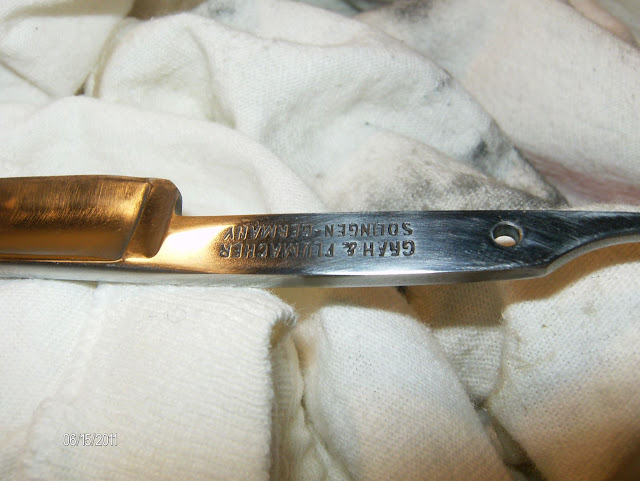
- Black Diamond...was kinda blackish blade, but all kinds of what looked like water spots on it. I figured I'd just go against the name, take off the blackish part and just polish/sand the bujeebers out of it, coating it in vaseline until I can get time for the next steps
Any help? I'm 95% certain I can do this with some time and effort, I just wanna get this first tear-down/rebuild under my belt to get the confidence up. I feel like if I can get this down to a science, I can help save some of these antique junkers at flea markets / antique stores from ending up in the trash-heap of time and get them shaving again.
Thanks!
Jeff