looks like there wasnt much deep pitting..more surface pitting ontop of the steel..regardless..good job ;-)
You are using an out of date browser. It may not display this or other websites correctly.
You should upgrade or use an alternative browser.
You should upgrade or use an alternative browser.
Hand sanding progression
- Thread starter DrColossus11
- Start date
I'm not quite sure what you don't understand or are missing. It would be possible to sand something to 220 grit and move to 400 grit but not have all the deeper scratches sanded out from a 180 grit paper. Moving to 400 grit paper before removing all the deeper scratches from the 180 grit would be a waste of time because the deeper scratches from the 180 grit would still be visible. You'd have a mostly sanded product of 400 grit but would still see visible scratches that remained from the 180 grit.
You remove less and less material with each progressively finer grit. ie it takes longer to take out a scratch with 2000 grit than it would with 180 grit paper. More work would have to be done at the 220 grit level to make sure all the previous grit scratching is all now 220 grit. Hope that clarifies.
Ok, but wouldn't common sense tell you, for one, to not jump over numbers( of grit) , but even then, if you are sanding and are not removing scratches, you need to back up( in grit)......the whole point of sanding is to remove the scratches, right?.
Ok, but wouldn't common sense tell you, for one, to not jump over numbers( of grit) , but even then, if you are sanding and are not removing scratches, you need to back up( in grit)......the whole point of sanding is to remove the scratches, right?.
Yes, that's pretty much the idea.
For example, if you're currently sanding at 180 grit, then move up to 320, you need to stay at 320 until all the scratches from the 180 are gone.
If you move on up to, say, 600 grit, any scratches from the 180 grit will stand out like a sore thumb.
It's easy sometimes to move up too quickly; sometimes the scratches from the previous grit looks like they are gone, then appear when you move up to the next-finer grit. And of course, patience (or lack thereof) is always a factor. There's nothing like thinking you're making real progress, only to see that you are going to have to step back down a grit to clean things up.
But when done properly, the results can be outstanding.
This thread definitely helped when it comes time to start my project on my Original Schulze. Thank you
- Thread starter
- #45
This thread definitely helped when it comes time to start my project on my Original Schulze. Thank you
Wow, I forgot all about this thread. Hope it helps you on your restoration!
Haha I brought it back from the dead 2 years later haha. It definitely will help.Wow, I forgot all about this thread. Hope it helps you on your restoration!
Home depot carries up to 2k, at least the one by me. But yeah, auto zone will have it up to some crazy grits as well. You can also by silicon carbide powder up to some crazy high grits and mix it with water to make a paste. Also, get a dremel and some maas and you can take out 1000g scratches in no time. Just be careful that you don't ruin the temper and/or touch the edge.
Auto zone near me has up to 5000 grit and mothers mag polish. I also teach at a vocational school and got some super fine grit lapping compound which is silicone carbide suspended in an oils solution. A little of that used on the back of a piece of sandpaper works wonders. Also to the op if restoration is something you plan on doing more of you might want to invest in some honing gear instead of sending them out. The whole reason i started doing restorations on my own was to have some razors on the cheap so i can learn to hone better. Now the restoration is just as fun as the honing.
I'm glad this thread came back from the dead, it's rather timely for me as I'm working on my second restoration, and struggling with some pitting. I was a little timid about starting below 220, but 220 is not getting it done. I guess it's better to start too high than too low anyway!
Do you guys wear respirators while doing this? Thinking probably not. As you said you chill on the couch, but seemed like something to know before I get started.
Last edited:
- Thread starter
- #51
Do you guys wear respirators while doing this? Thinking probably not. As you said you chill on the couch, but seemed like something to know before I get started.
No, no respirator. There really seemed to be no dust in the air while dong this. Not sure if it was do to the low speed or the sanding rig I used.
Slash McCoy
I freehand dog rockets
My basic rule of thumb is to increase grit number no more than 50% for each stage.
Watch out. A dull razor is still pretty sharp! Even if you breadknife it, which I DO NOT recommend, it is still able to cut you severely. Handle it with the edge outward, away from your hand, so much as possible. I mostly use two techniques. I like to use a piece of cable or garden hose as a sanding block, to get a good consistent surface up in the hollow grind. I also like to pinch the razor with a small piece of sandpaper folded over the spine. Remember, edge out. You can get literally a crippling cut to the web of your hand, going the other way.
Home Depot carries a good selection. Online is better, of course, and can be cheaper. Autozone has up to 2500 grit but those half sheets are expensive. No biggie for just one or two razors but if you will make a habit of this, order online.
I sand dry, just because it is less messy. Wet sanding cuts faster, though. I spread a dirty tshirt or towel over my lap and have at it. If I sand over a desk sometimes I take a magnet and pick up all the steel shavings just to impress myself at how much steel I have removed. Good sandpaper doesn't shed much grit so the dust is mostly steel.
For a mirror finish I use a progression of diamond pastes. 1u, .5u, .25u or .3u, and .1u. I have been meaning to get some 3u because from 2k to 1u is a huge jump. But I use a dremel for the 1u which I will add is very hazardous to razors. But it saves a lot of time with the 1u diamond.
I like to do a preliminary bevel set before sanding. That way if I feel like it I can sand the spine round again, maybe after pushing the hollowgrind further up into the spine first. This eliminates the "unsightly hone wear" that so many folks harp about.
For deep pitting, I first arrest the rust with a couple of dips in Ospho. This converts rust into a protective layer of iron phosphate. http://www.ospho.com/ This helps a lot when pitting is so deep that you dont want to sand to the bottom of it. It stabilizes the blade so you dont have to be in a big hurry to get started, which is good if you have a bunch of rusty basket cases on your hands. It also can be used to create an artificial patina (Slash McCoy Hypercoat (tm)) that can be very striking and helps to resist rust.
Slash that is a fantastic write up and the safety portion should be printed out and hung up in every place where someone is working on a razor! Have you tried evaporust? If so how would you compare it to Ospho?
Slash McCoy
I freehand dog rockets
Never tried evaporust. Been using ospho on ships and boats since I was a kid tho.
I did a quick google search on ospho and it looks like evaporust is slower and best used on parts that you can dip and let soak, but I have been very happy with it. Nontoxic as well which is a plus.
Do you just dip and let dry Slash. I only have 1 razor that's rusted badly was thinking of using naval jelly.
Thanks for the sanding tips hoping to get started in the next couple days. Guess I'm gonna have to check out some sandpaper online. Was just gonna go by home depot. Don't wanna get some poor quality stuff that just falls apart.
Thanks for the sanding tips hoping to get started in the next couple days. Guess I'm gonna have to check out some sandpaper online. Was just gonna go by home depot. Don't wanna get some poor quality stuff that just falls apart.
Last edited:
Slash McCoy
I freehand dog rockets
I like to keep it wet and keep it moving, then rinse in water.
Navel jelly will work I just prefer ospho.
Navel jelly will work I just prefer ospho.
Slash definitely knows his stuff, but if you want a lazy way that works very well stop by your auto parts store and pick up a jug of evaporust. It doesn't smell, you can leave your razor in there for days and it won't hurt it, it kills rust dead and it is reusable.
What is your hand motion while sanding? Up and down? Left and right? Circular motion?
Back and forth or only one direction?
Back and forth or only one direction?
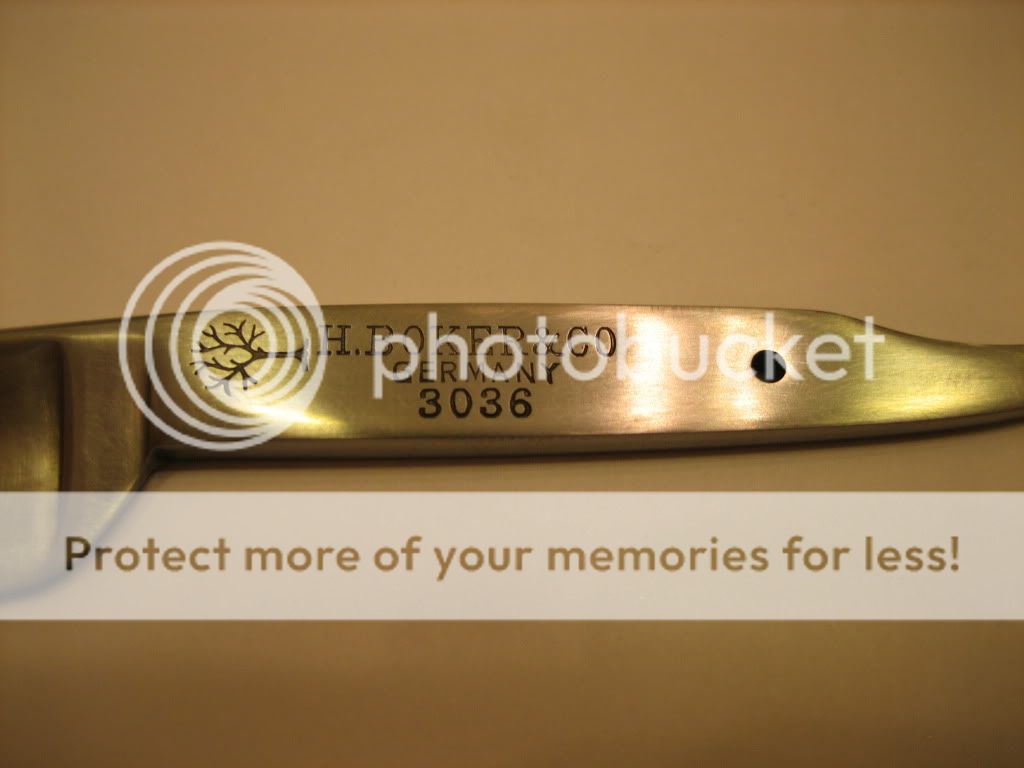
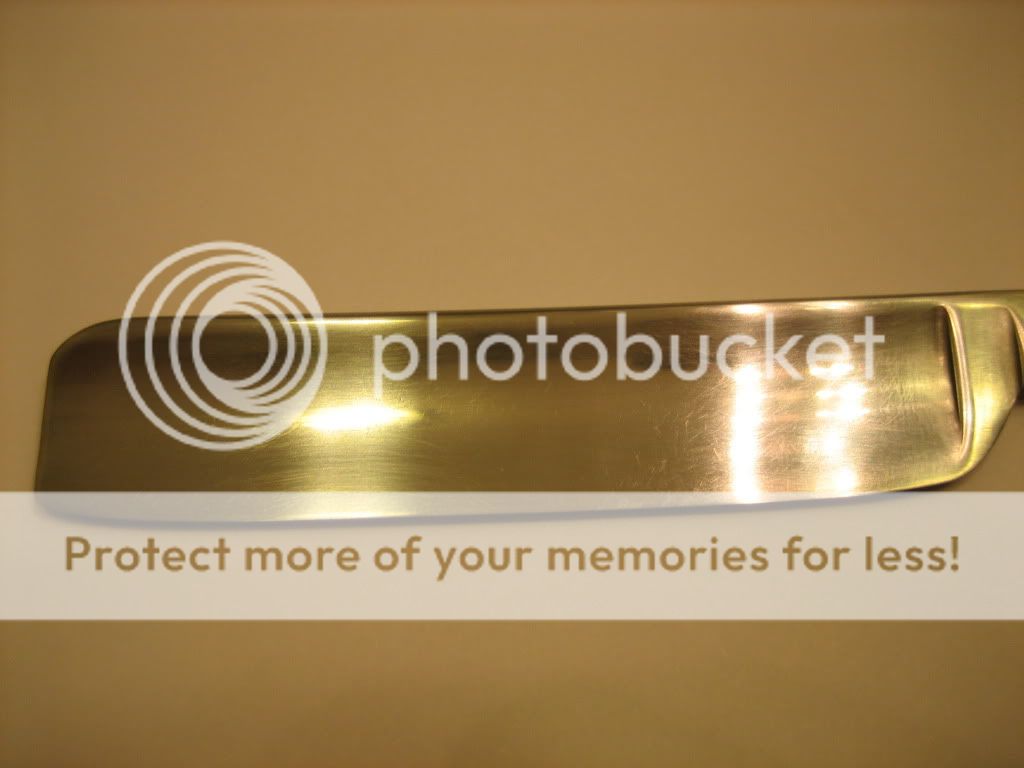
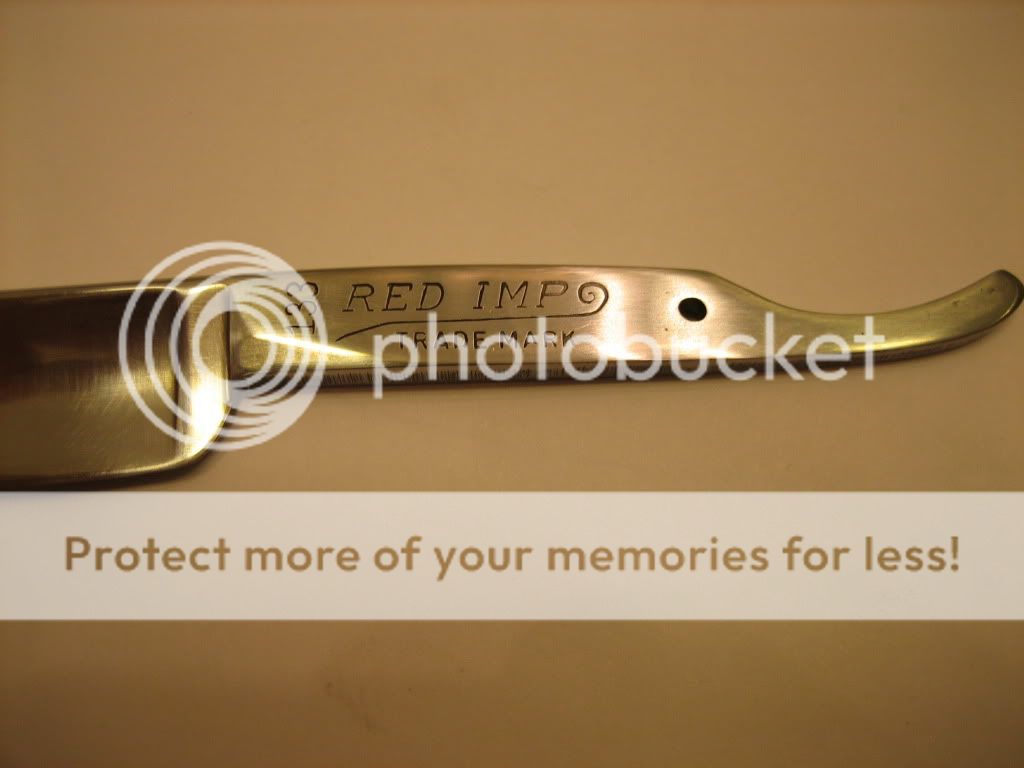
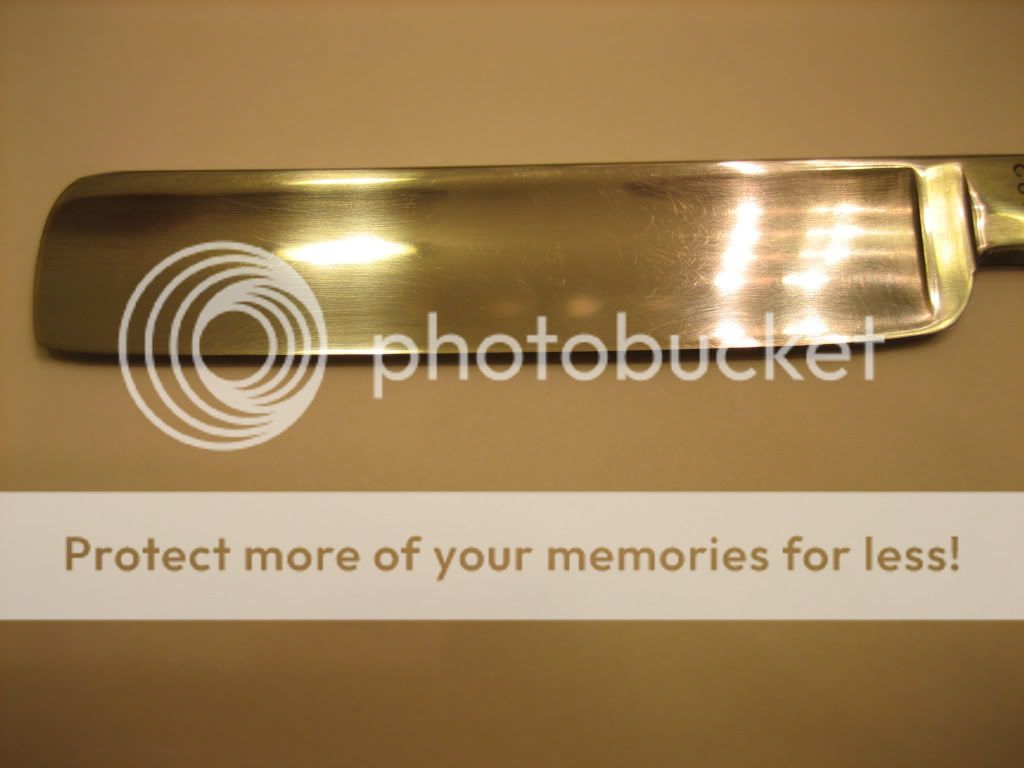
Well it looks like 600 is were I stop for now as the local ACE doesn't carry 800-1200. Here are some more pics.
Boker
Red Imp
- Thread starter
- #60
What is your hand motion while sanding? Up and down? Left and right? Circular motion?
Back and forth or only one direction?
IIRC, for the bulk of the sanding it was heel to toe. After about 600 I started alternating heel/toe - spine/edge so I could see the previous scratch pattern a little easier.
Similar threads
- Replies
- 4
- Views
- 1K
- Replies
- 16
- Views
- 1K
- Replies
- 6
- Views
- 1K