Restoration Advice ~
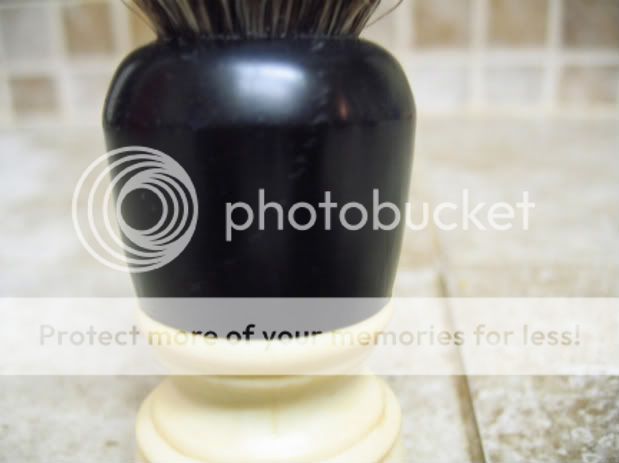
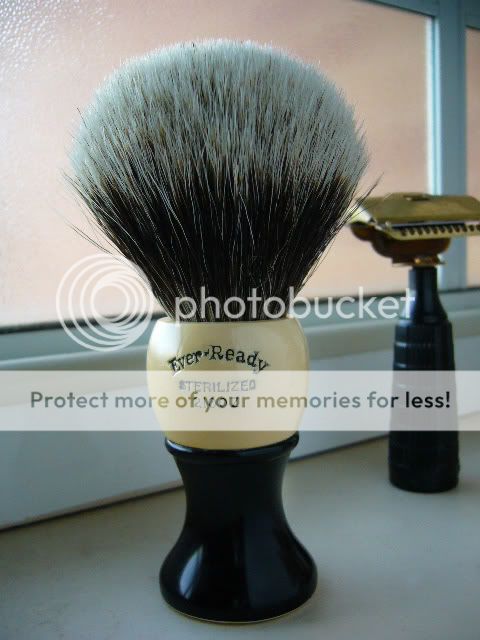
I have just started my first brush restoration. In removing the old knot, despite having a layer of tape protecting the surface of the handle, the dremel rode up and put a couple of light abrasions on the top of the brush handle. Both the handle Im restoring is an Ever Ready 200T, which is made from a plastic / bakelite type material.
In my readings about others restorations, I have noted that sanding & steel wool have been used to remove mild blemishes. My question is what type and grit of sandpaper should be using for this? Its the same question regarding the steel wool, what grade is best suited for the use above?
Any advice and tips would be appreciated.
Thanks in advance,
DD


 Tried to resize the photos in photobucket but it doesn't seem to work on the preview.